Category Archives: Uncategorized

In Praise of Swiss Chard

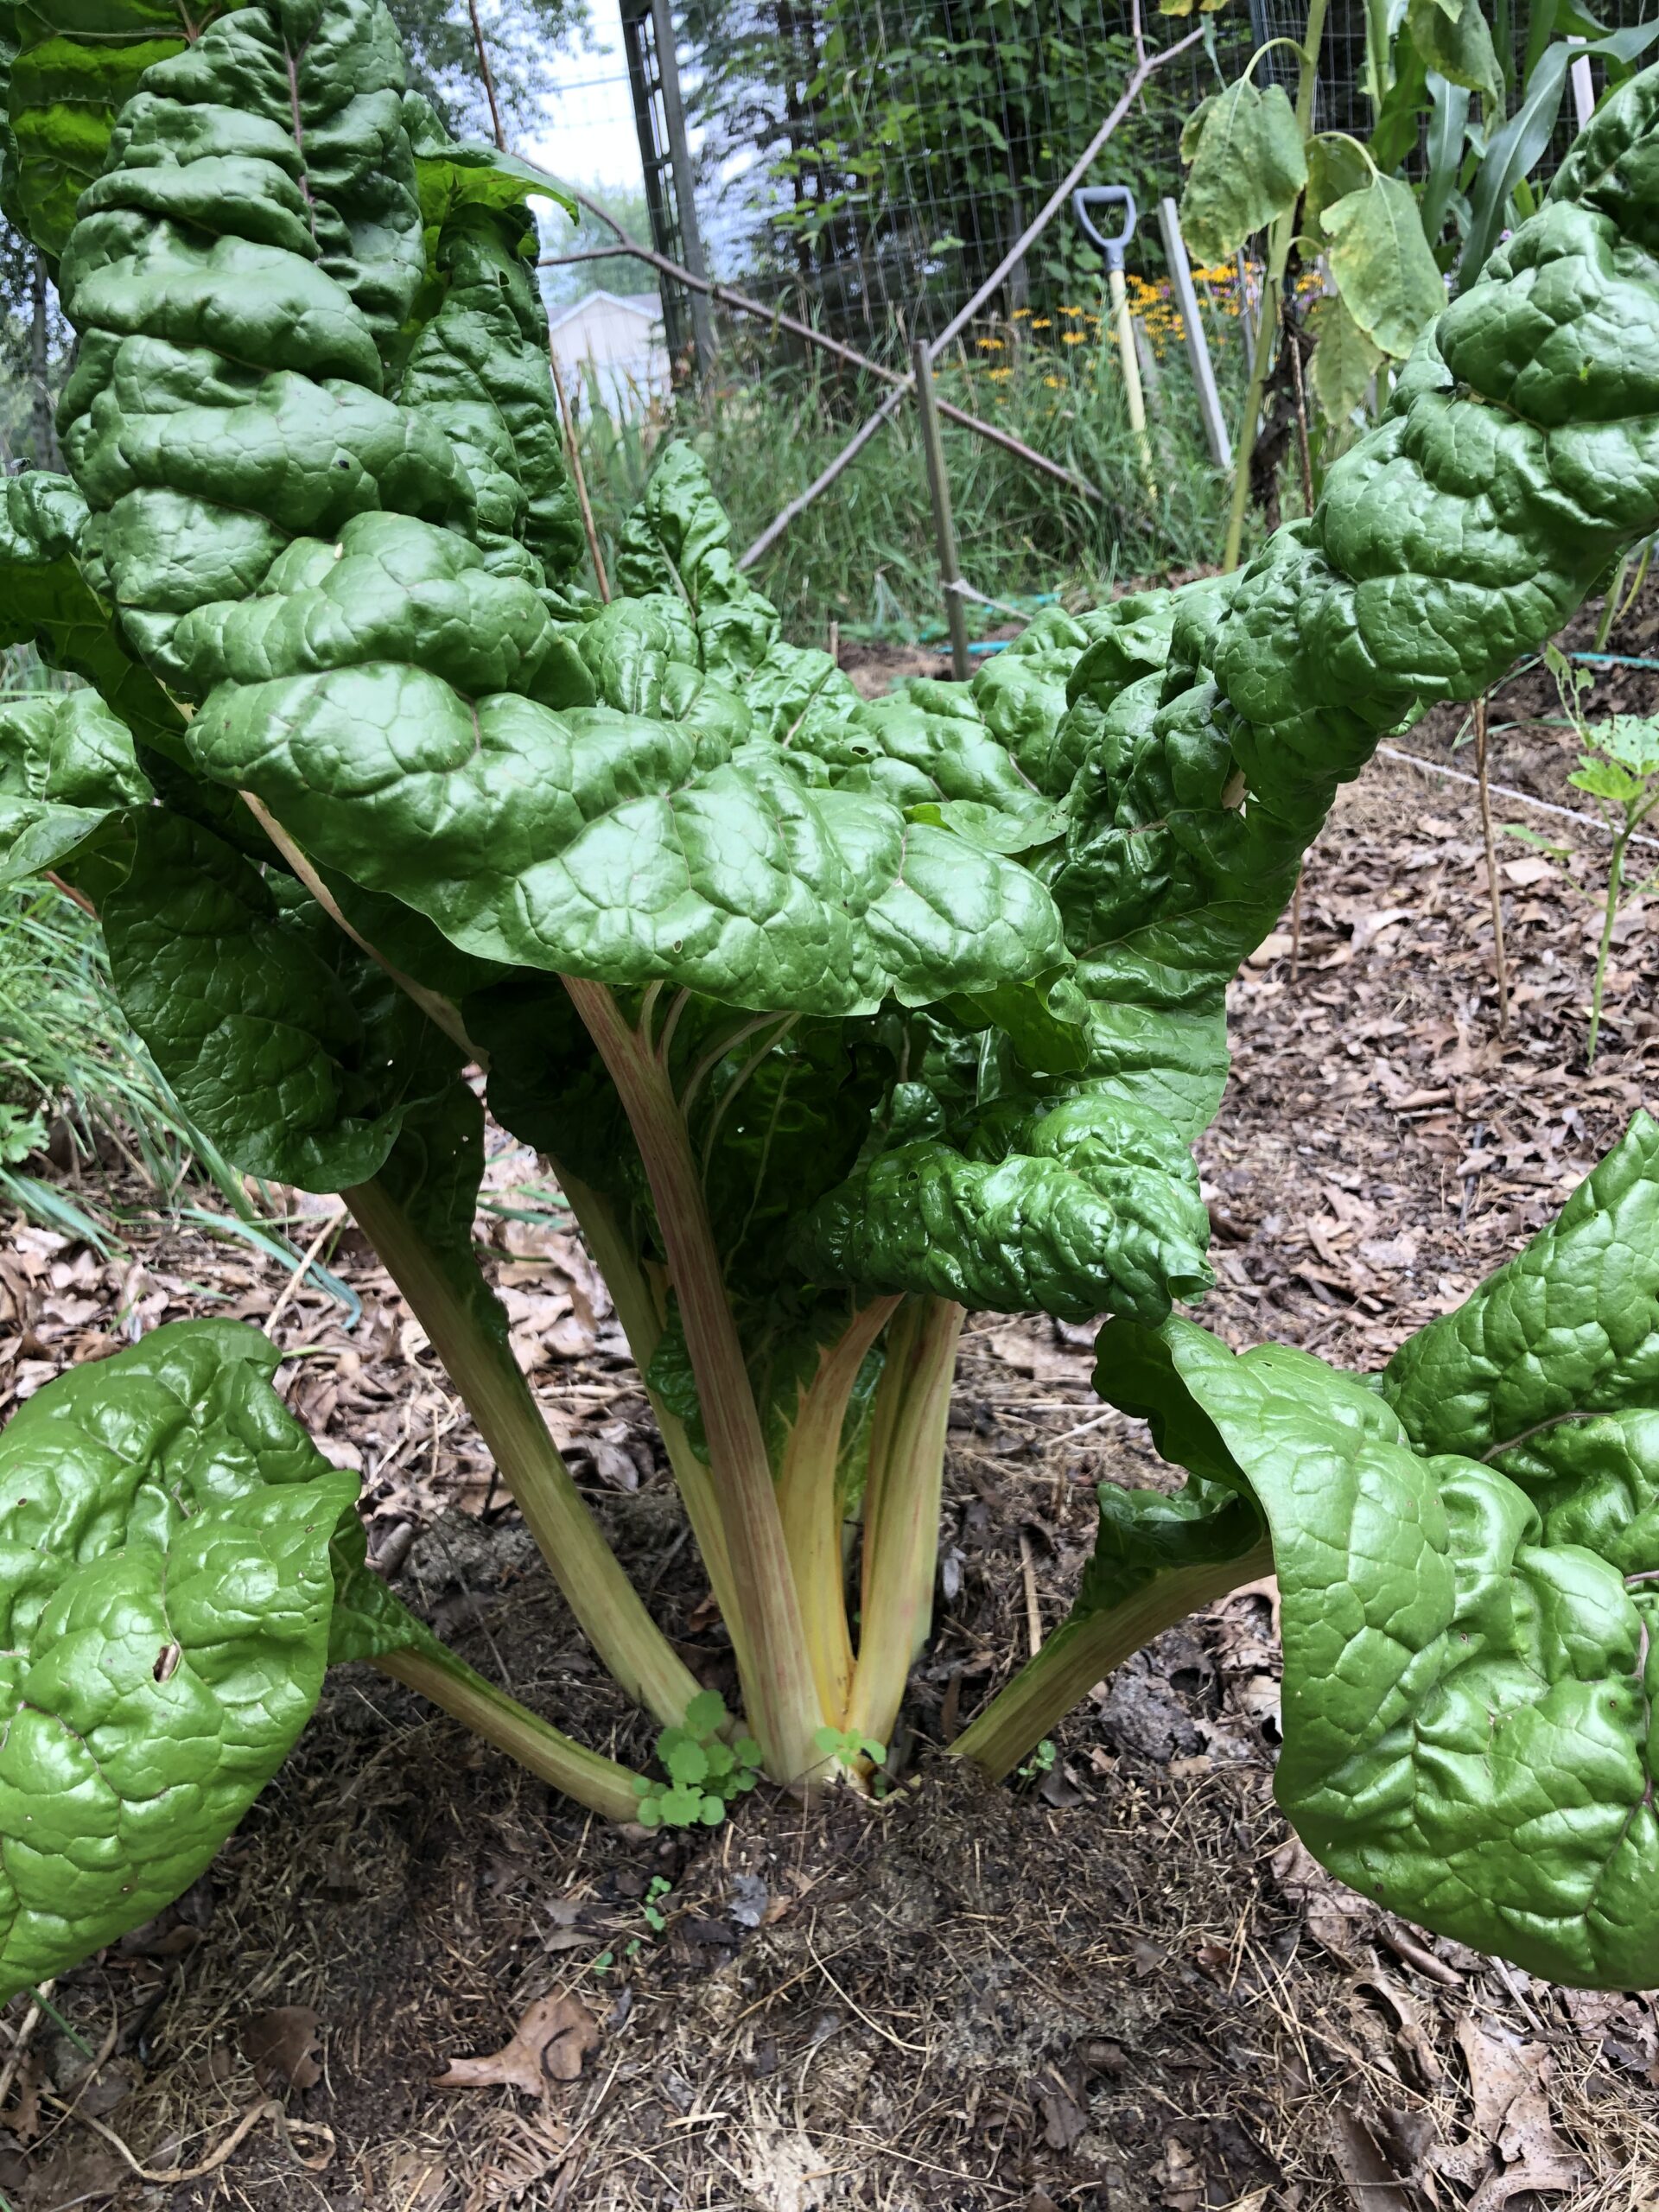
Seems to me Swiss Chard is a very underrated vegetable. Very easy to grow, very nutritious, and an excellent substitute for spinach in any recipe. You can eat the stems as well as the leaves. We even use it in place of lettuce on sandwiches. Just tear the leaf from the rib and place it where lettuce would go.

Chard seeds are planted about 1/2 inch deep, 4 to 6 inches apart. If planting in rows, space them 18 inches apart. Chard is a member of the beet family; so like beets the seeds are actually clusters that produce more than one plant. After they start to grow, use a sharp pair of scissors to snip the heads off of all but one plant in a cluster. Snip just below where the leaves come together. Trying to thin the clusters by pulling will damage the root system of the plant you want to keep. The remaining plant may die if the roots are damaged too badly.

After the clusters are thinned and are growing nicely, thin again so there’s about a foot or maybe even a little more between plants. Any that are spaced more closely will be produce an end result of smaller plants. Toss the plants you remove into your favorite stir fry or perhaps even a quiche.

If planted early, chard can be harvested pretty much all season long. It’s even frost hardy to some degree; but when the temperatures stay below freezing the leaves will be damaged significantly. If you’re a seed saver like me, when fall starts to slip into winter be sure to trim the leaves down; then give the plant a good covering of mulch. With any luck it will endure the winter and produce seed the following year.

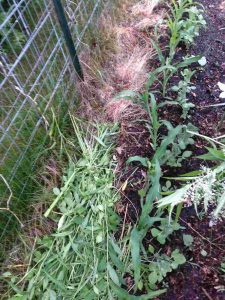
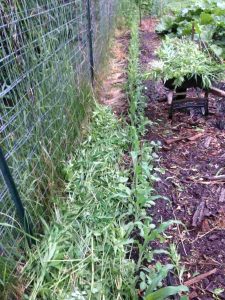
I find the plants are most productive when the leaves are allowed to grow to good size, then trimmed off the plant till just a few small ones remain. With young plants, I cut the leaves off with a sharp knife as close to the root crown as possible; being careful not to cut too close and injure the plant. When the plants become more substantial, I just grasp the base of the stem near the bottom of the plant and gently push downward and tug slightly till the stem breaks away. If there’s any remaining stem sticking out from the plant, I generally cut it off with a sharp knife; again being careful not to cut too close to the center. Pictures below show some before and after pictures of today’s harvest. As you can see, I did some substantial trimming; but so long as a few healthy leaves are left behind; the plant will flourish and provide several harvests.

I used this technique because I’ll be blanching and freezing the leaves. I have several plants, so when I want fresh leaves I merely harvest one or more plants less aggressively.
Weeding To Mulch, Mulching With Weeds

Made some good progress in the Popcorn Patch today.  Well OK it’s more of a row than a patch; and I’ve interplanted some snow peas and cucumbers.  I got the weeds out of a good chunk of the row; then watered thoroughly, then laid some mulch down.  For those of you who don’t know, laying mulch down after a good rain (or in this case, watering) will help keep the soil moist; and it also prevents weeds from taking over again.  An added bonus is that mulch will also enrich the soil as it decomposes.

For many years, I’ve been mulching with whatever leaves I can get.  Come fall, I travel around the neighborhoods with my trailer and pick up as many bags of leaves as I can,  This of course has to happen after I help my Honey Pie get the leaves off the lawn at our house.

I didn’t get as many leaves last year as I was hoping; and I’ve used some already.  However,  I’ll need the rest to make “leaf dust.”  I pulverize leaves with our lawn mower and then sift the leaves to get a nice pile of really small particles.  That’s the perfect stuff for getting in between the carrot seedlings you see.  Anyway, I didn’t want to use up all my leaves, so I pondered a bit on what to use as mulch for the popcorn,

Our trailer is full of wood chips right now for my Beautiful Honey Pie’s ornamental gardens.  I’ll use some too, for covering my walkways in the vegetable garden.  But since the trailer is full, I won’t be using it to get more mulch right now.  During this time of year everyone’s bagged leaves are long gone, so I’ll go after lawn clippings.  Those are in bags too, but again, I need the trailer to go get them.

The answer:  use weeds for mulch!  Say what??  Well you see we are blessed with 5 acres, and although we only use a fraction of it; there are lots of “wild” places where all kinds of things grow.  One area behind the vegetable garden is near our pond.  I’ve mowed the monster weed growth a couple times; and have even planted some squash down there.  But there’s also a large stand of very tall weeds down there.

Today, the light bulb lit up inside my tiny brain.  Might as well use those weeds for mulch!  So I grabbed the wheelbarrow and the sickle that our Good Friend Mike gave me; and got to hacking weeds.  Also cut some new growth off the sumac saplings that were down there.  Turned out to be the perfect material for mulching behind the corn.  The photos below are not the best quality because I took them with my phone, but you can click them to get a better view.

weeds1weeds3


I showed my beautiful girlfriend my idea and she was a little doubtful.  “Won’t they make more weeds?” she asked.  A very good question!  The key to using weeds for mulch is to:  1)  make sure the roots are removed first and Q) make sure you don’t use any weeds that are going to seed.  Flowers are OK, but seeds are not so good.

Because the weeds I used are green, they won’t rob any nitrogen from the soil.  They may even add some.  And the worms will love my offering.  And to top it off, all I have to do is wait, and I’ll have plenty of new mulch growing in the back!