Category Archives: Vegetables

Taming The Wild Cabbage

Many moons ago, my beautiful girlfriend acquired a sprouter so we could raise babies for eating. It’s truly a wonderful thing to raise babies; then eat them raw in salads and the like. Do not be alarmed… I am NOT talking about baby humans or other animals!! No, no… those would be much too crunchy. Possibly illegal too I think maybe. Rather, the sprouter is a wonderful little kitchen gizmo that’s used to grow plant babies. Some of our favorites are mung bean sprouts and alfalfa sprouts. We often eat them raw but of course mung bean sprouts are very nice when added at the very last stage of cooking up a stir fry.

Several years ago my ravishing honey pie brought home a fairly large packet of seeds labeled “Broccoli for Sprouting,” which had a very colorful picture of a mixed greens salad on the front. I’m guessing there was about half a pound of the very small, round, black seeds in the packet. We sprouted some, but weren’t at all smitten with the results. The flavor was OK, but not anything that really tickled our taste buds. So into the refrigerator went the seed packet to live in harmony with all the garden seeds I keep in there. Our thinking was we’d give them another try some other day.

“Some other day” never arrived. A few years passed, and the big seed packet was all too happy just to sit quietly in the paper bag that houses all my left over seed from previous gardening years. Seems I almost always buy more seed than I ever actually plant, and I can’t bring myself to toss the leftovers. I’ve learned that if seeds are kept dry and cool, like in the refrigerator, they stay viable for several years. Consequently, a small part of the fridge is pretty much always occupied by my seed collection.

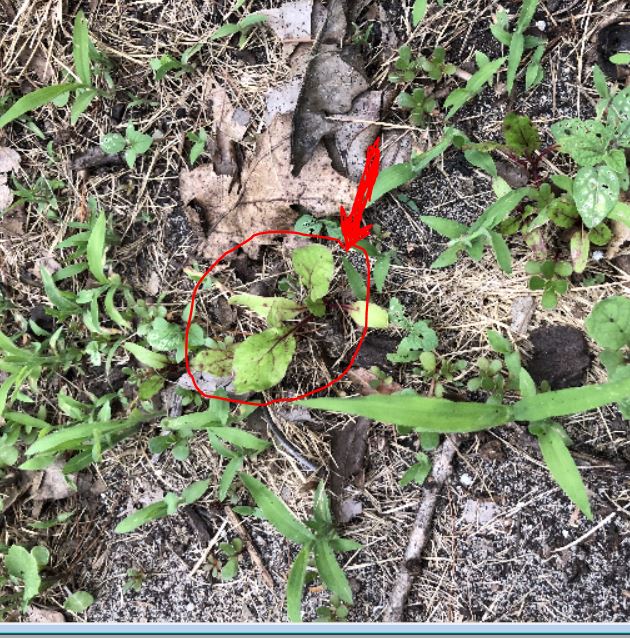
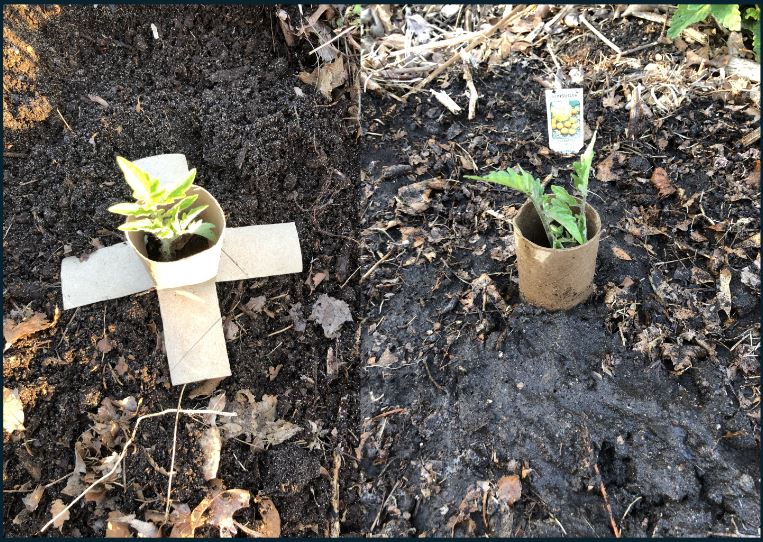
We’re not sure how many years the “Broccoli for Sprouting” packet shacked up with the seed collection. However, it became clear to me that these would never know the inside of our sprouter again, so I decided to plant some. I figured, hey, if it’s “broccoli for sprouting” maybe it will grow some broccoli for eating. So way back in 2010, I planted the seeds and waited for the wonderful broccoli to appear.

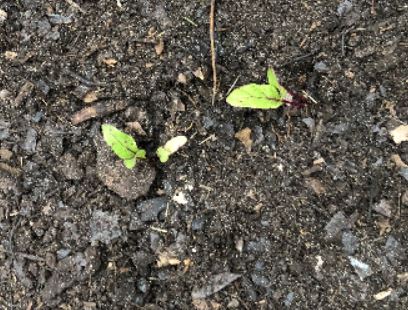
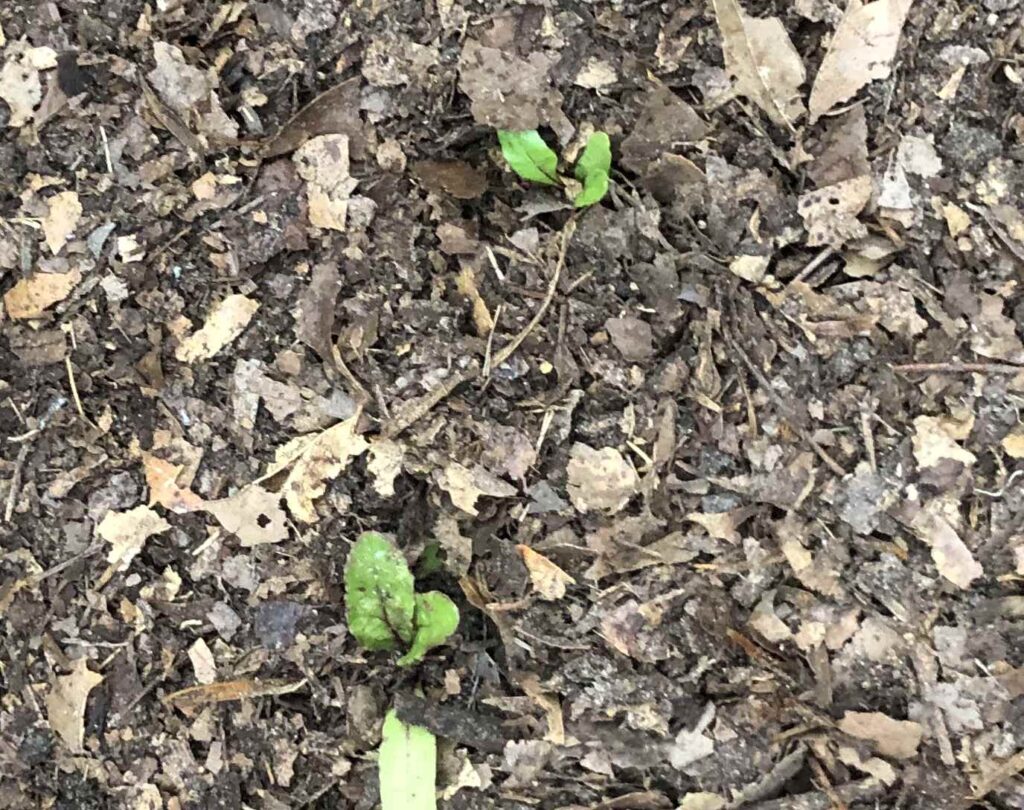
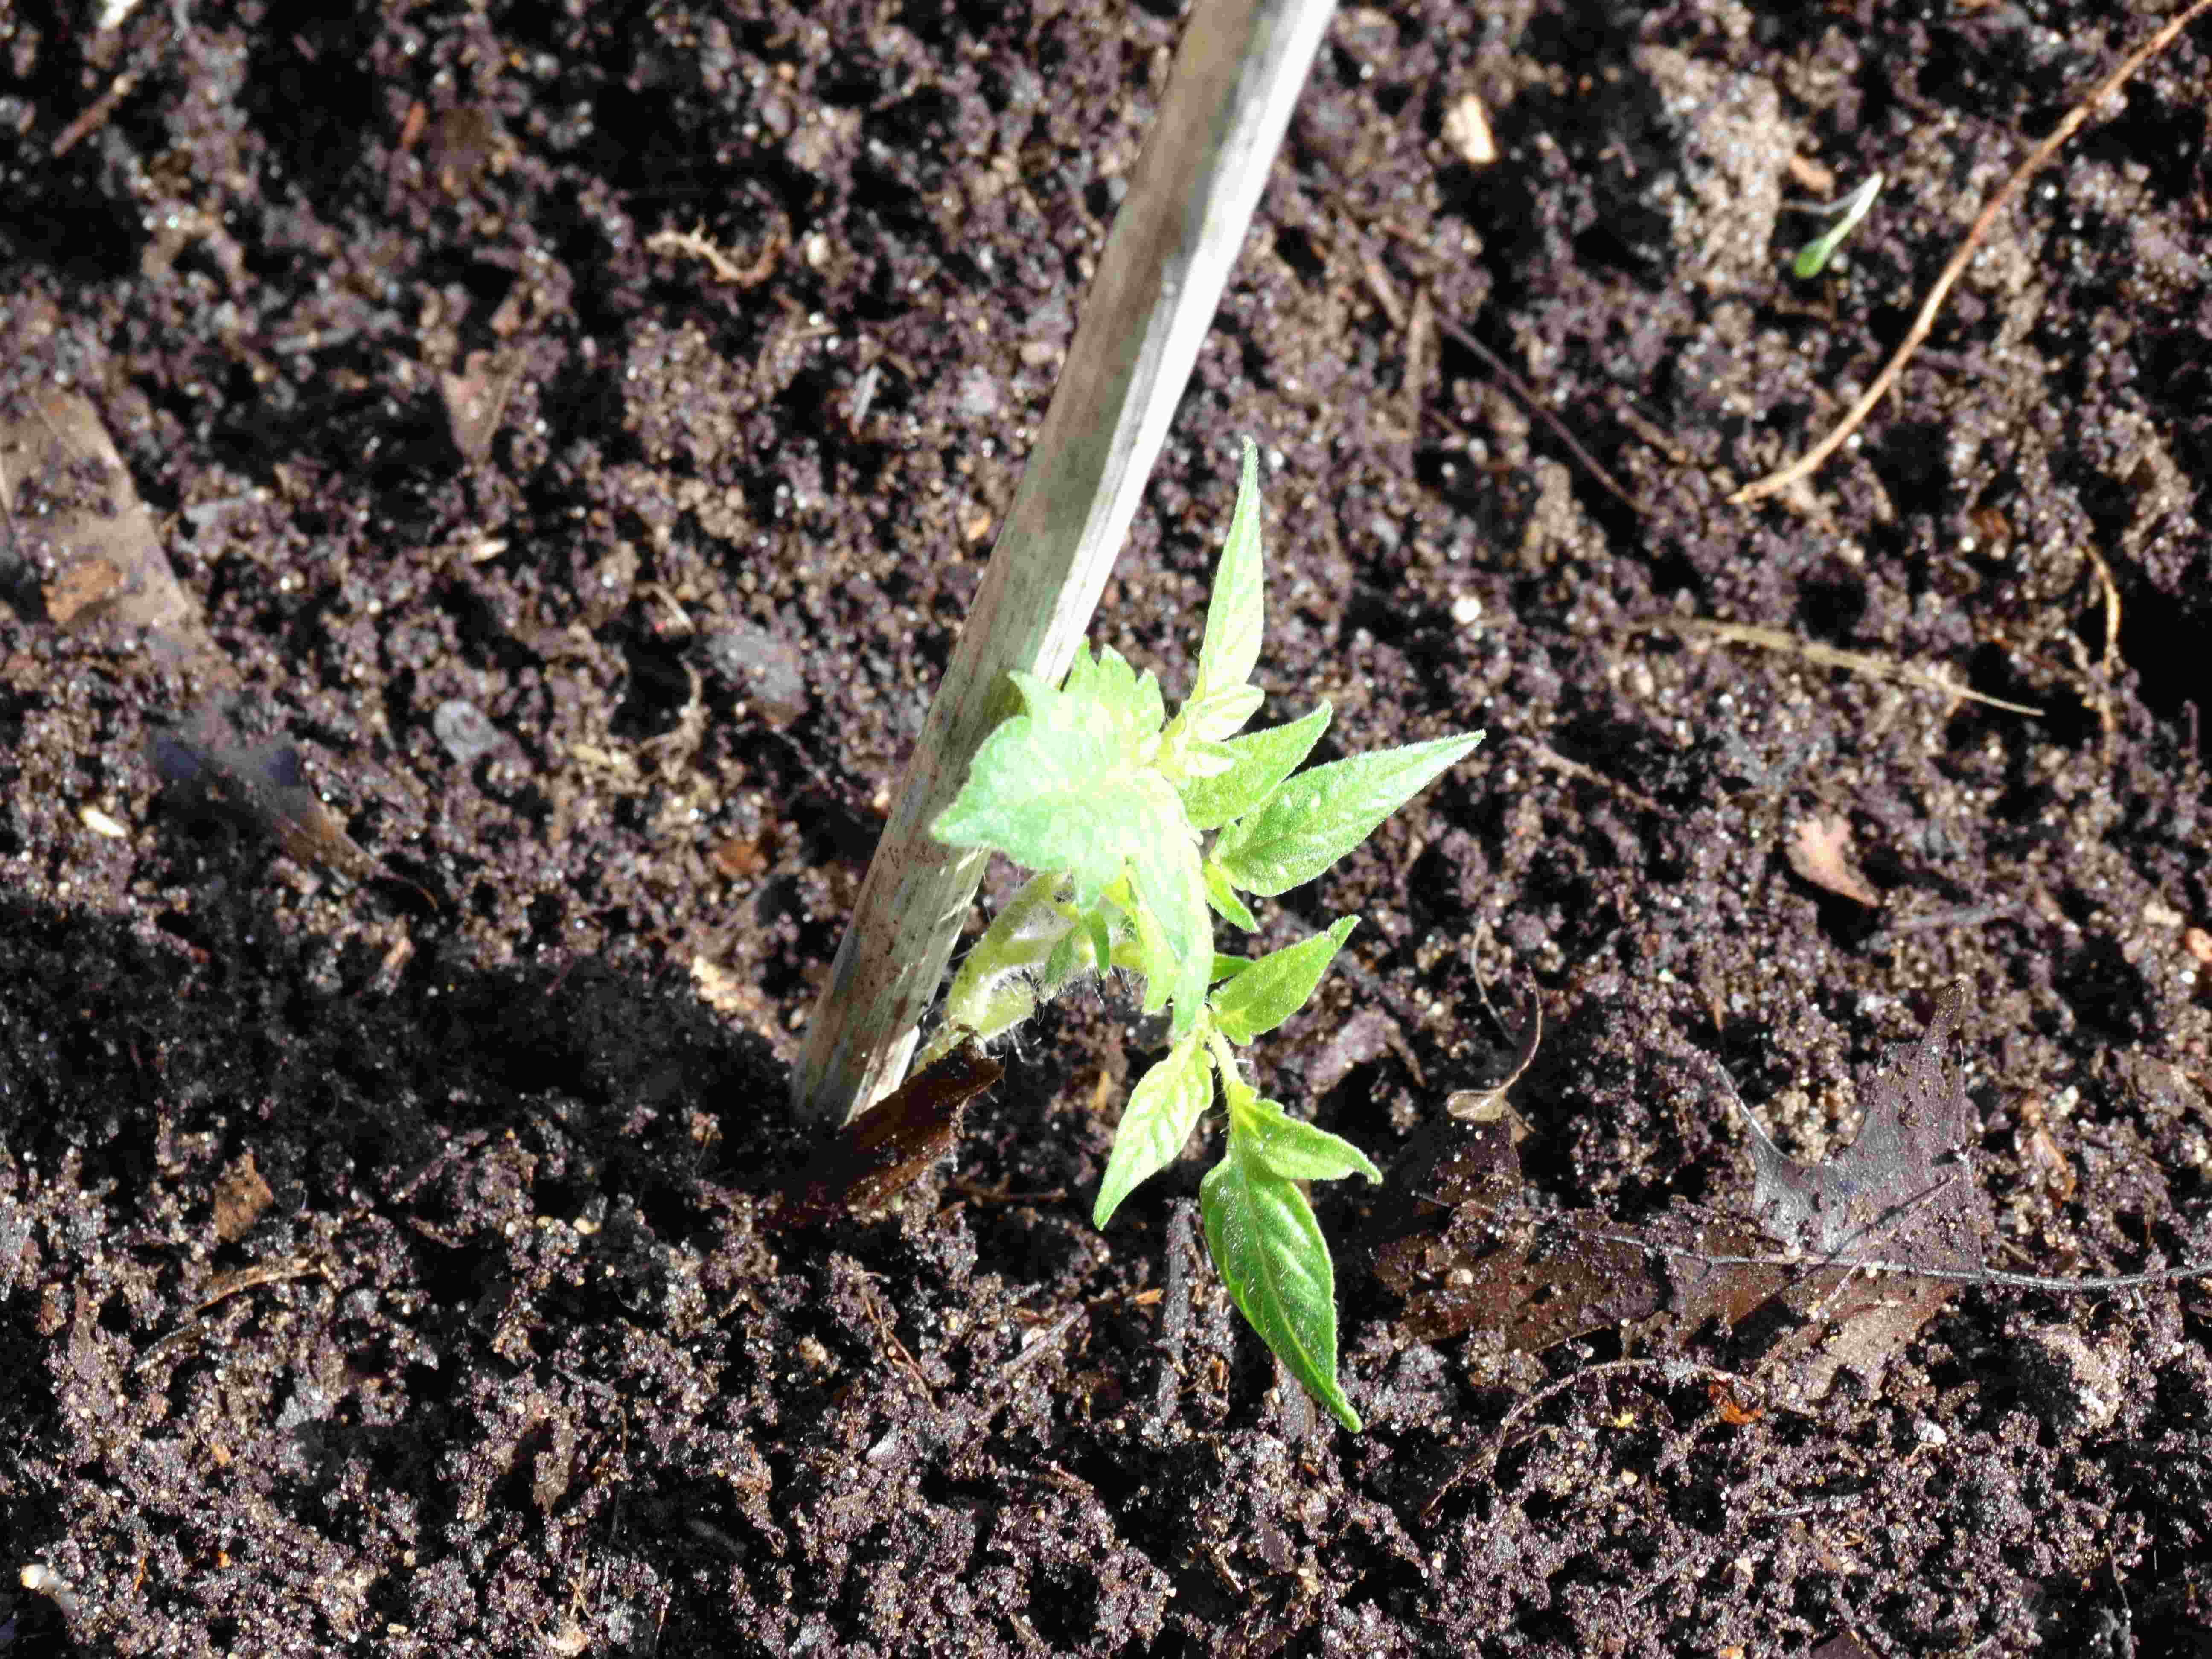
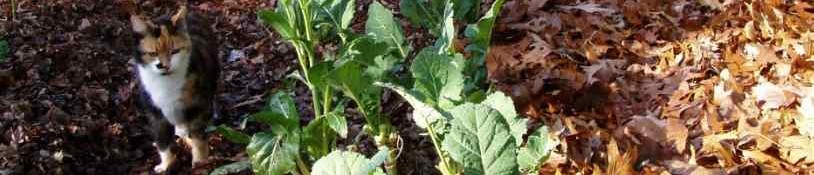
Seedlings appeared pretty quickly and from what I could tell, pretty much all of them grew into baby plants. As they started crowding up the bed, I did the usual practice of thinning them out and bringing the seedlings into the kitchen for several suppers. Once the plants had plenty of room to stretch out, my sweetie and I noticed that they were very vigorous and had much bigger leaves than we expected. Leaves were abundant but no florets were appearing; which was the whole idea in the first place. As winter neared, still no broccoli. Lots of leaves, but no florets.

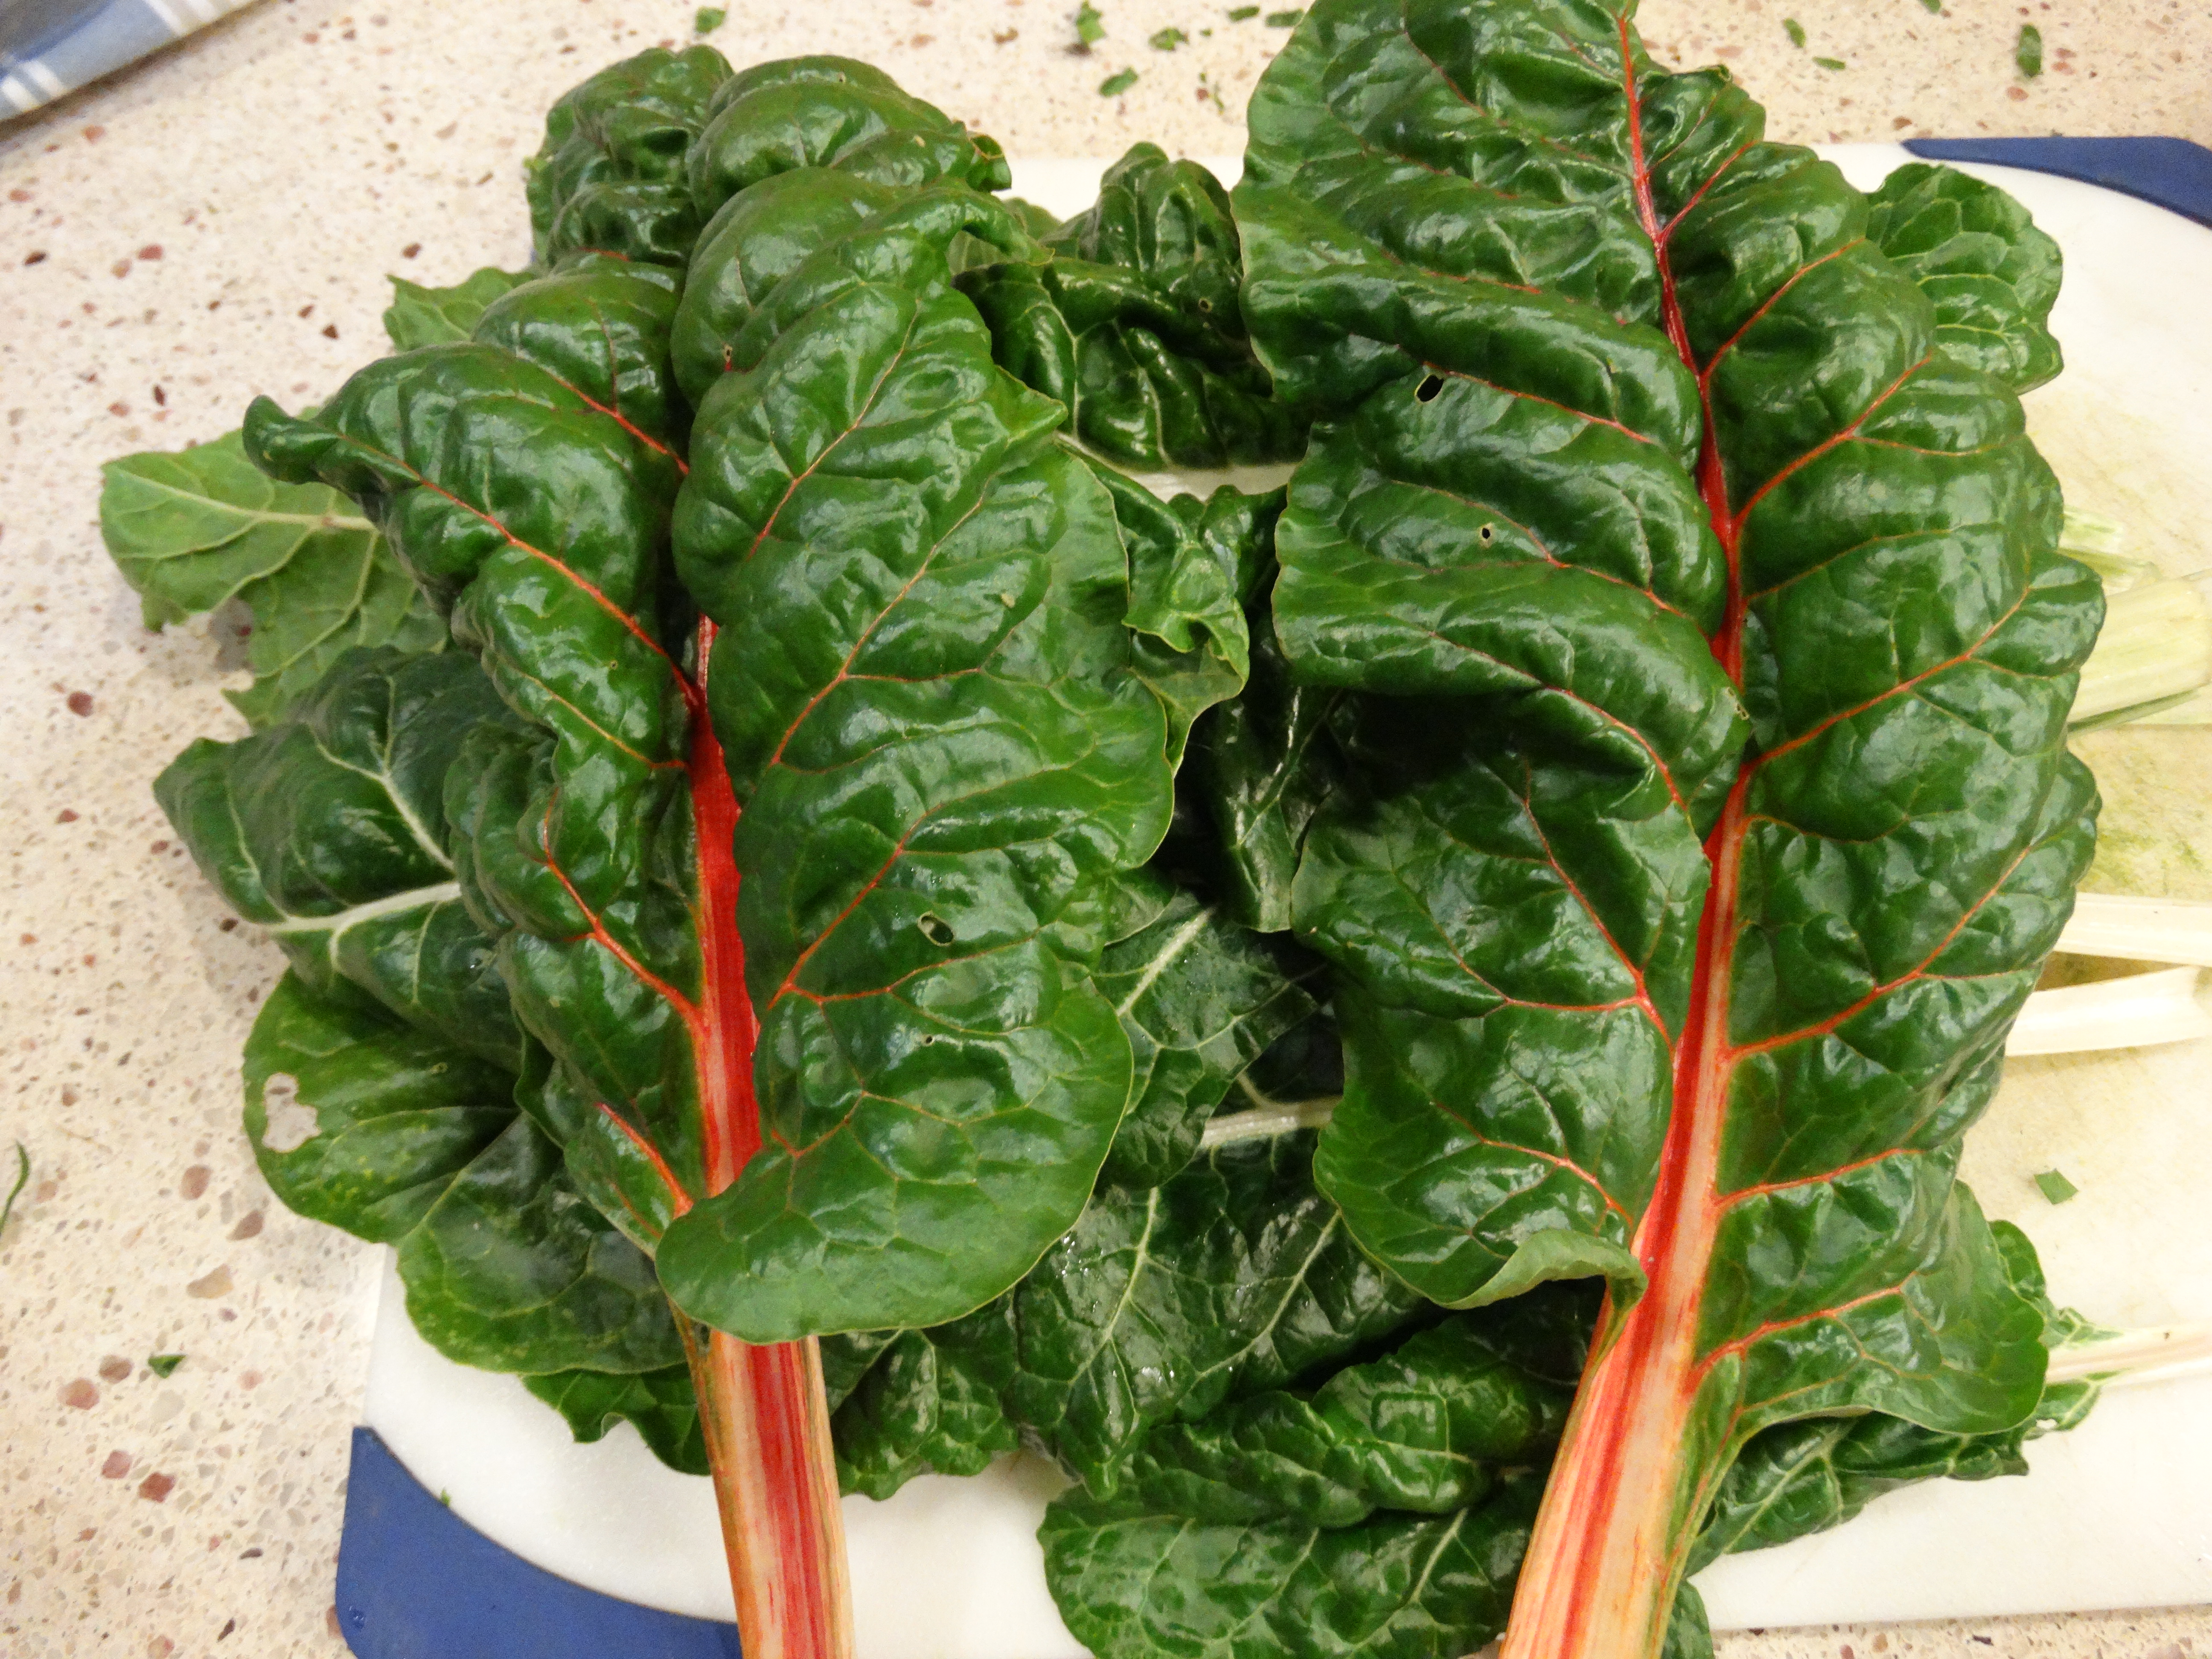
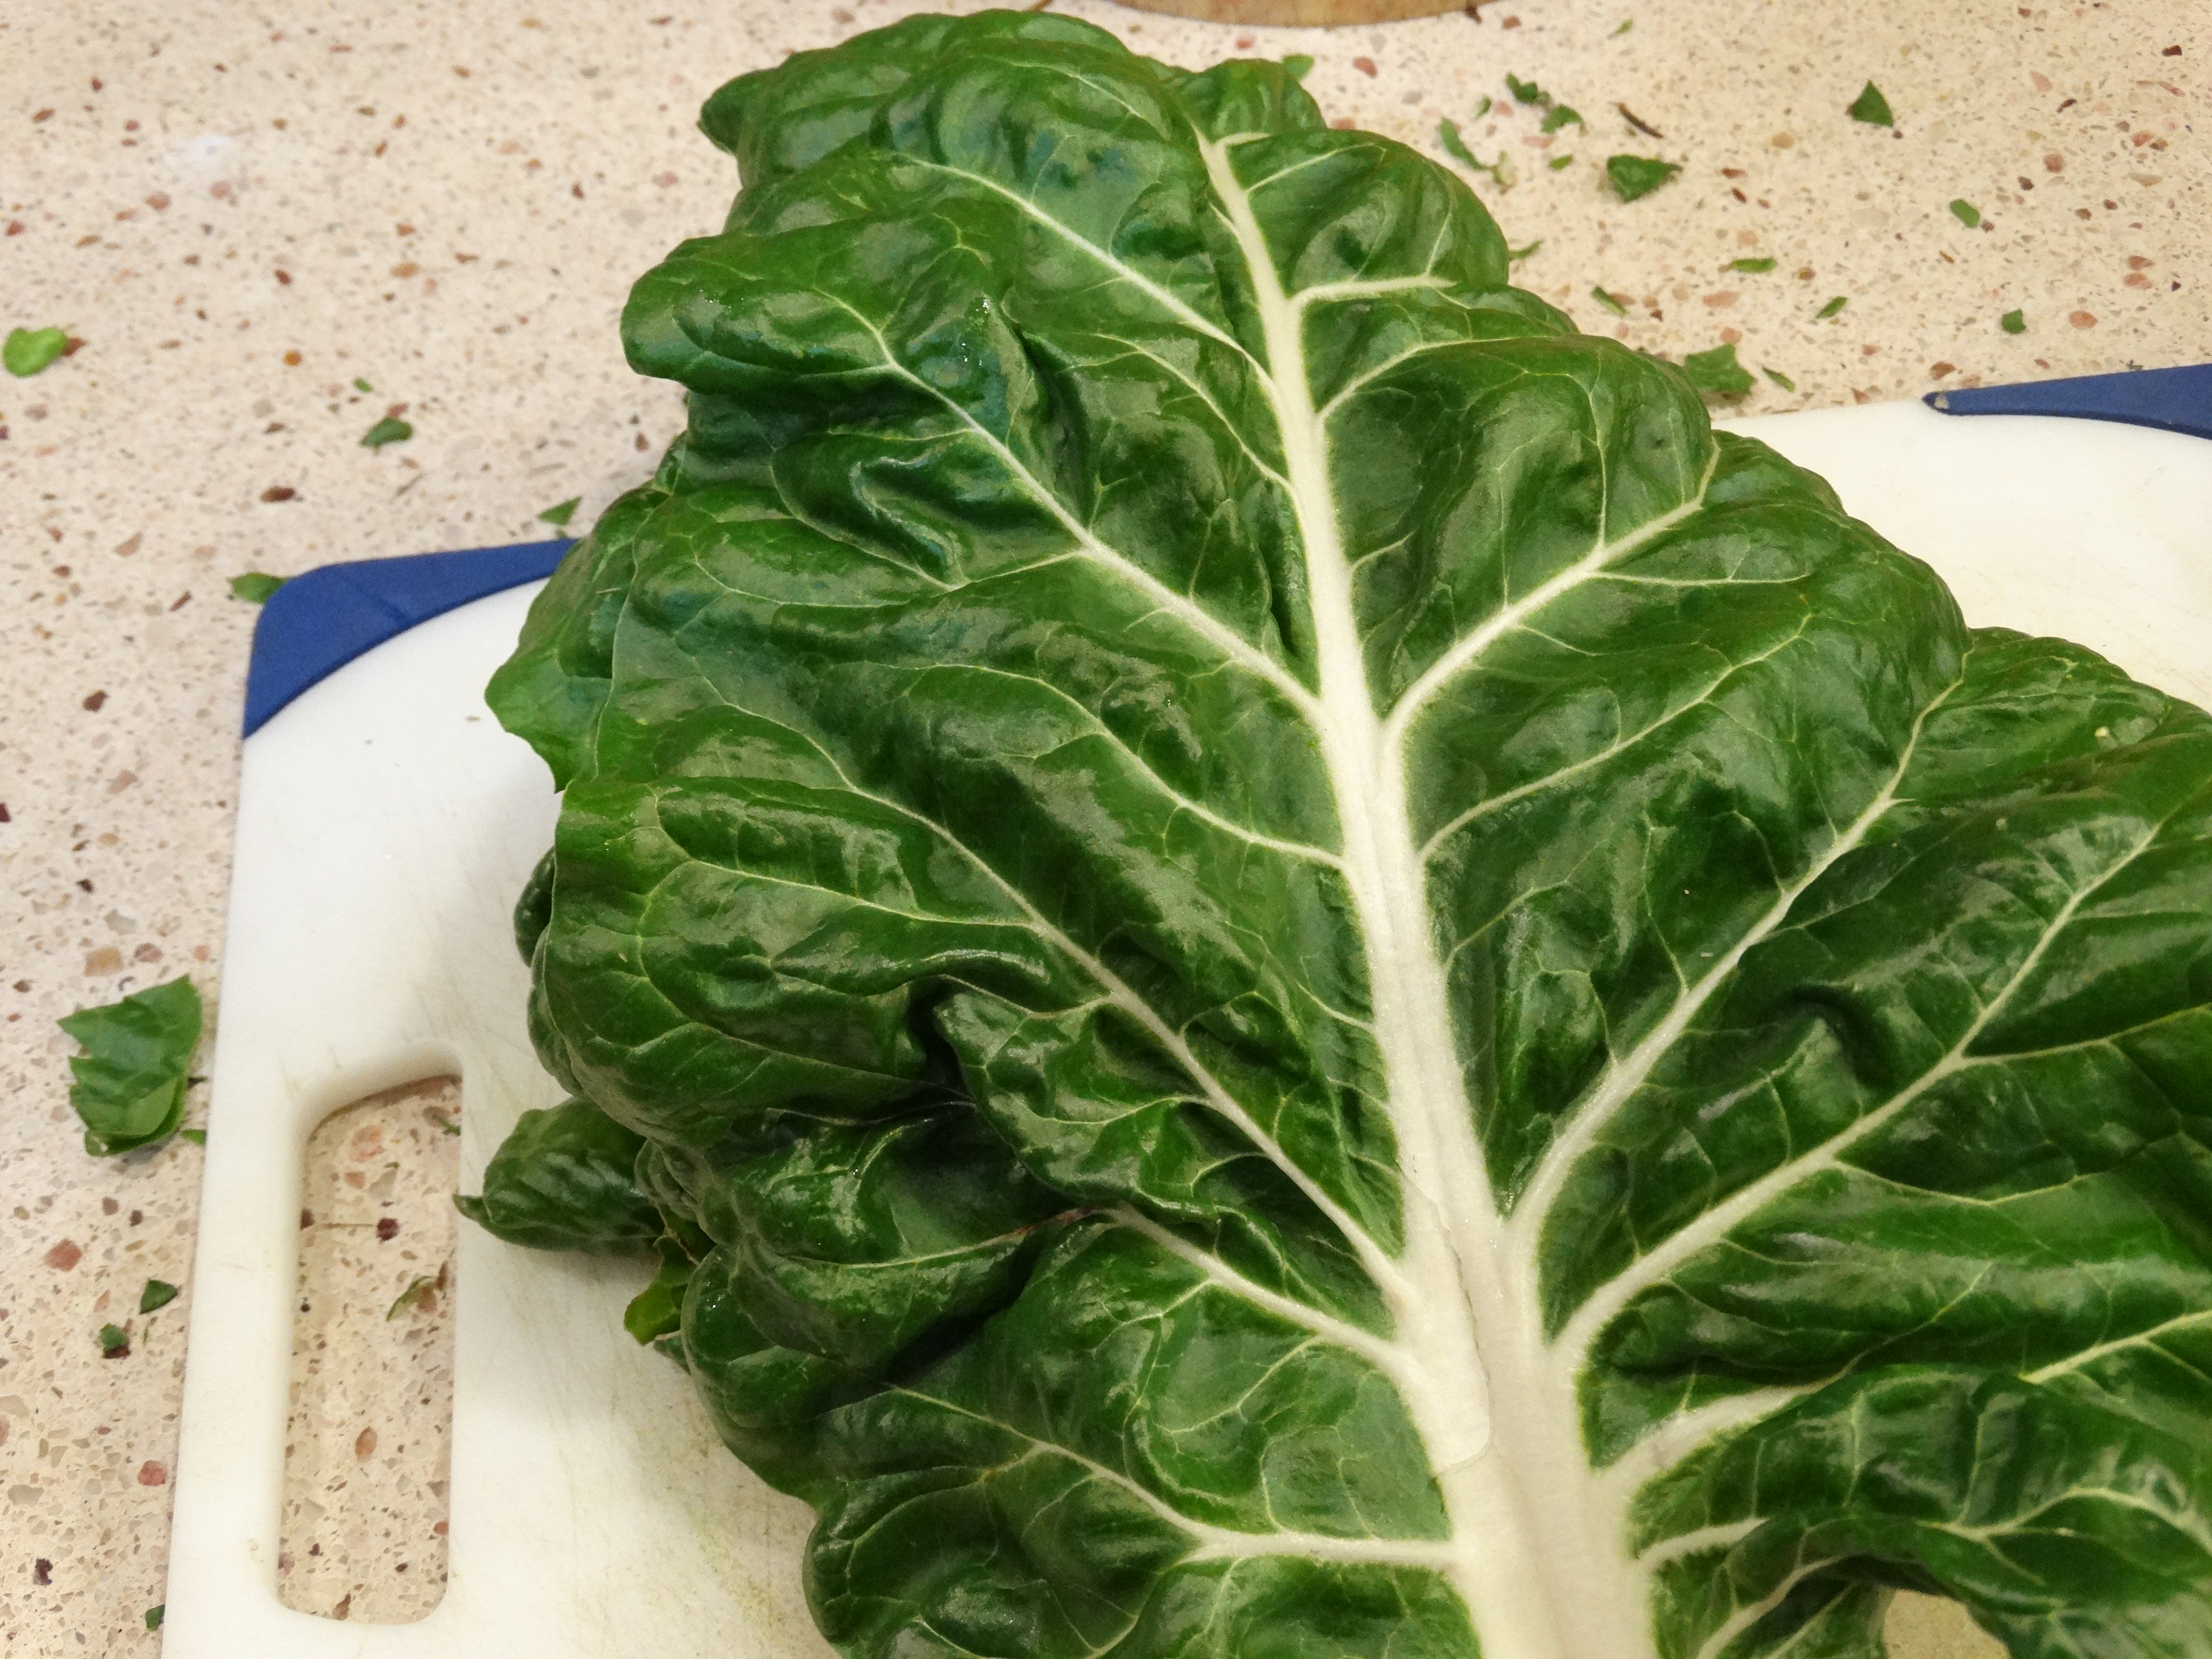
All was not by any means lost though. Since both my lovely girlfriend and I both very much enjoy collard greens, kale, and the like; we figured if the plants won’t make broccoli we’ll just harvest the leaves for dinner. Little did we know we were in for such a treat!! The leaves were fleshy and robust like collards, but much more tender. The flavor was similar to collards, but sweet enough to eat raw. And when cooked for just a little bit they were simply delicious. We found a “new” favorite vegetable! Unbeknownst to us, however, was the fact that our “new” favorite vegetable has in fact been an important food plant for several thousand years. It was obviously from the same family as broccoli, but now we just had to know: what the HECK is this amazing plant??

Took me awhile, but extensive research on the interwebs got us the answer: it’s wild cabbage; and bears the Latin name Brassica oleracea. Click here to read more about —>Brassica oleracea. It’s almost unknown here in the US, but in Europe it’s been grown as a food crop for at least 4,000 years. In fact, broccoli, cabbage, and cauliflower all trace their origins to wild cabbage.

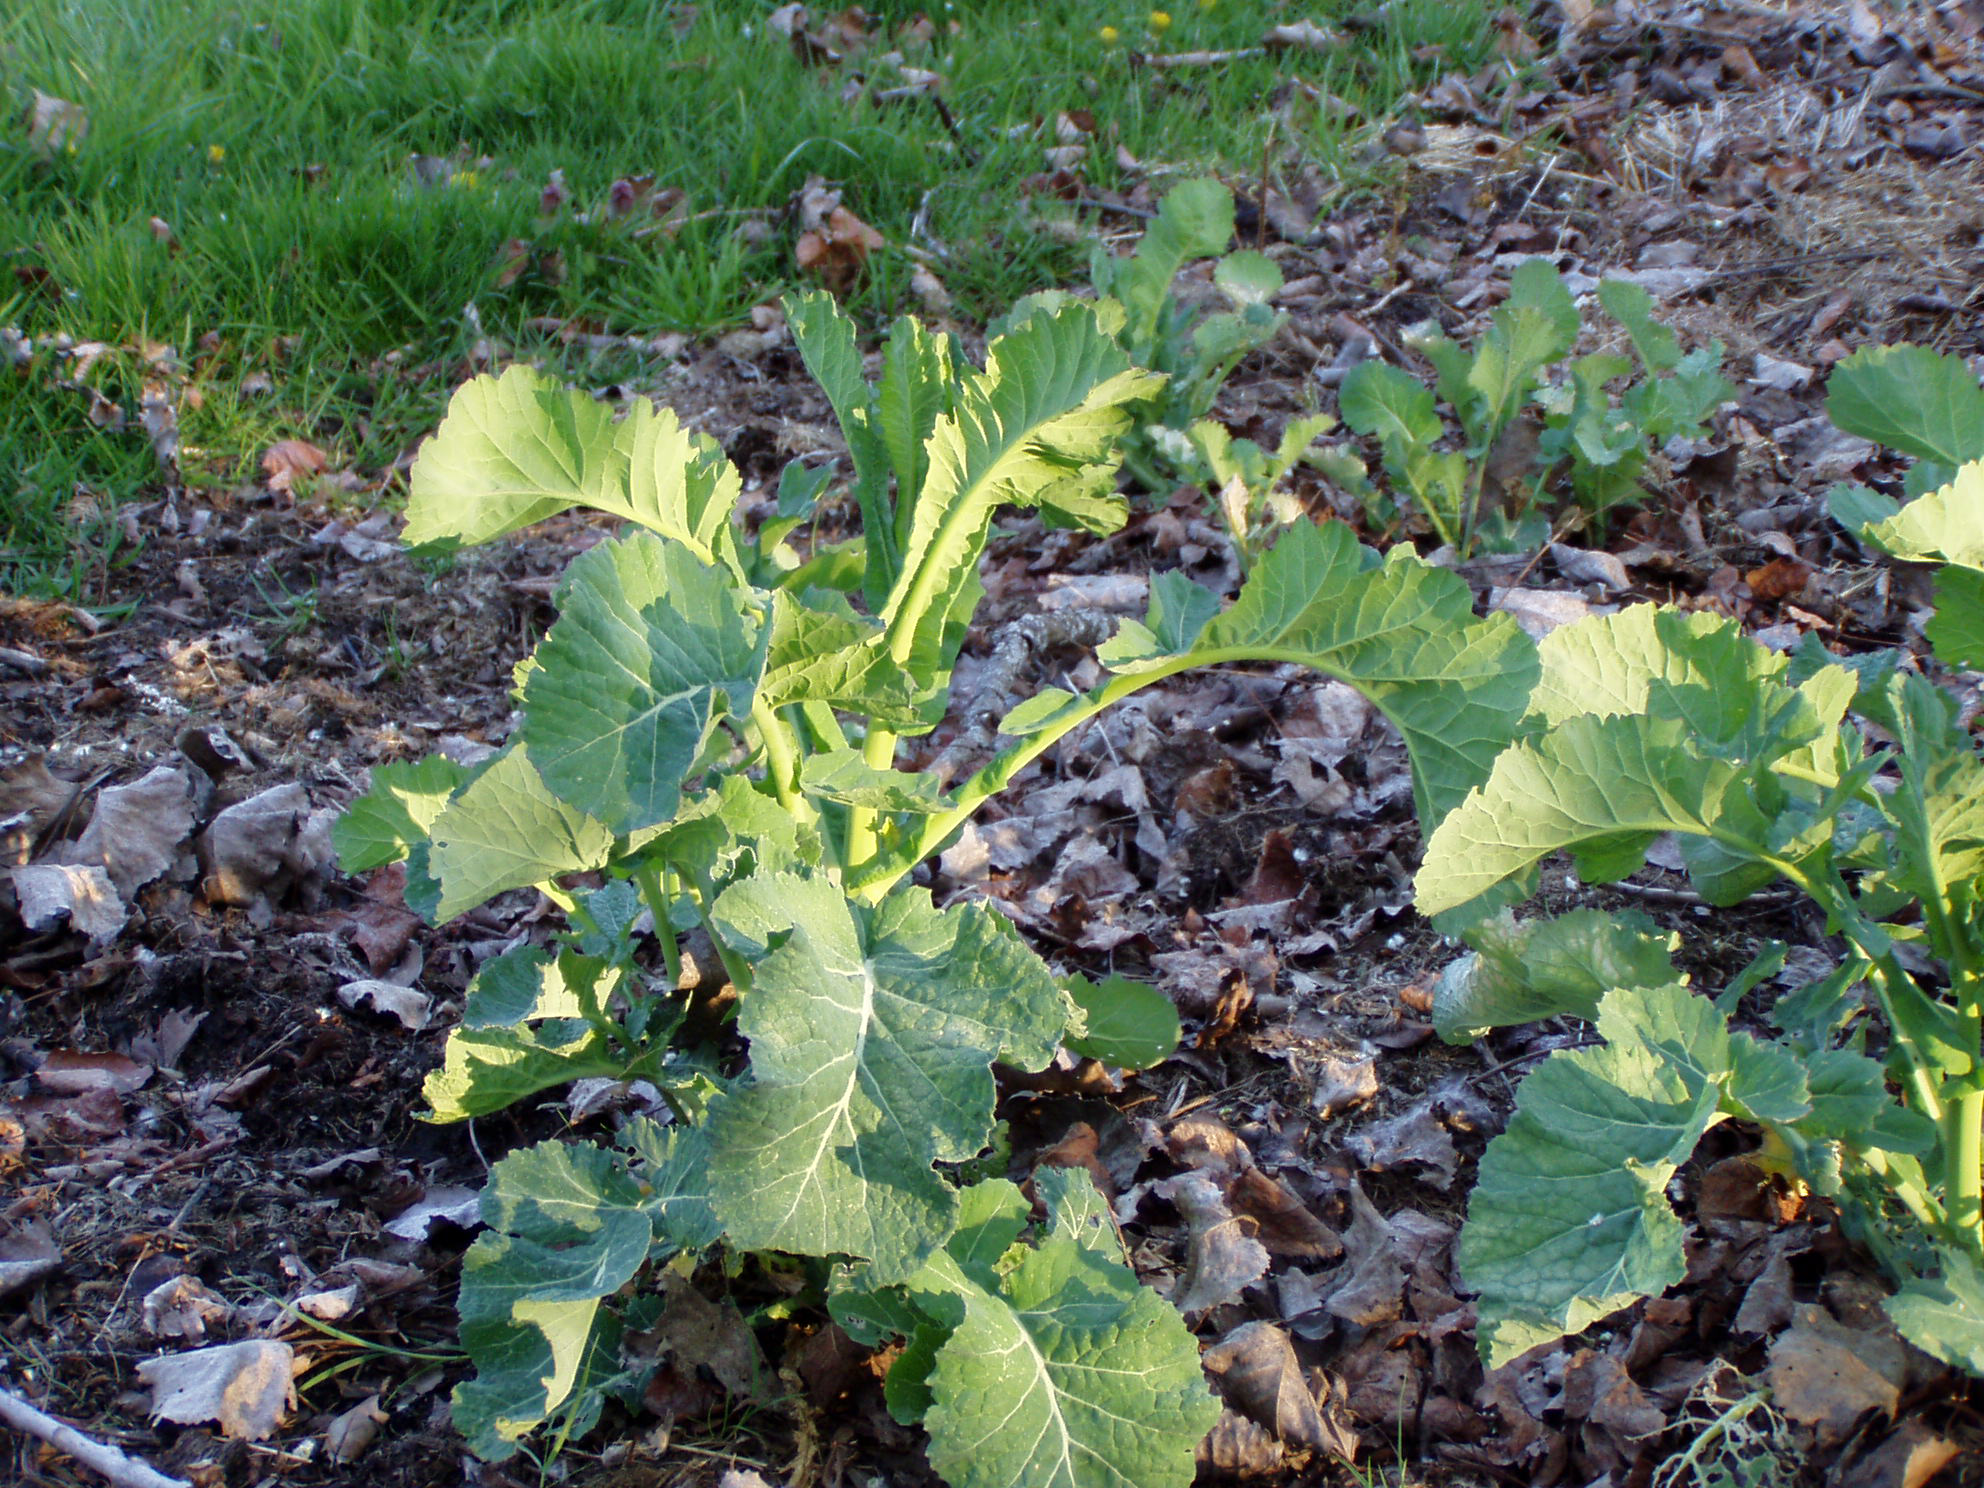
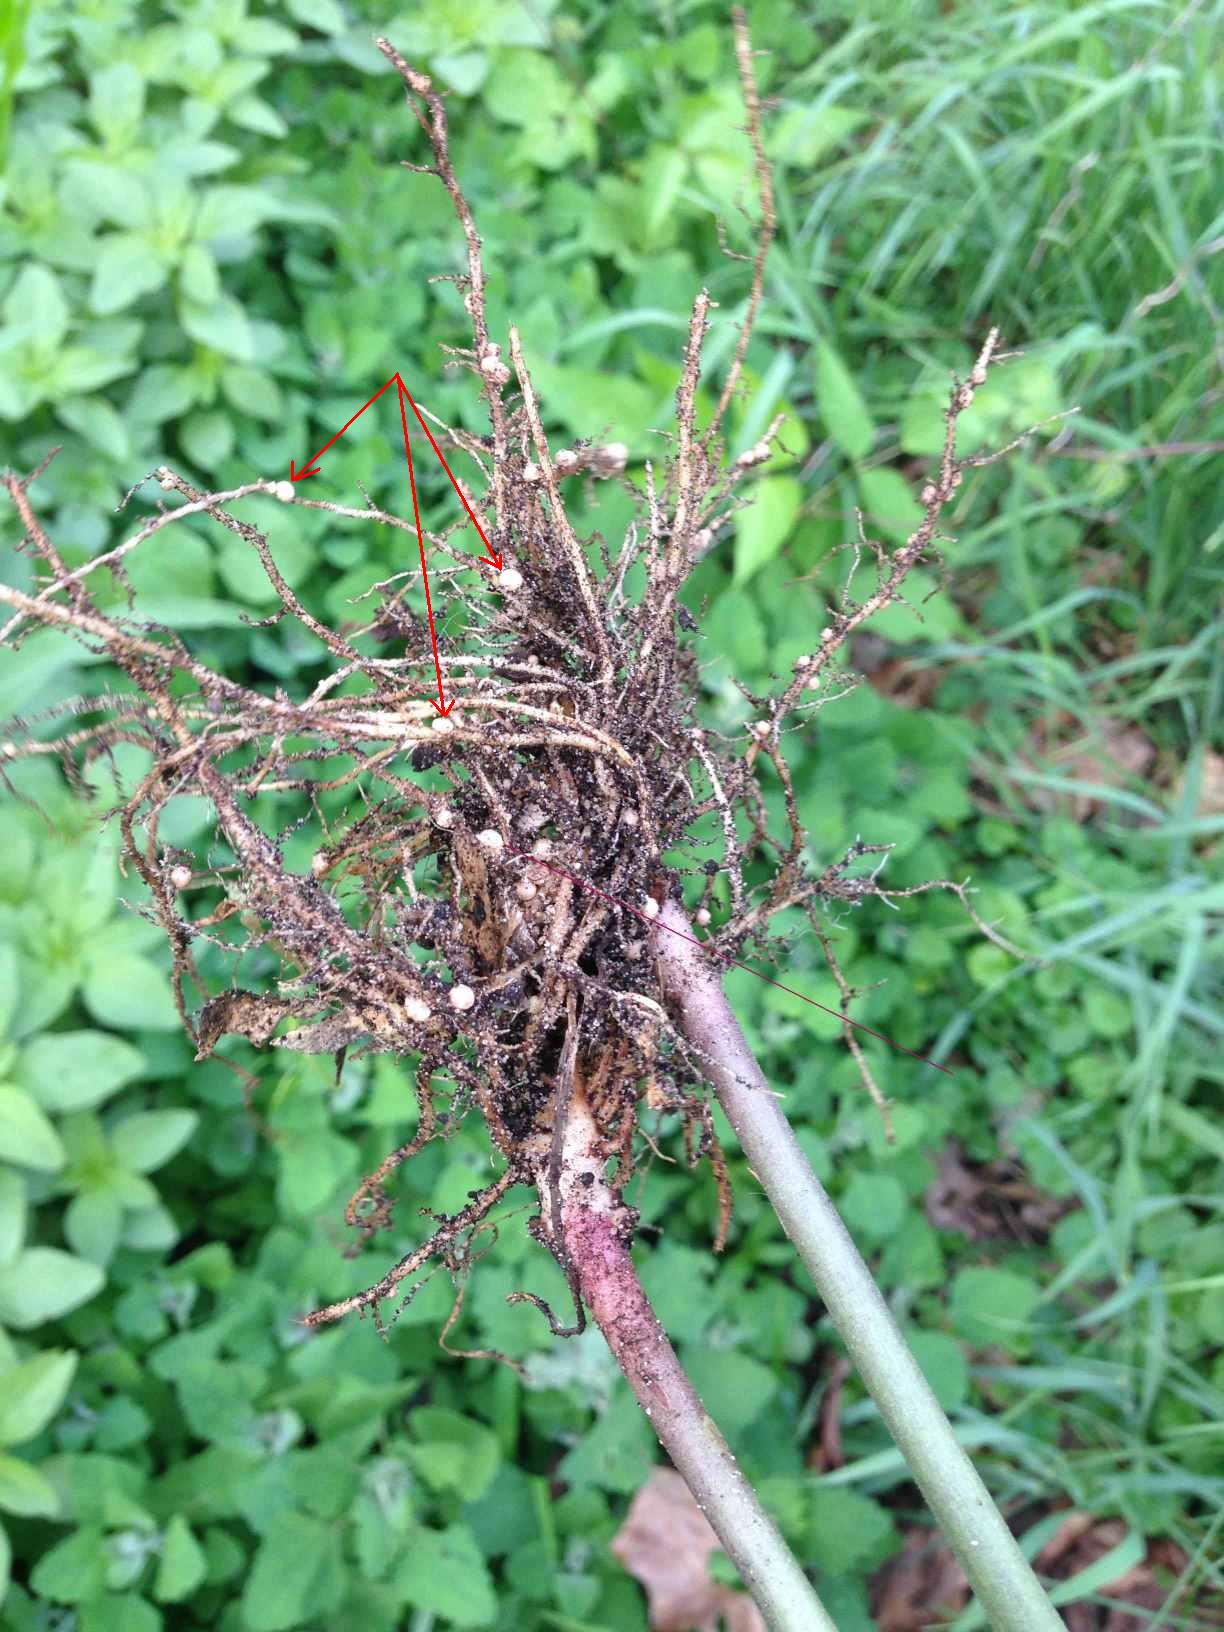
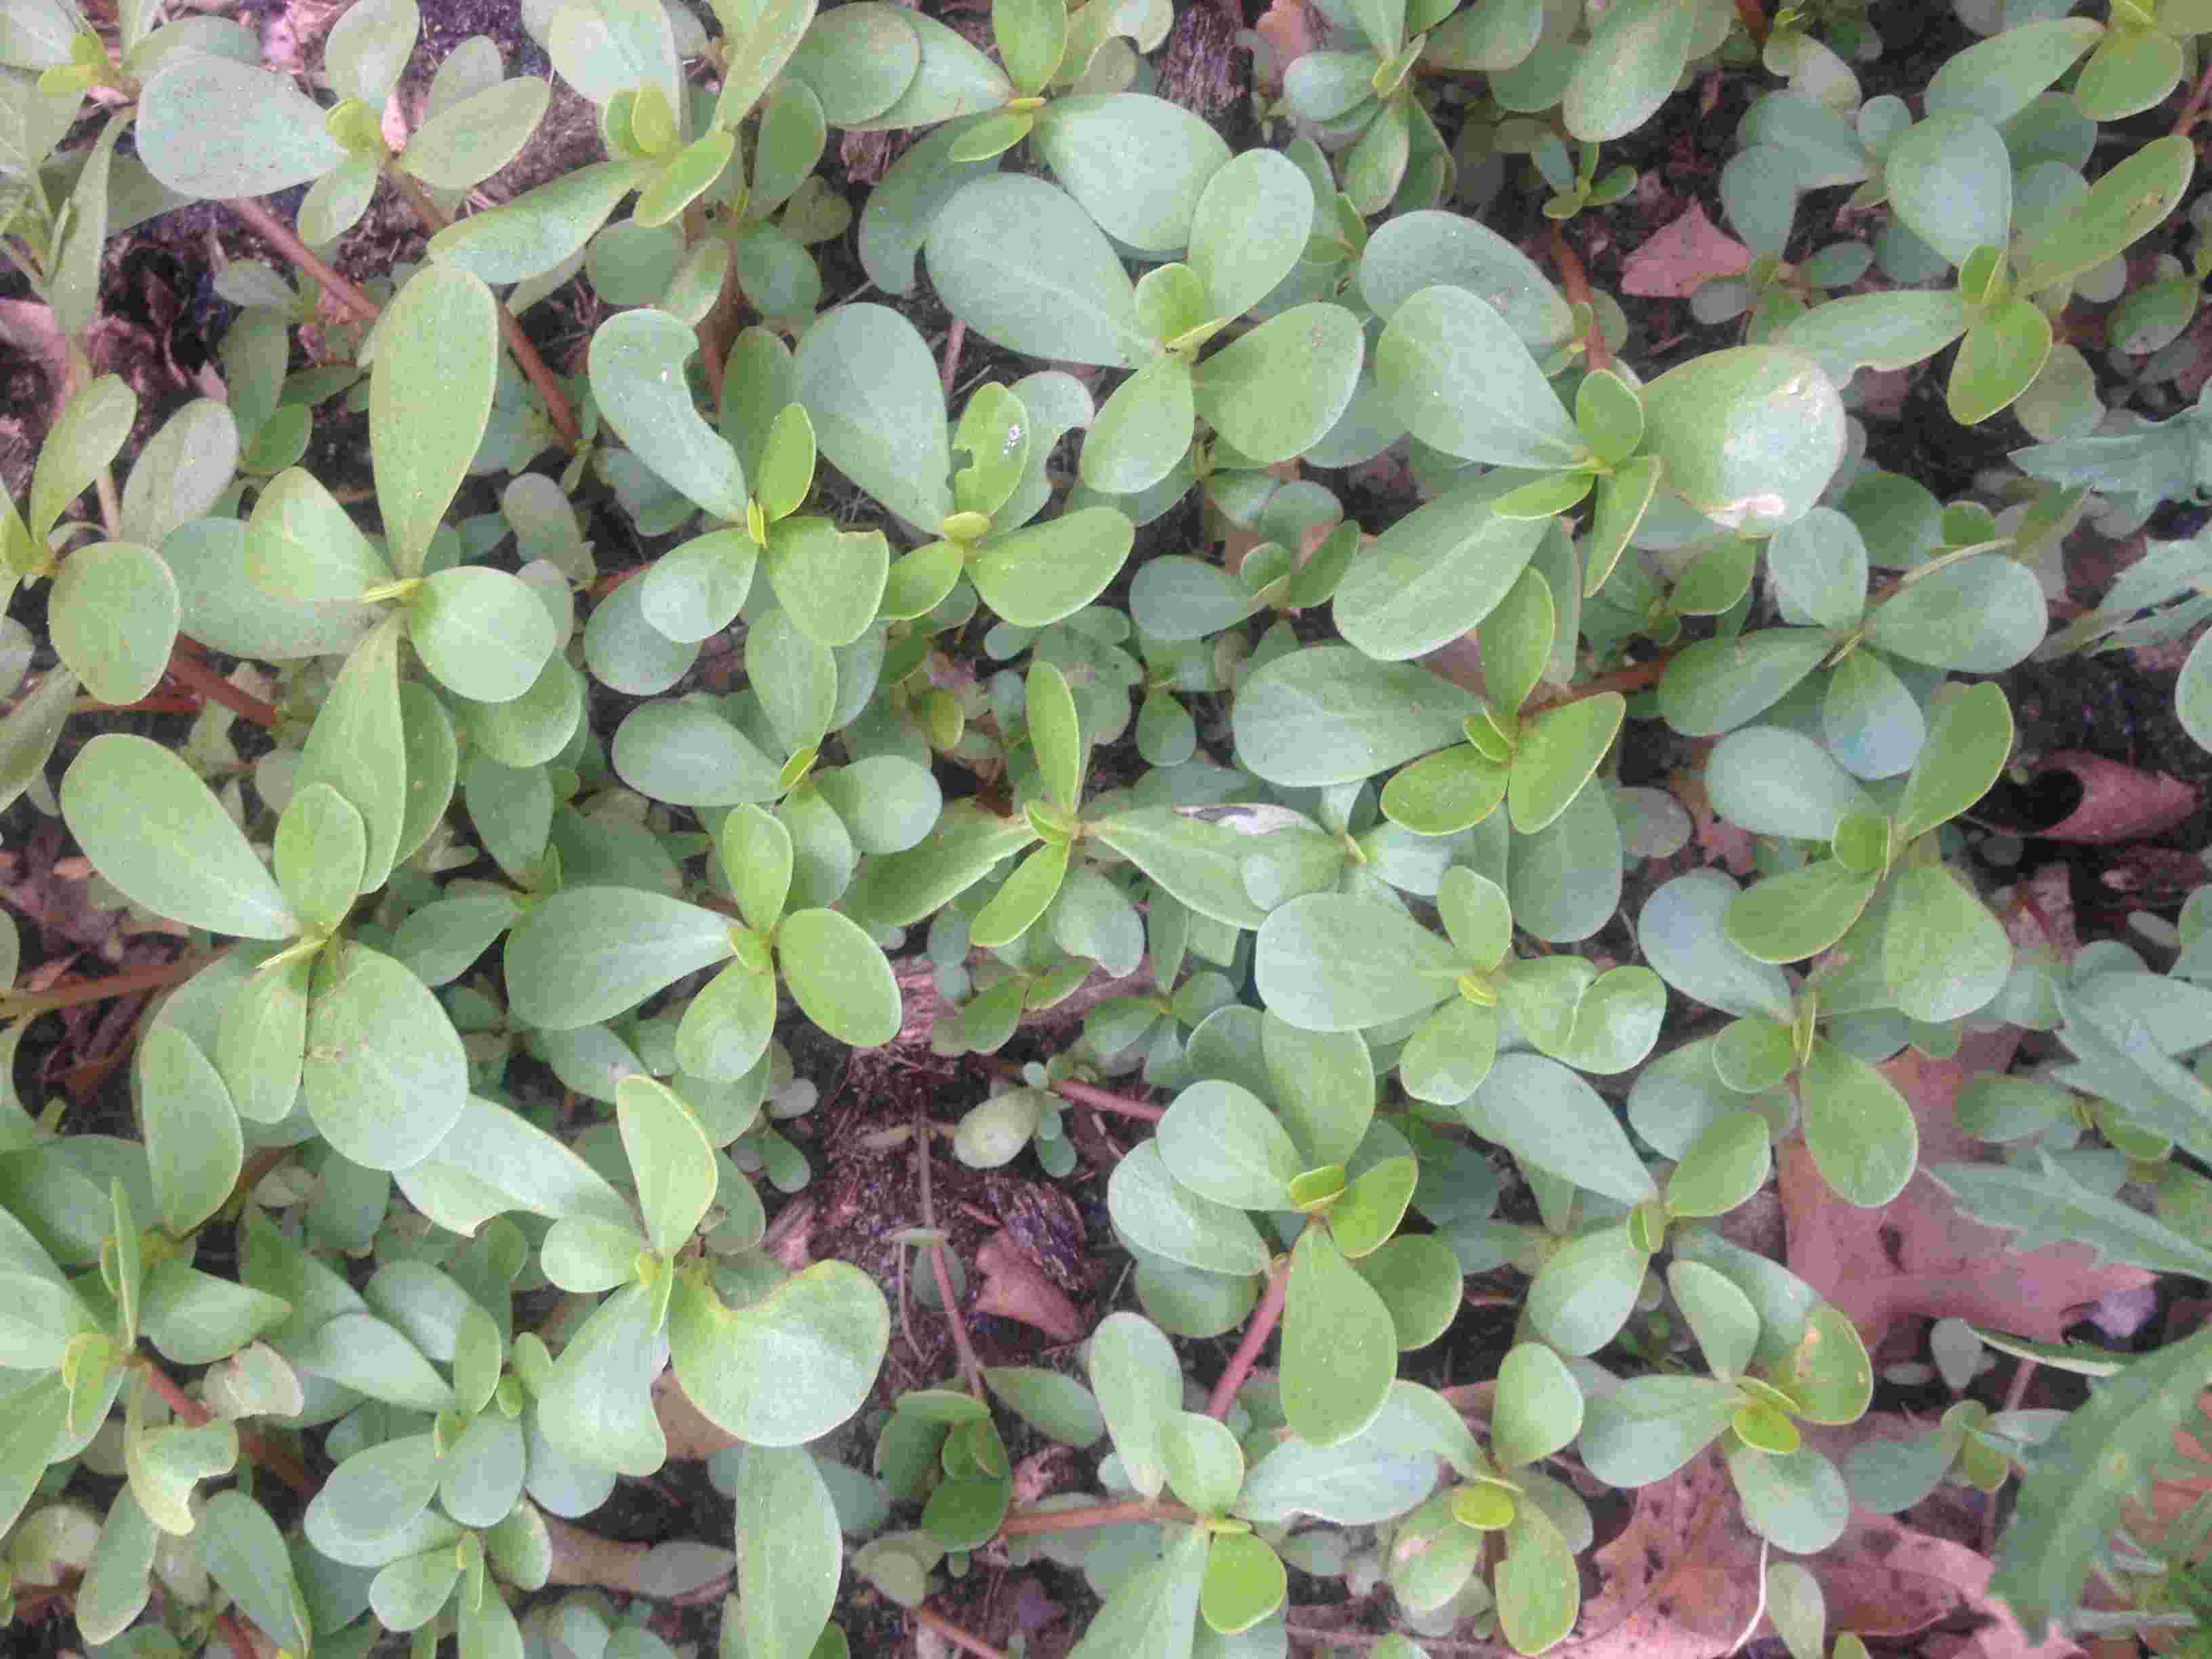
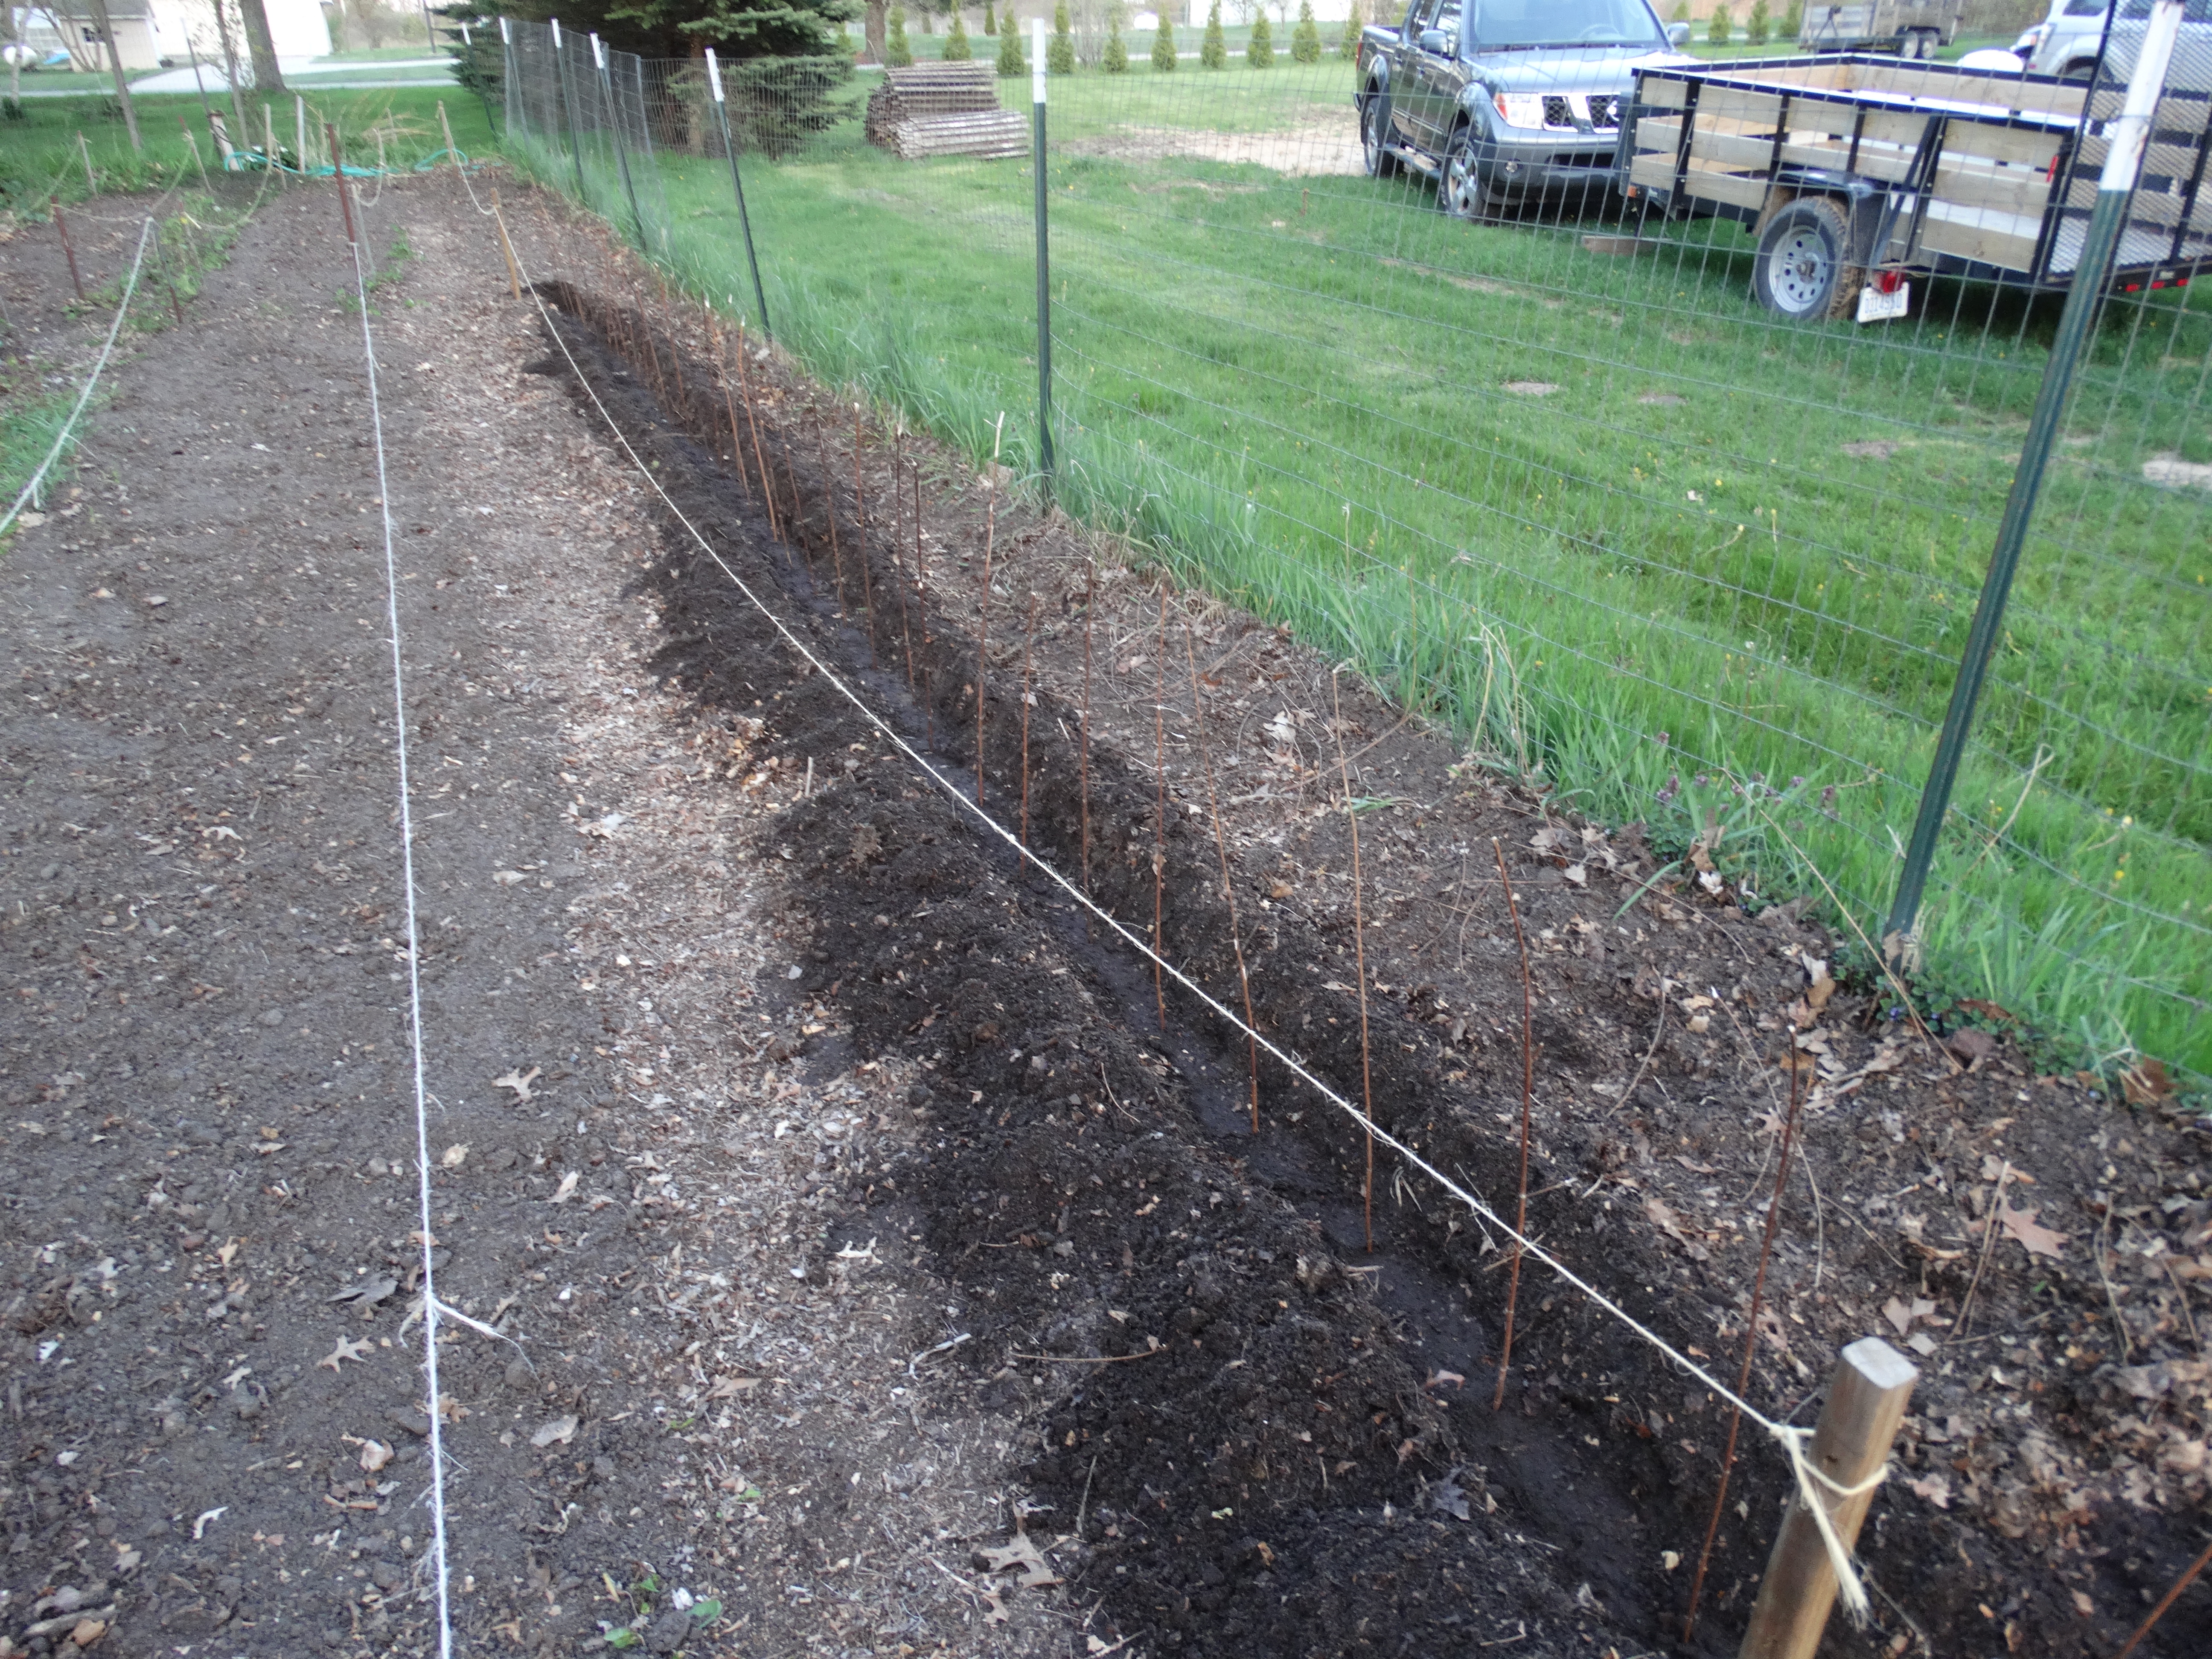
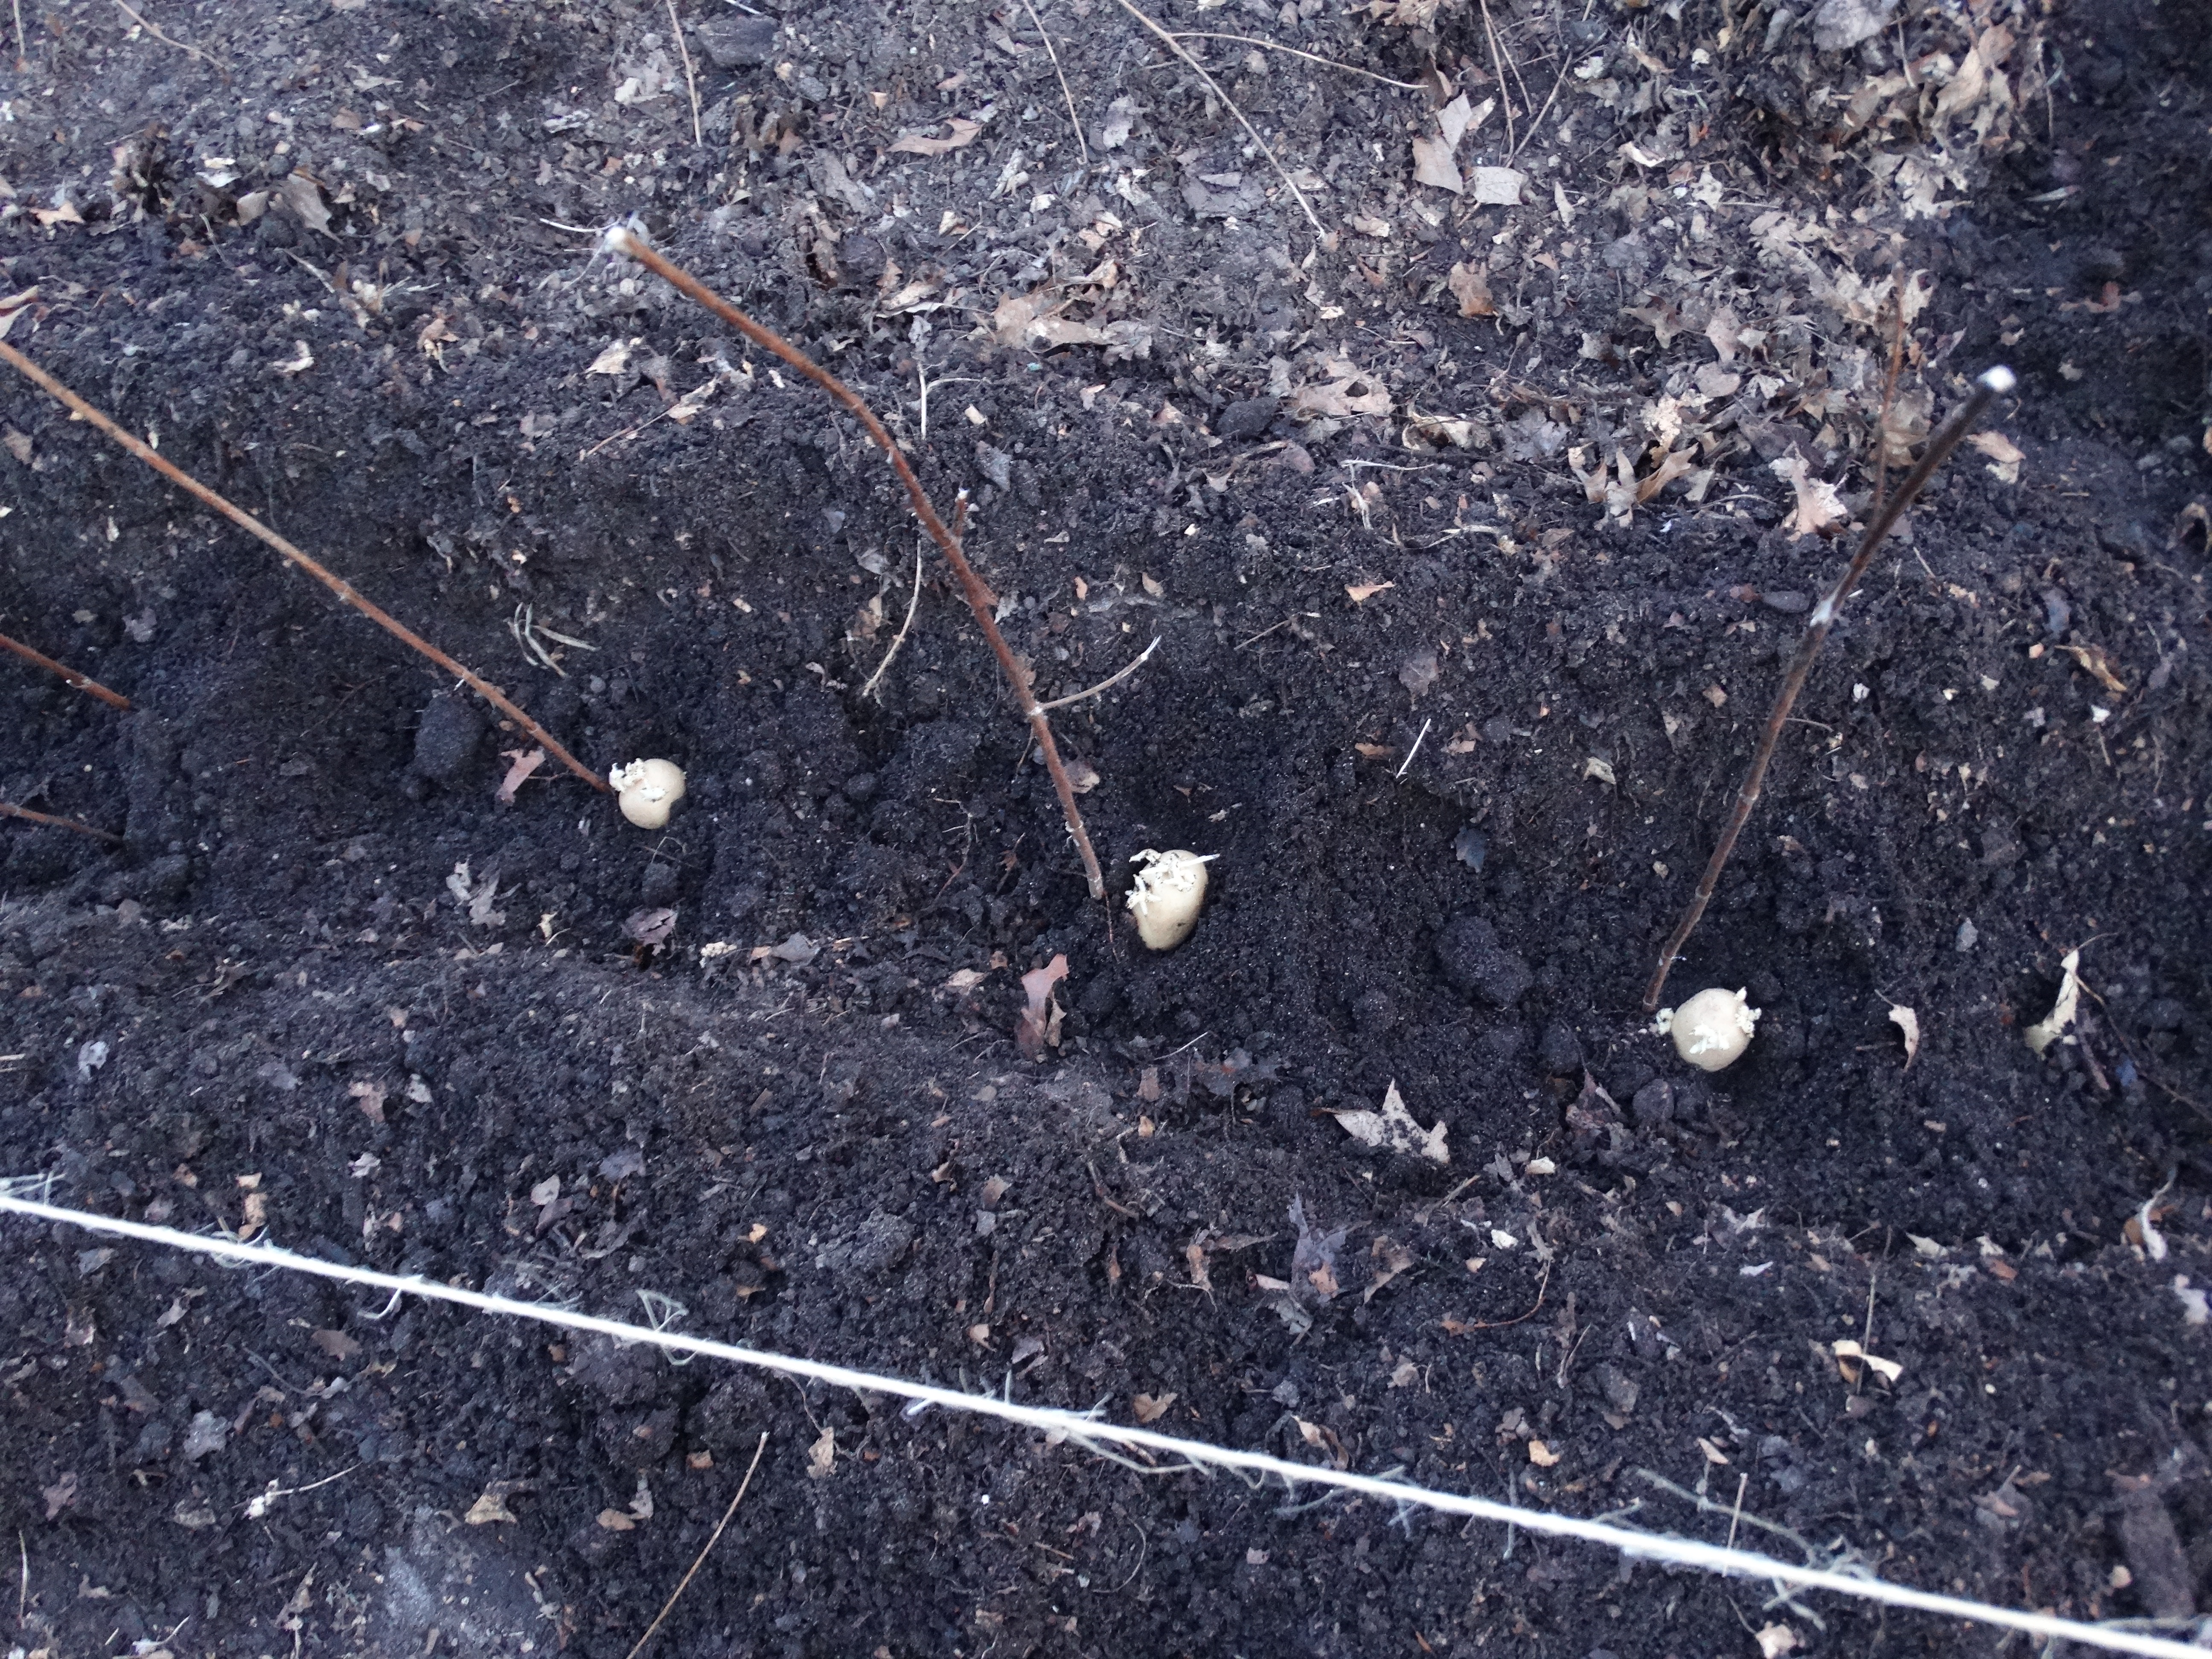
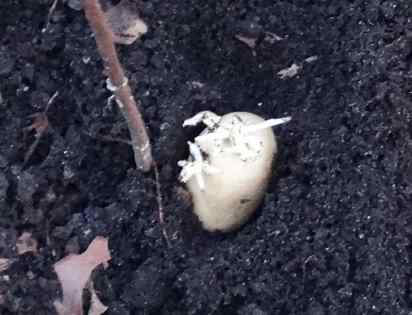
Above is a picture of some plants that survived the winter. Plants in the cabbage family are very tough, and survive our Michigan winters pretty much unscathed. If covered in snow, they can even withstand subzero temperatures with no problem. I can’t find any more seed for purchase anywhere except a website in Germany. So, being the seed saver I am, I’m gathering my own to do my part to preserve this wild cabbage. I even have enough to share some with friends and family! As it happens, I’ve found the same plant listed on the Seed Savers Exchange and it’s called German Smooth Kale.

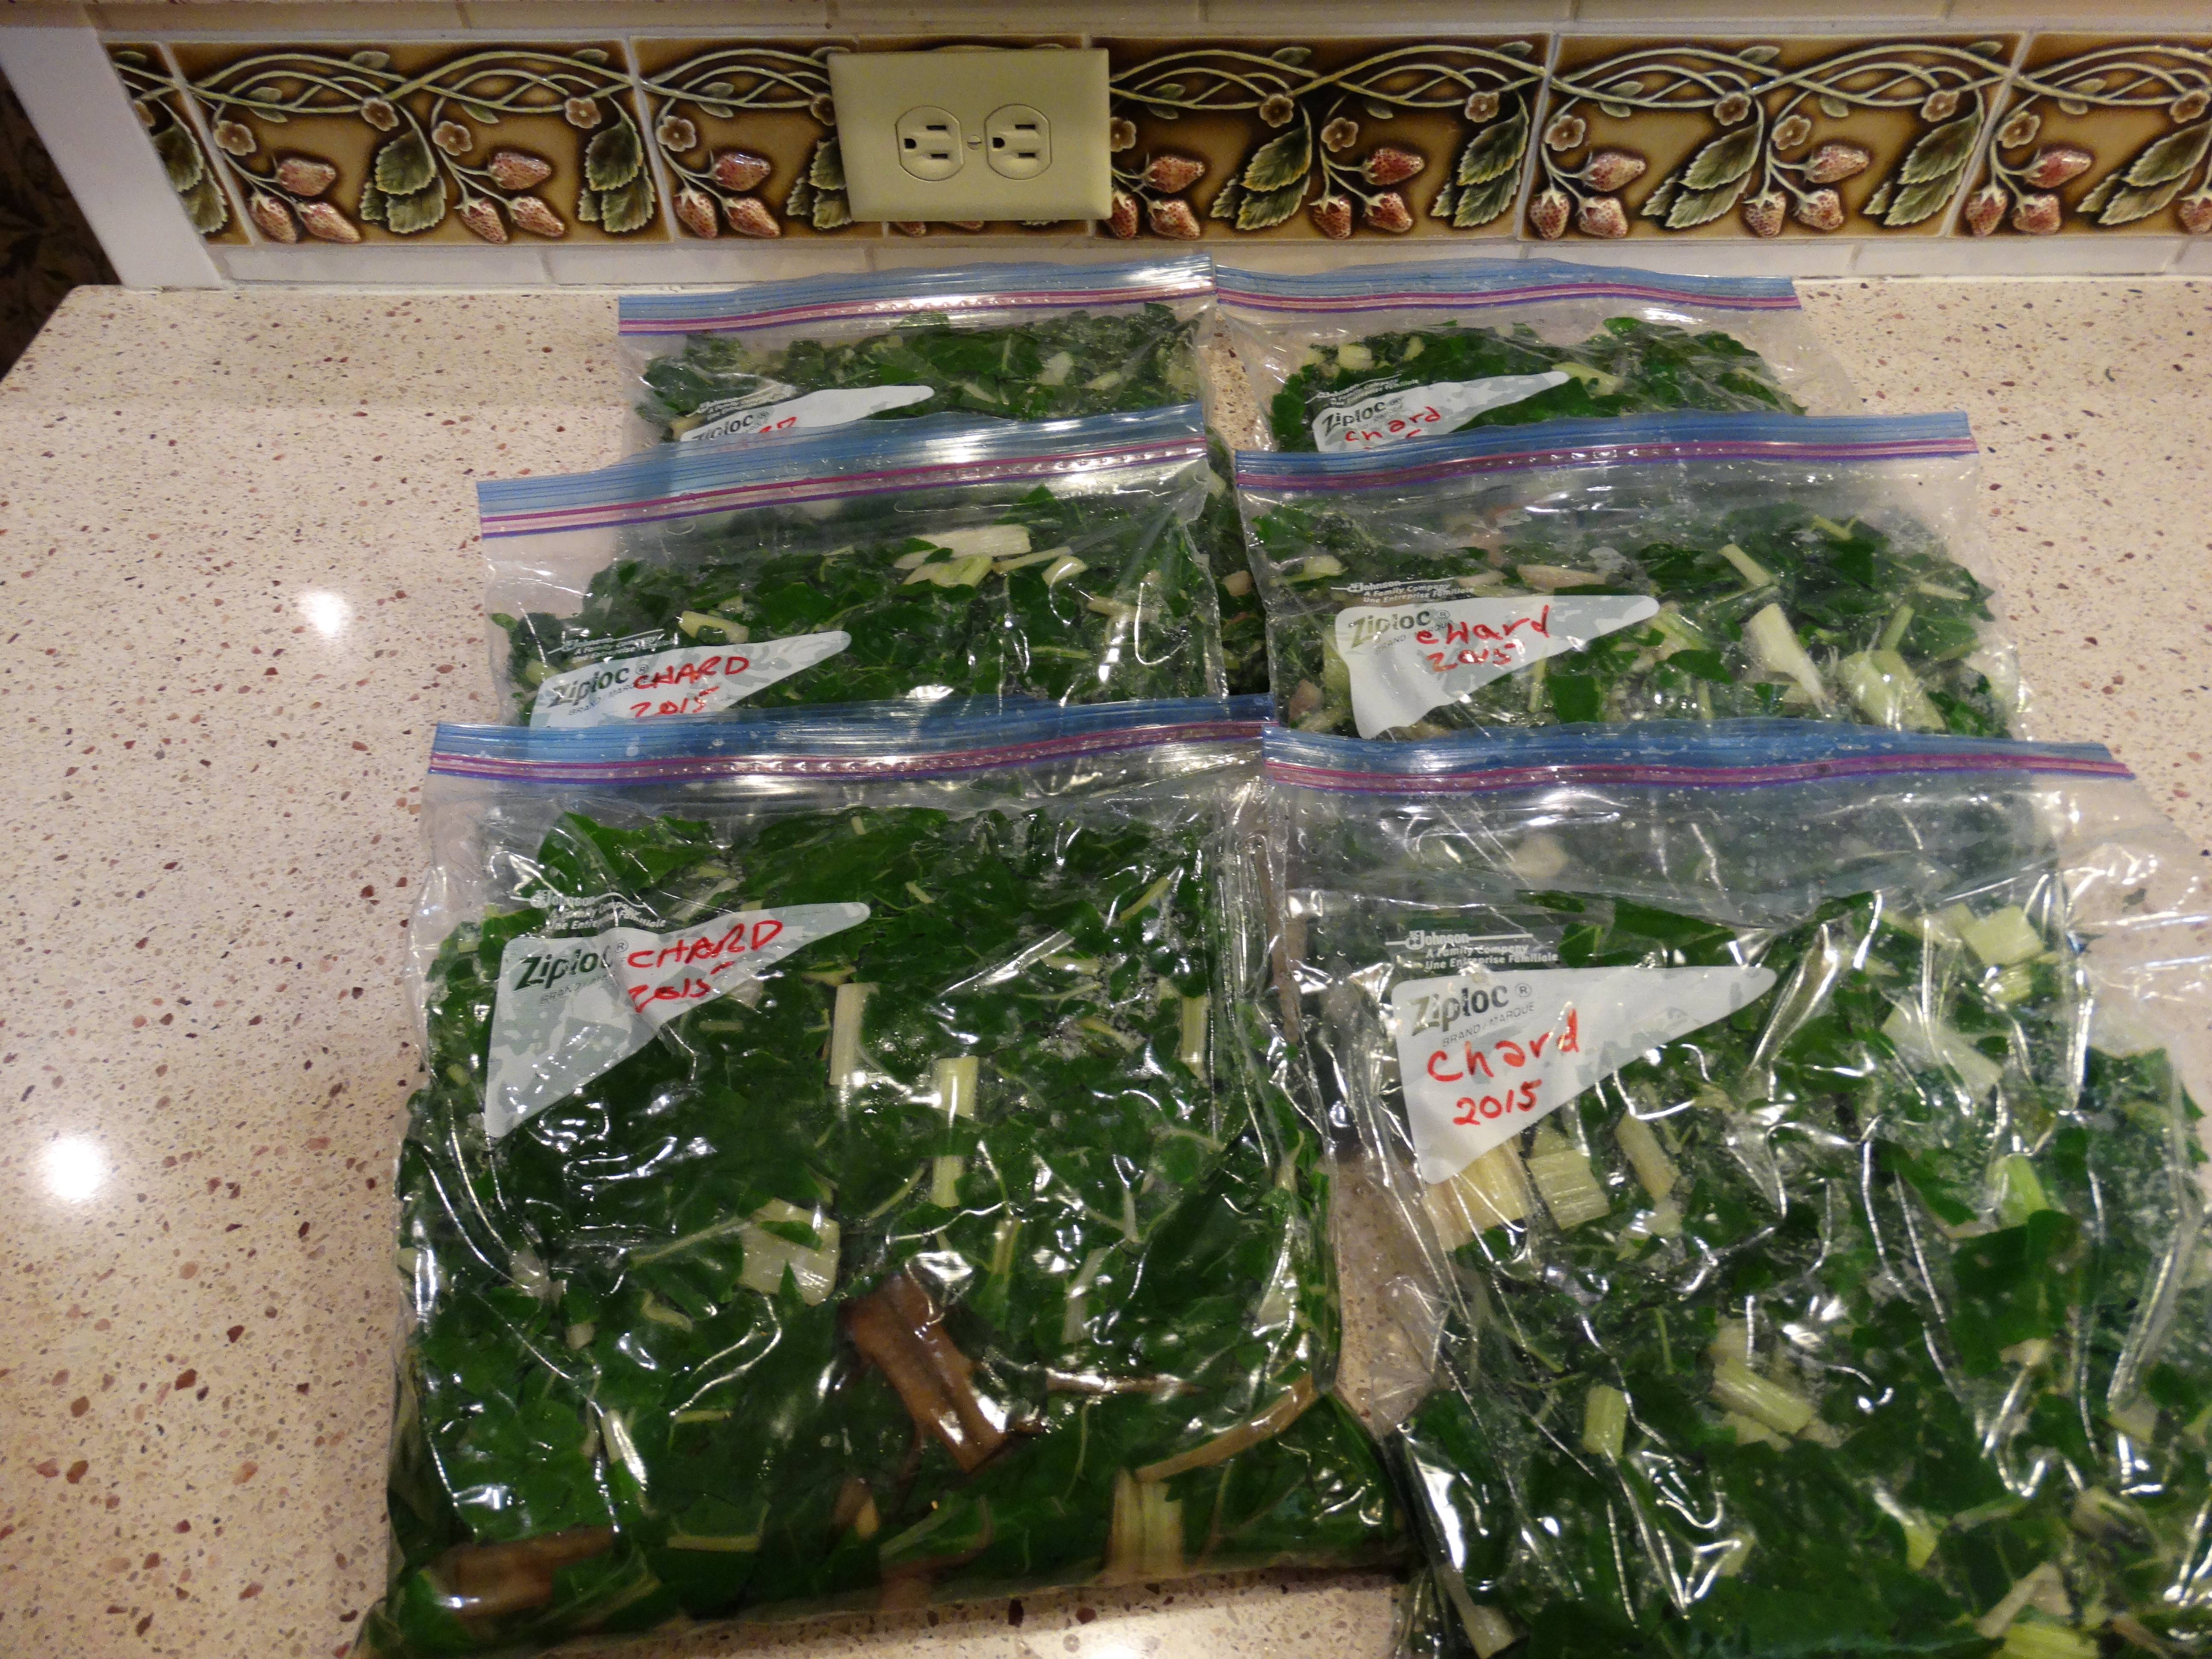
I’ve been saving seeds every year since. And because they make so many seed pods, I don’t feel bad about harvesting young flower clusters for some springtime meals.

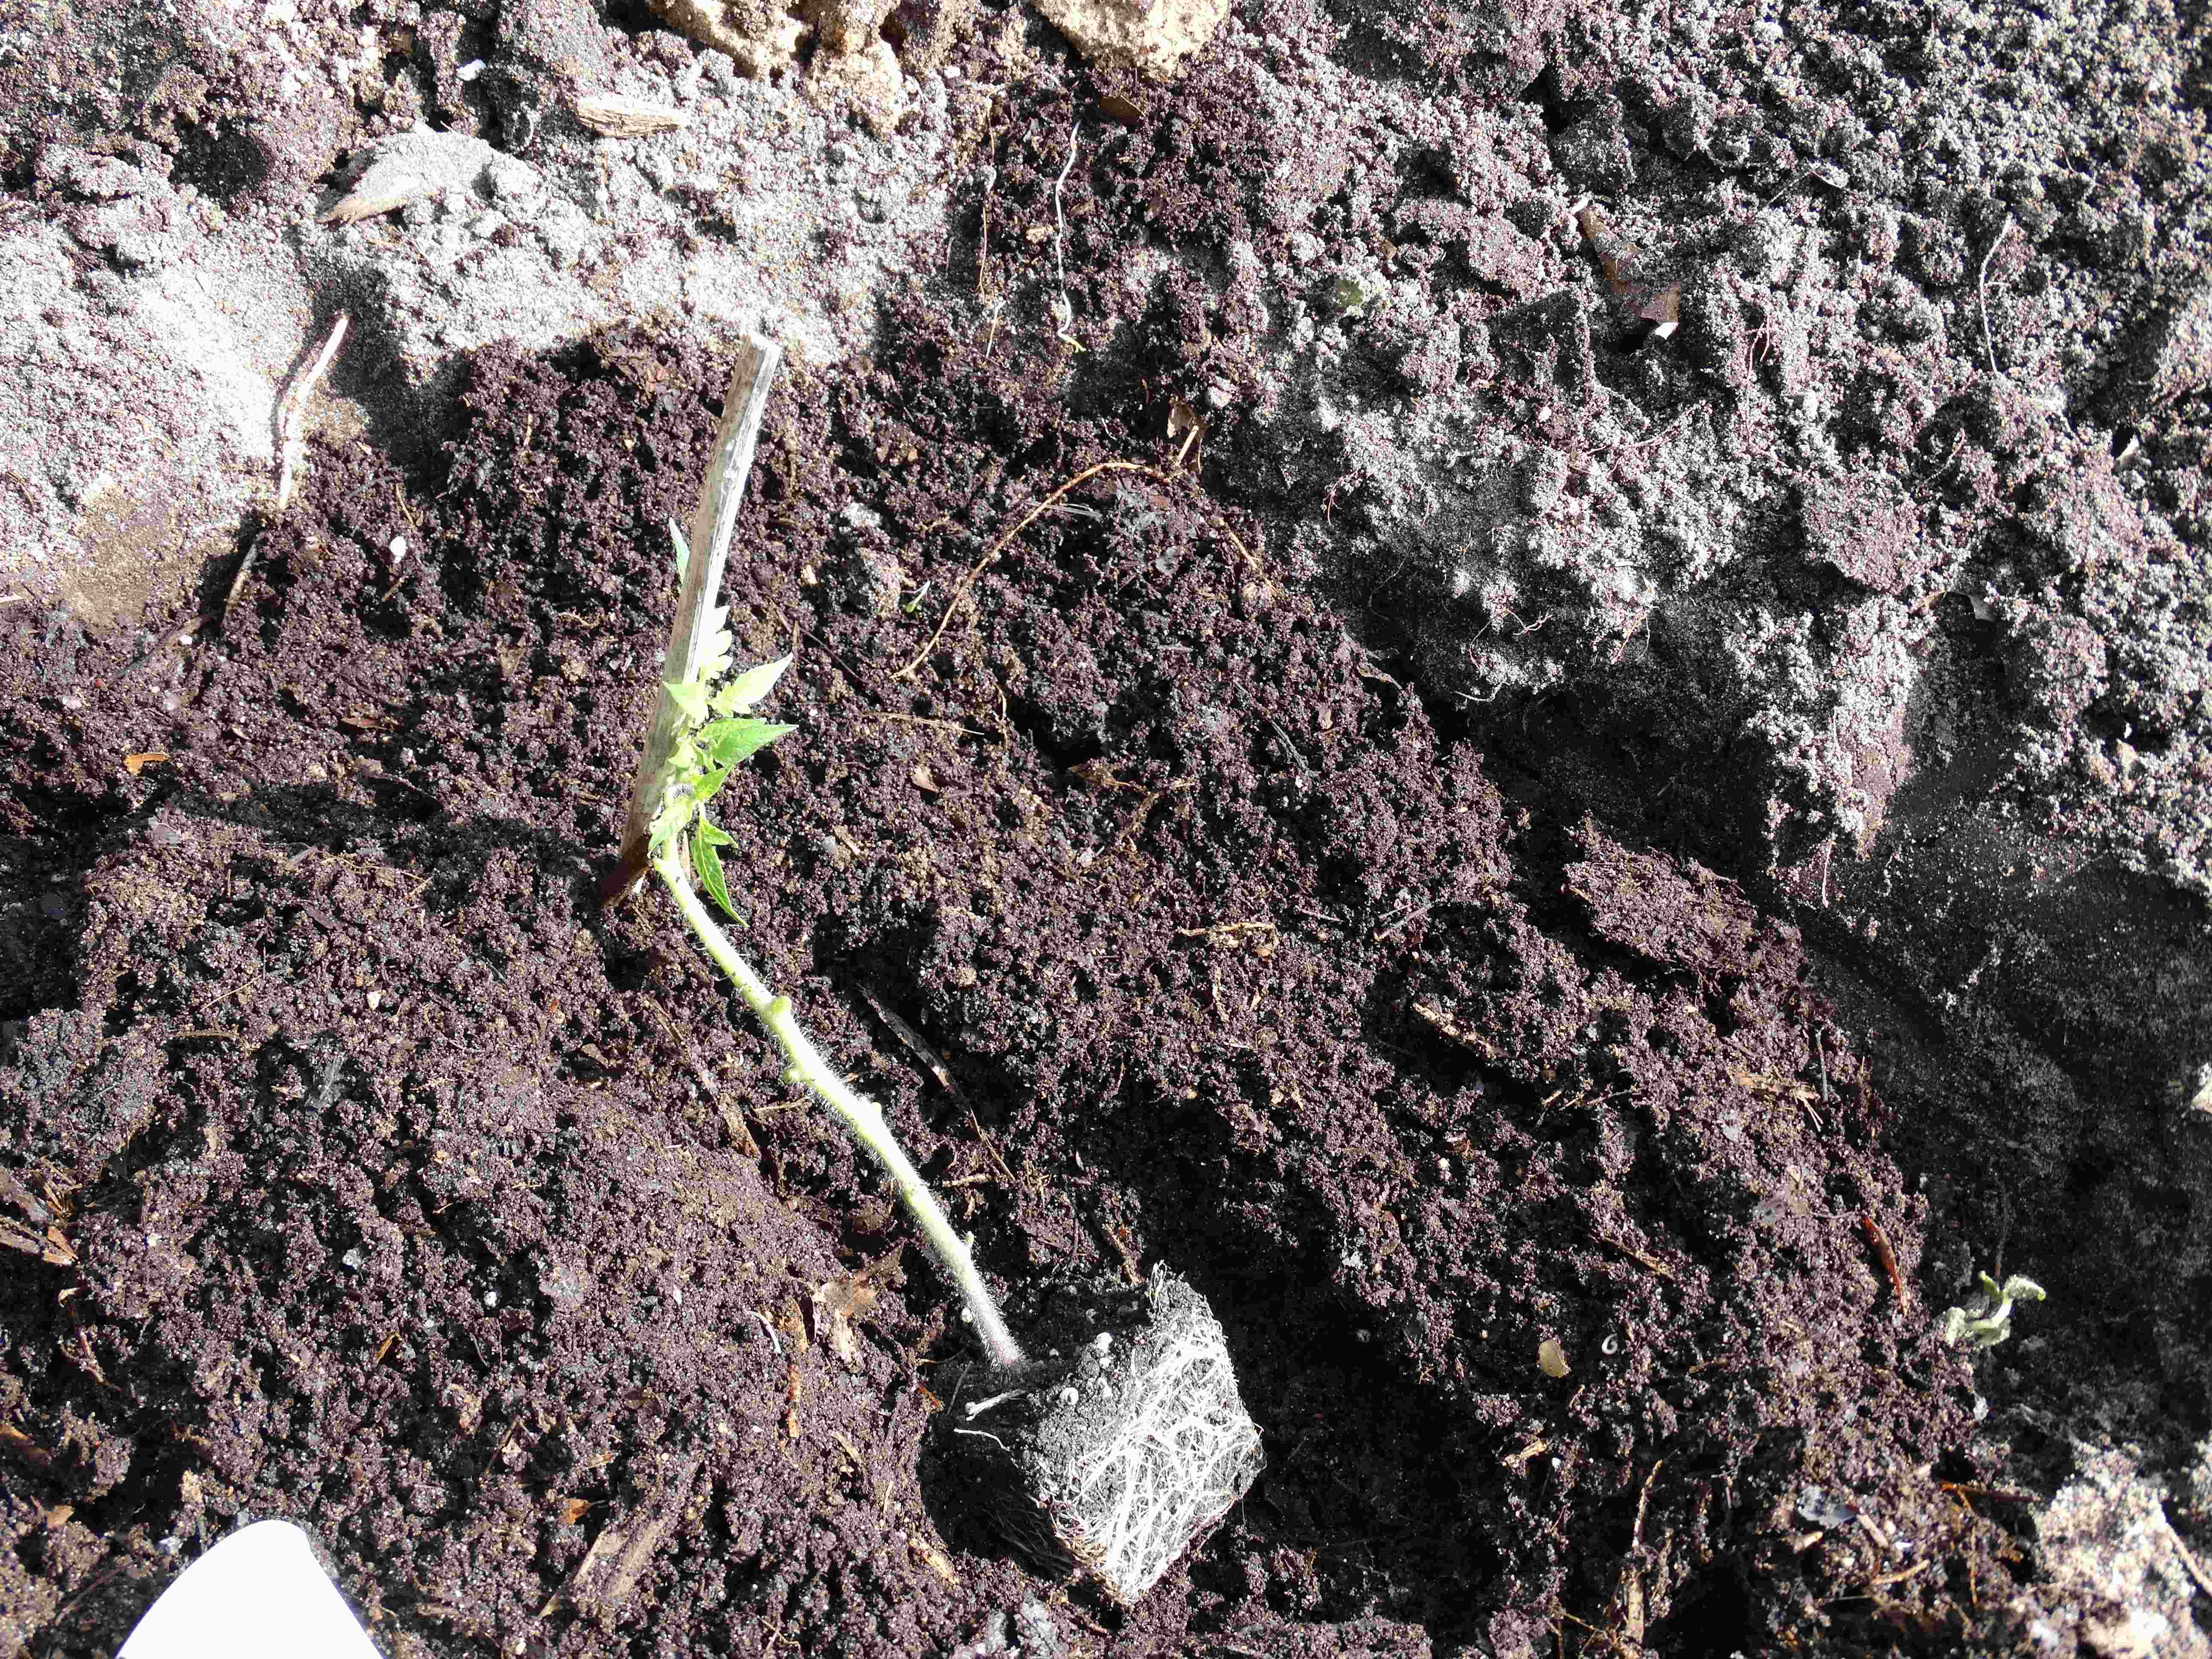
Here’s a picture of a flower cluster from a second year plant:

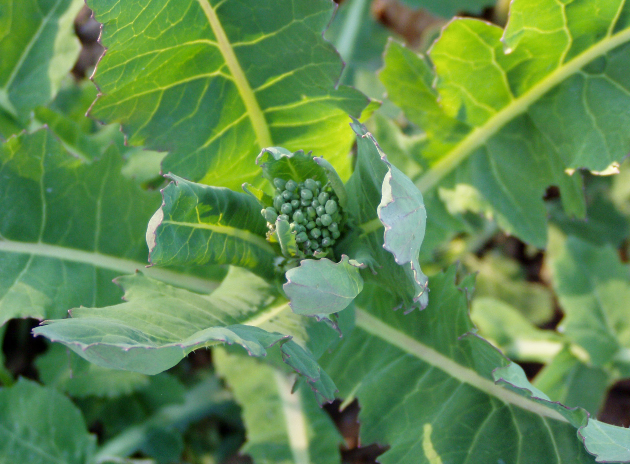
“OOOhh!!,” you might say, “That looks kinda like broccoli!! Only much smaller…” Well it kinda tastes like broccoli too. Yes boys and girls, I’ve decapitated several of the plants and we have enjoyed devouring their reproductive organs in several dishes since spring has sprung. We’ve had them raw, put them in our lunches to microwave them at work, and had several delicious stir fry meals with wild cabbage leaves and flower clusters.

Pretty darn yummy!

The Delicate Weeding (and thinning) of Beets

Beets are one of my Beautiful Girlfriend’s (the one who let me marry her) favorite vegetables. Mine too, and we love the greens at least as much as we love the roots!

Beets are planted about 1/2 inch deep, 4 inches apart. If planting in rows, space them about a foot apart. The seeds are actually clusters that produce more than one plant. After they start to grow, use a sharp pair of scissors to snip the heads off of all but one plant in a cluster. Snip just below where the leaves come together. Trying to thin the clusters by pulling will damage the root system of the plant you want to keep. The remaining plant may die if the roots are damaged too badly.

Some choose to allow beets to grow a bit before thinning. Today, I thinned some very small seedlings; because I saw that weeds were invading and didn’t want them to overrun the beets. With some nice sifted compost soil in one bucket and some pulverized leaves in the other, I went to take care of the beets.

When weeding the delicate beet seedlings, scissors are again used to snip any invaders away from the tiny beet plants. Pulling weeds that are very close to the seedling will damage the roots of the beets you are trying to save. I use my trusty Swiss army knife scissors for this delicate task.

After thinning and weeding, I carefully placed the sifted compost soil around the beet plants; being careful not to “smother” them. The leaves should stick out of the soil; but the stem of the beet should be covered. Then I carefully applied the pulverized leaves for mulch. That helps keep the weeds in check, prevents moisture loss, and of course keeps the soil healthy.

Below are some “before and after” pictures of my beet thinning excursion. To illustrate why I thought I’d better get my hiney in gear to save the beets, I wanted to point out what I was saving by (crudely) drawing a red circle around the beet seedling. The next photo shows the soil applied, and the final picture shows the end result with pulverized leaves for mulch.

Hail Rhizobia!!

Hail Rhizobia (pronounced “rye ZO bee uh) !!  No, this is not a chant honoring some strange country.  Rather it’s an exclamation of happiness.

I was doing some much needed weeding in the corn today and pulled a few “volunteer” scarlet runner bean plants.  I’m sure these volunteers were the result of growing a boatload of beans on the south garden fence last year.  Although I’m growing more beans this year, the new ones will be trained to live with a row of sunflowers on the north side.  Gotta rotate your crops you know.

Anyway, when I pulled the volunteer bean plants I was happy to see many little nodules growing on the roots.  These beautiful little nodules house the rhizobia bacteria that will actually produce nitrogen while they grow.  All legumes, including of beans and peas, will form a symbiotic relationship with these bacteria if the soil conditions are favorable.

Organic growing methods promote good soil health, and the “proof in the pudding” is finding your bean plants with root nodules.  When the soil is happy, the rhizobia are happy.  And when the rhizobia are happy, they benefit not just the beans (or peas and other legumes) but the plants nearby.

Below is a photo I took today of these beautiful nodules; and I drew a few arrows to point them out to you.  Click on the picture for a better look.

A Nice Year For Okra

This year, our Western Michigan summer has been full of warm days, warm nights, and just barely enough rain.  Okra just loves these conditions, and ours has been producing quite nicely these past few weeks.

Here’s a link to the Seedsavers page that shows the Burgundy Okra we planted this year,  The plants and pods are simply beautiful.  They take awhile to grow, but once they start flowering it’s wise to watch them daily as the pods will grow very quickly.  If the pods get too big, they are very fibrous and no fun to eat.  We only have about a dozen plants but they are yielding several new pods just about every day.  Today I noticed one got pretty big, so I left it on the plant for seeds.  We pick them when they are about 4 to 6 inches long.  Sometimes I’ll get them when they’re a little longer… but that can be a gamble.  Best way to pick is to use a sharp knife and carefully slice the stem from the plant.

When we travel, one of our favorite dishes is the deep fried okra at Cracker Barrel.  However, we don’t deep fry much stuff.  That’s a very good thing for us, we just don’t want to clog our arteries very often (once in a great while is kinda fun though).  We mostly use okra in soups and stir fry dishes.  It’s a wonderful thickening agent for either.  Obviously, we don’t eat okra every day so we cut it up and freeze it.

Our method is pretty simple:

  1.  Remove the blossom leftovers from the pod.
  2. Cut the tops off
  3. Slice into 1/4 inch pieces (no need to be precise).  Some folks might toss the tapered ends, but we eat them.
  4. Place on a greased pan.  Lightly coat the pan with olive oil or vegetable oil, I used a couple spritzes of olive oil spray and wiped the excess away with a paper towel.  Then finally…
  5. Place the pan in the freezer overnight.

    Okra ready for cutting. Dried blossom remnants have been removed from both top and bottom.

    Okra ready for cutting. Dried blossom remnants have been removed from both top and bottom.

    Sliced okra on pizza pan lightly coated with olive oil. After all the okra is cut, into the freezer it goes for an overnight nap.

    Sliced okra on pizza pan lightly coated with olive oil. After all the okra is cut, into the freezer it goes for an overnight nap.

Once the pieces are frozen, we stash them in a quart size freezer bag until it’s full,  Then downstairs it goes into the big upright freezer.  The nice thing about storing okra this way is that it remains loose in the bag, so it’s easy to get just the amount you want to cook at any given time.

Important note:  Mr. Olson, our friendly Muskegon Appliance Dealer (God rest his soul) taught me years ago that It’s important to use a non-frost free type of freezer when storing frozen food for extended time periods.  Frost free freezers are constantly freezing and thawing; which is the culprit responsible for freezer burn.  Following his advice, we bought the non-frost free type.  Only have to thaw it out every couple years or so.


Popcorn: A Really Fun Crop

I love growing a little bit of everything; and popcorn is one of my favorite toys in the vegetable world. Only problem is: I don’t really have enough space to grow a lot of popcorn; but because it’s so much fun I’ve been hooked on raising it these past several years. Before popcorn I grew some sweet corn, but here in Beautiful West Michigan sweet corn is very plentiful and inexpensive come harvest time.

My garden is about 50 long and about 20 feet wide. As I said, I like to grow a little bit of everything; most of which is in beds rather than rows. Through companion planting and crop rotation, this method has given me pretty good yields over the years.

To save space in the garden, I only grow one row of corn. Often I’ll interplant beans and cucumbers with the corn to make maximum use of the space. Beans will make nitrogen with their roots, which of course benefits the corn. Cucumbers will shade the corn roots and help keep weeds out and conserve moisture. In turn, the corn provides some shade for both the beans and cukes; as well as some wind protection.

However, with only one row of corn; pollination can be uncertain. That means I have to help the corn pollinate if I want the cobs to be full of kernels. With multiple rows of corn this is usually unnecessary, because the pollen density is high enough to pollinate the corn.

The tassels make the pollen which falls onto the silk to make corn babies. As soon as the silk pokes out of the ears, I skim some of the flowers off the tassel and rub it on the silk. Then I repeat this every couple days or so until a) the tassels quit making pollen or 12) the silk starts to turn brown at the end. This process can be used if you have even less space than I do. In other words, even if you only have enough room for one plant, pollinating the corn by hand will ensure you get cobs full of kernels. If pollination doesn’t happen effectively, you’ll still get a cob but very few kernels.

Here’s a video I made awhile ago that shows how I help the corn pollinate:

Once pollination is finished it’s just a matter of waiting for fall to arrive. I wait for the ears to turn brown; and then I make sure I pick them when the weather is dry to prevent molding. Then I pull the husks back (but not off) so the corn will dry.

After the husks are pulled back, I’ll lay a length of bailing twine (string works fine too) down on a flat surface; and place 6 to 8 cobs down with the husks positioned so they all lay on top of the twine. Then I pull the twine up and tie the husks together tightly so they can be hung up. I make sure the twine is a bit longer than needed so hanging is easier.  Each year I hang the bundles on a coat rack that stands near our pantry.  Click the image below for a better look.

A coat rack with lots of hangers has been commandeered and renamed "The Popcorn Tree."

A coat rack with lots of hangers has been commandeered and renamed “The Popcorn Tree.”

I keep the ears in the house to prevent mice from chowing down on my popcorn. After about a month or so the popcorn is dry enough to cook. Before Santa Claus brought me a corn sheller, we’d leave the cobs hanging until we wanted some. Then I’d just pull one cob at a time from its husk (and off the bundle). To remove the kernels, I’d get a deep pan or plastic storage container; then hold the cob toward the bottom of the container and rub my thumb forcefully over the kernels to get them off the cob. Doing it this way prevents kernels from flying all over the place; as they tend to shoot off the cob when they’re dislodged. I’ve learned the hard way that it’s a good idea to wear work gloves while doing this!  Otherwise, you’ll get ouchy hands.

Now that I’m blessed with a corn sheller I can process lots of cobs much more quickly. We get about 10 pounds a year, and believe me, you don’t want to shell that much corn with your hands alone.

One good sized ear of popcorn yields enough to make a pretty good sized bowl of deliciousness when popped. We use an air popper, but everyone has their favorite cooking method.

After all that, it’s time to melt about a tablespoon of butter and drizzle it on top; followed by some garlic powder, salt, pepper, maybe even some cumin. Depends on our mood. Then I put a bowl of equal size on the top as a cap and shake until the seasonings are mixed with the popcorn thoroughly.

And you know what?? HOLY MOLY IT’S GOOD!!

Makes you want to settle in and watch a movie or something, doesn’t it??

Did You Eat Your Weedies Today?

Anybody remember that old commercial slogan, “did you eat your Wheaties today?” Well if you do, you may not want to admit it; because it means you are getting older. Maybe not as old as me, though. I’ve said it before and I’ll say it again: I’m old enough to remember when The Beatles came to the US on the Mayflower!! Sure, I can remember that; but I can’t for the life of me remember when I had my last bowl of Wheaties.

Well, this post is about a bowl of “Weedies.” Yes, I’m talking about just what you might think that means. During this time of year, I’m known to feed weeds to my to my Beautiful Girlfriend and our family.  We’ve eaten them many times, and we all survived! Yep… I’ve made many a “skillet dinner” and weeds that I harvested from the garden were thrown in there for extra yumm and nutrition.

My two favorite weeds from the garden are delightful, annual “volunteers,” as Grampa Bunny would call them. In other words, I didn’t plant them… they just magically appeared from somewhere. Some of you may recognize them: lamb’s quarters and purslane. Click on the images for a better view.

Lamb's quarters above, purslane below.

Lamb’s quarters above, purslane below.

purslane6-28-13 - compressed

A closer view of purslane.

Before I knew better, I spent several years cursing their very existence. Now we are glad to see them because they are one of the first things that are ready for picking in the garden. But one may well ask, “ummm first things ready in the garden?? Aren’t they weeds??” Well lots of folks call them weeds, and as I said, I thought that way also. Then I learned that both plants are not only edible; but taste pretty darn good! And an added bonus is they are packed with vitamins and minerals!! And to top it off, purslane has the highest concentration of omega-3 fatty acids of any leafy food plant.

Yet another cool thing about purslane:  it’s a succulent, which means it requires very little moisture to survive.  It lays pretty flat to the ground and becomes a sort of “living mulch” as it spreads.  This is good for the plants I actually wanted to grow.

Lamb’s quarters have been eaten by humans for thousands of years, and have even been cultivated as a food crop.  Just like purslane, the leaves and tender parts of the stems are of course edible, but lamb’s quarters seeds are very nutritious too.  Those are great in soups and stir fry dishes (can you tell I like skillet recipes?).

But hey, we just eat them because they’re yummy. We like lamb’s quarters and purslane either cooked or raw in salads.   Sometimes I’ll bring them to work for lunch. I think my friends at work are beginning to wonder whether I’m from a different planet. I often kick off the silliness by announcing what I’m going to eat:

“I’m having weeds today… anybody wanna try some? I picked them from the garden.”

“You actually eat the weeds??”

“Oh yeah,” I reply. “I actually mulched some of the purslane because it was doing really well. I wanna get some more of that stuff.”

Then comes a few quizzical looks, and the question, “you actually want weeds to grow in your garden??”

“Only the good ones,” I say, smiling. Then the person or people will get a glazed look over their face… and I can tell they don’t really want to know any more.

There is hope for us “weed eaters,” though.  Restaurants, for example, are getting interested in wild foods again; and “weeds” like lamb’s quarters and purslane have gained recognition as valuable additions to various dishes.   Apparently they’re even being sold at local markets!!  One year our daughter confessed that she paid $4.00 / lb for lamb’s quarters.  I couldn’t help but chuckle when I heard that, and told her I had all she would ever need for free.  This year I did try to sell her some at $3.00 / lb; but she wouldn’t take the bait.

Oh well, maybe when I retire I’ll try selling some weeds.  I’ll need the money a lot worse then I’m sure.  I can picture it now… a customer leaves my house in a hurry with a bag full of purslane on the front seat.  They get stopped by the police for speeding, and the officer spies the produce and says, “what’s that on the seat there?”

“Oh nothing officer, I just bought a bag of weeds.”

Tomatoes: Up To Their Necks In Dirt

Finally got the tomatoes in today.  I buy plants from Weesie’s in Montague, Michigan.  They do a great job with starting my tomatoes, peppers, and eggplants for me so I don’t have to worry about it.

One neat trick I’ve learned about tomatoes is to plant them up to their necks in the dirt.  I use a similar method with eggplant and pepper transplants; but the entire stem of the tomato plant will grow roots if given the opportunity.  Because of that, I’ve learned that planting them that way makes a much stronger plant.  I put some pictures for examples below, you can click on each to get a better view.

I always start with a hole that I fill with compost.  Usually go down about a foot, and the hole is a bit over a foot wide.hole for compost - compressed

Next I take my plant and trim all but the very top set of leaves off.  I use my fingernails, but if I don’t have nails I use the scissors that come with my Swiss army knife.  Depending on how long the stem is, I either dig straight down into the compost and place the root ball in the bottom; or else I lay the plant at a slant with the root ball below the surface of the soil a few inches.    The example below shows a small stick i used to lean the tip of the plant on so it will grow straight up.

after trim3 - compressed

After setting the plant where I want it, I cover all but the top set of leaves with soil.  I let the leaves protrude from the surface a bit to allow room for the next and last step, the cutworm collar.   I also water thoroughly at this point… and I’ll water again after the cutworm collar is in place.after trim5 - compressed

If you’ve ever transplanted something in the garden only to find it lying on the ground next to its stem a day or two later; you’ve been the victim of a cutworm’s naughty deed.  These little buggers hide just beneath the soil, and if you find a plant that’s been whacked, it’s likely you can unearth the culprit very near the stem of the plant if you notice the damage quickly enough.  I’ve had this happen once, and since then I’ve always protected tomato, pepper, and eggplant transplants with cutworm collars.

I make cutworm collars from toilet paper tubes.  That’s right, toilet paper tubes!  I start saving them in the fall until I have enough for what I think I’ll need.  To make the collars, I cut slits into one half of the tube.  Then I slide it over the plant so the leaves are just barely sitting over the top of the tube.  To be effective against cutworms, I make sure the tube sits above the soil an inch (2.54 cm) or so.   Then I anchor the tube by brushing soil over the  flaps.  Finally I take some soil and sprinkle it into the tube until it is at soil level (NOT all the way up).  Anchoring the tube with soil is especially important to prevent the tube from being removed on windy days.

OK, done!  Now to repeat the process for the remaining plants.  These days I get fewer tomato plants and space them a little farther apart.  I’m down to 6 plants now, and I space them about 2 “giant steps” apart.  I grow a few different varieties for the fun of it.  This year it’s Cherokee purple (one of my all time favorites), red cherry, red grape, Roma, and an heirloom variety called Stupice.

I’ve also been planting marigolds near tomatoes for some time.  Marigolds help the tomatoes stay strong and the flowers are good for attracting bees.

Fun tip:  I’ve been planting a few onion sets at the base of each tomato plants for several years now.  Since I’ve been doing that, I have had very little disease and absolutely NO tomato worms.

Nothing beats a garden fresh tomato.  Can hardly wait!!

Potato Planting Time!!

Pretty much everyone I know likes potatoes, and gardeners know that the ones that taste the best come out of their own soil.  They are easy and fun to grow; and can be even more fun when growing colored varieties like my personal favorite, Adirondack Blue.  Those things are blue on the outside and the inside!

I practice what’s been called “intensive gardening,” and I am really happy inside when we get a good harvest.  Therefore, every square foot of soil takes some planning in order to get lots of food.   I had to go on the interwebs to be reminded of the spacing, etc. for potatoes, and this is what I did today.

First, I dug a trench with my large hoe (I have two and use the smaller one for weeding).  The recommended depth of planting is 3 to 4 inches, but I planned to put some compost in the trench so I went down about 5 or 6 inches.   Recommended spacing was 1 foot between plants.  That’s easy enough, but I decided to mark where each seed potato would be placed so I could plant some peas and beans in the near future.  I wanted to put the peas and beans near the potatoes but not right on top.  Beans and peas are legumes, so their roots have rhizomes which actually add nitrogen to the soil.  This in turn benefits the potato plants.

The markers I use are dead stalks from my Beautiful Girlfriend’s woodlands sunflowers she grows in her flower bed each year.

step1-dig trench - place markers

Trench with markers. Click the image for a closer view.

After I got the trench dug and marked, I dug into my compost pile and filled my wheelbarrow; then put a partial shovel full of compost next to each marker.   I keep my compost pile covered with leaves to prevent it from drying out.  After digging out what I need, I get more leaves (or whatever other mulch I have) to cover what’s left in the compost pile again to protect it.   When compost dries out, the micro-organisms that keep soil healthy will die; and that of course makes the compost less valuable.

After the compost has been placed by the markers, it’s time to put the seed potatoes in for planting.  I push them into the compost a bit to get that 3 to 4 inch depth I mentioned earlier.  The seed potatoes usually have something sprouting out of them when I plant, so I orient the spuds so those sprouts are pointing upward.  These are sometimes mistaken for roots, but rather they are the shoots that will emerge from the ground and grow leaves.

place spudssprouts pointing upwardFinally, I cover the seed potatoes carefully with the soil that’s been pushed to either side during the trench digging process.  I don’t pack the soil down, the rain will do that for me.

There are lots of different ways to grow potatoes, but I have some room so this method works well for me.  If I had less room, I could always just scale back the amount planted.  One plant can yield up to two pounds of potatoes, so if you just want a taste you can always just throw a couple in the ground for the fun of it.


Beans Think Onions Stink

If bean plants could talk, they’d ask the onions to leave the premises immediately. This is for real, people! They’d pinch their noses and shout thusly: “Hey! You wid da face! You’re pudding a big hurt od by doze! Gid oudda here awreddy! Can’t lib here wid dis stinking!!”

This of course makes the onions cry. After all, they can’t help the fact that they were born with a natural fragrance that bean plants find offensive. Not to worry, the cabbage family and several other vegetables are happy to have onions in the neighborhood.

Forgive me while I indulge in this good stink / bad stink talk. I can’t help but think about it because in these parts, garden planting time is very near and I get to thinking out loud about what goes where in the dirt. Companion planting, or the practice of putting plants that benefit each other, is a cool thing for us organic-type gardeners. If plants can be happy together, they are much healthier. Having healthy plants means better yields and fewer problems with bugs and diseases.

Onions exude chemicals that prevent beans, peas, and other legumes from making nitrogen in the soil with their toes. If you’ve ever yanked a bean plant out of the dirt, you might have noticed the rhizomes (little round bumps) on the roots. Well, the beans do NOT have tumors. The rhizomes are where the action is: bean-friendly bacteria live there and make nitrogen for the bean plants and anyone else who happens to be nearby. That is, unless the onions are in town. Then they will be stunted and just sit there twiddling their toes.

However, cabbage and its relatives (broccoli, cauliflower, brussels sprouts, etc.) love those onions, because they help keep the cabbage butterflies away, and also keep the aphid population down. Both of those bugs love their cabbage, but, like beans, most bugs also hate onion breath. For an experiment, I’ve been planting onion sets near my tomato plants over the last few years. The result: I haven’t seen any tomato worms!! And when other gardeners are complaining of their tomatoes getting wilt, mine are pretty happy.

Other examples of companion planting: corn says thank you to the beans and peas for being there and doing the cool nitrogen toe jam thing. Corn likes the nitrogen produced by the legumes. In return, the beans and peas give the corn a high five for wind protection and shade. Corn plants also make nice poles upon which peas and runner beans can climb. Between the corn rows, squash, pumpkins, and even cucumbers get the shade they like, and they in turn shade the corn’s roots and keep them cool. Everybody happy.

On the other hand, you have marigolds. OK, maybe you don’t. Those can go near anything. All the vegetable clans love marigolds; they attract bees and they even stimulate plant growth. My kinda friends!

Grandmas and Grandpas used to know lots of this stuff, and Native Peoples were (probably still are) very much in tune with companion planting. Unfortunately, however, farm and garden chemical companies would love for you to forget all about that. Those fancy commercials showing folks winning cool prizes for big veggies do tend to get one’s attention. These same chemical companies are conveniently quiet about the nasty stuff flowing into our lakes and streams when herbicides and pesticides are washed out of our dirt during a good rain. And of course God only knows what effects these chemicals have on our health.

But fear not, organically grown produce is finally becoming more mainstream. People are “discovering” accounts of when early European settlers found Native People growing pumpkins with their corn. It was no accident.

It takes some research, along with some trial and error, to learn which plants grow well together. Now that we have the interwebs, going to a place like Google and doing a search on companion planting will give you plenty of stuff to read.

Bringin’ In The Greens

Here we are in mid November and there’s still some harvesting to be done.  Been getting some cold nights; several overnight lows in the 20s.  We know from experience that although some greens can take the cold, it’s best to harvest as much as possible before the severe cold arrives.

We love Swiss Chard because it’s so easy to grow.  Though more closely related to beets, the flavor is much like spinach but the leaves are much more robust.  They’ll produce delicious leaves all through summer and almost till the snow flies.  However, the leaves won’t do very well when the temperature stays below freezing.  That’s why we thought we’d better get with the program and pick the Swiss Chard today.  I knew the harvest would be pretty good so I lined my contractor sized wheelbarrow with an old bed sheet and started picking.  I got about 14 pounds.

To harvest, I carefully peel away the stem from the base of the plant.  Takes practice to do this without damaging the roots.  If I sense there’s too much resistance, I simply cut the stem as close the plant as I can.  Any dead or dying leaves or stems are removed first and tossed in the compost.  I leave a few leaves in the middle just in case we get warm enough weather to have more growth.  Also, after I’m done trimming the plants down; I mulch them around the stem with leaves to protect the root system.  I’ll leave the small center leaves exposed until the real cold comes; again just in case it’s warm enough to get another fresh harvest.  If the plant covered completely before the snow flies, they will winter over and make new growth in the spring.

If allowed to grow the 2nd season they will go to seed.  This year’s harvest came from seed I saved from two years ago.  I found out the hard way that when Swiss chard is allowed to seed, it needs LOTS of room!!

After picking I bring them inside, and blanch them in boiling water for about 15 – 20 seconds; after which they are dumped into a cold water bath.  For the boiling water we use a large Revere Ware pot; inside of which is a large stainless steel colander we got from IKEA.  I chop up a large handful of greens and toss them into the colander, then take a wooden spoon and stir them into the boiling water for a few seconds.

After blanching I drain water from the colander back into the pot, then toss the greens into a large enamel pot full of cold water.  The pot’s almost as big as our kitchen sink.  Final stage is to scoop the greens out of the cold water bath; drain, and put in gallon freezer bags.  It’s important to keep the water cold so we end up dumping it a couple times after the water warms up.  Then we fill the pot with cold water again and carry on.

Today’s harvest yielded 6 gallon bags of Swiss chard for the freezer.  We’ll continue to eat fresh leaves until the weather changes; after that it’s time to raid the freezer.

Dunno about you but we think Swiss Chard leaves are simply beautiful. Click on the thumbnail pictures below for better views.

DSC00232DSC00233

DSC00234

DSC00235DSC00236