Seems to me Swiss Chard is a very underrated vegetable. Very easy to grow, very nutritious, and an excellent substitute for spinach in any recipe. You can eat the stems as well as the leaves. We even use it in place of lettuce on sandwiches. Just tear the leaf from the rib and place it where lettuce would go.
Chard seeds are planted about 1/2 inch deep, 4 to 6 inches apart. If planting in rows, space them 18 inches apart. Chard is a member of the beet family; so like beets the seeds are actually clusters that produce more than one plant. After they start to grow, use a sharp pair of scissors to snip the heads off of all but one plant in a cluster. Snip just below where the leaves come together. Trying to thin the clusters by pulling will damage the root system of the plant you want to keep. The remaining plant may die if the roots are damaged too badly.
After the clusters are thinned and are growing nicely, thin again so there’s about a foot or maybe even a little more between plants. Any that are spaced more closely will be produce an end result of smaller plants. Toss the plants you remove into your favorite stir fry or perhaps even a quiche.
If planted early, chard can be harvested pretty much all season long. It’s even frost hardy to some degree; but when the temperatures stay below freezing the leaves will be damaged significantly. If you’re a seed saver like me, when fall starts to slip into winter be sure to trim the leaves down; then give the plant a good covering of mulch. With any luck it will endure the winter and produce seed the following year.
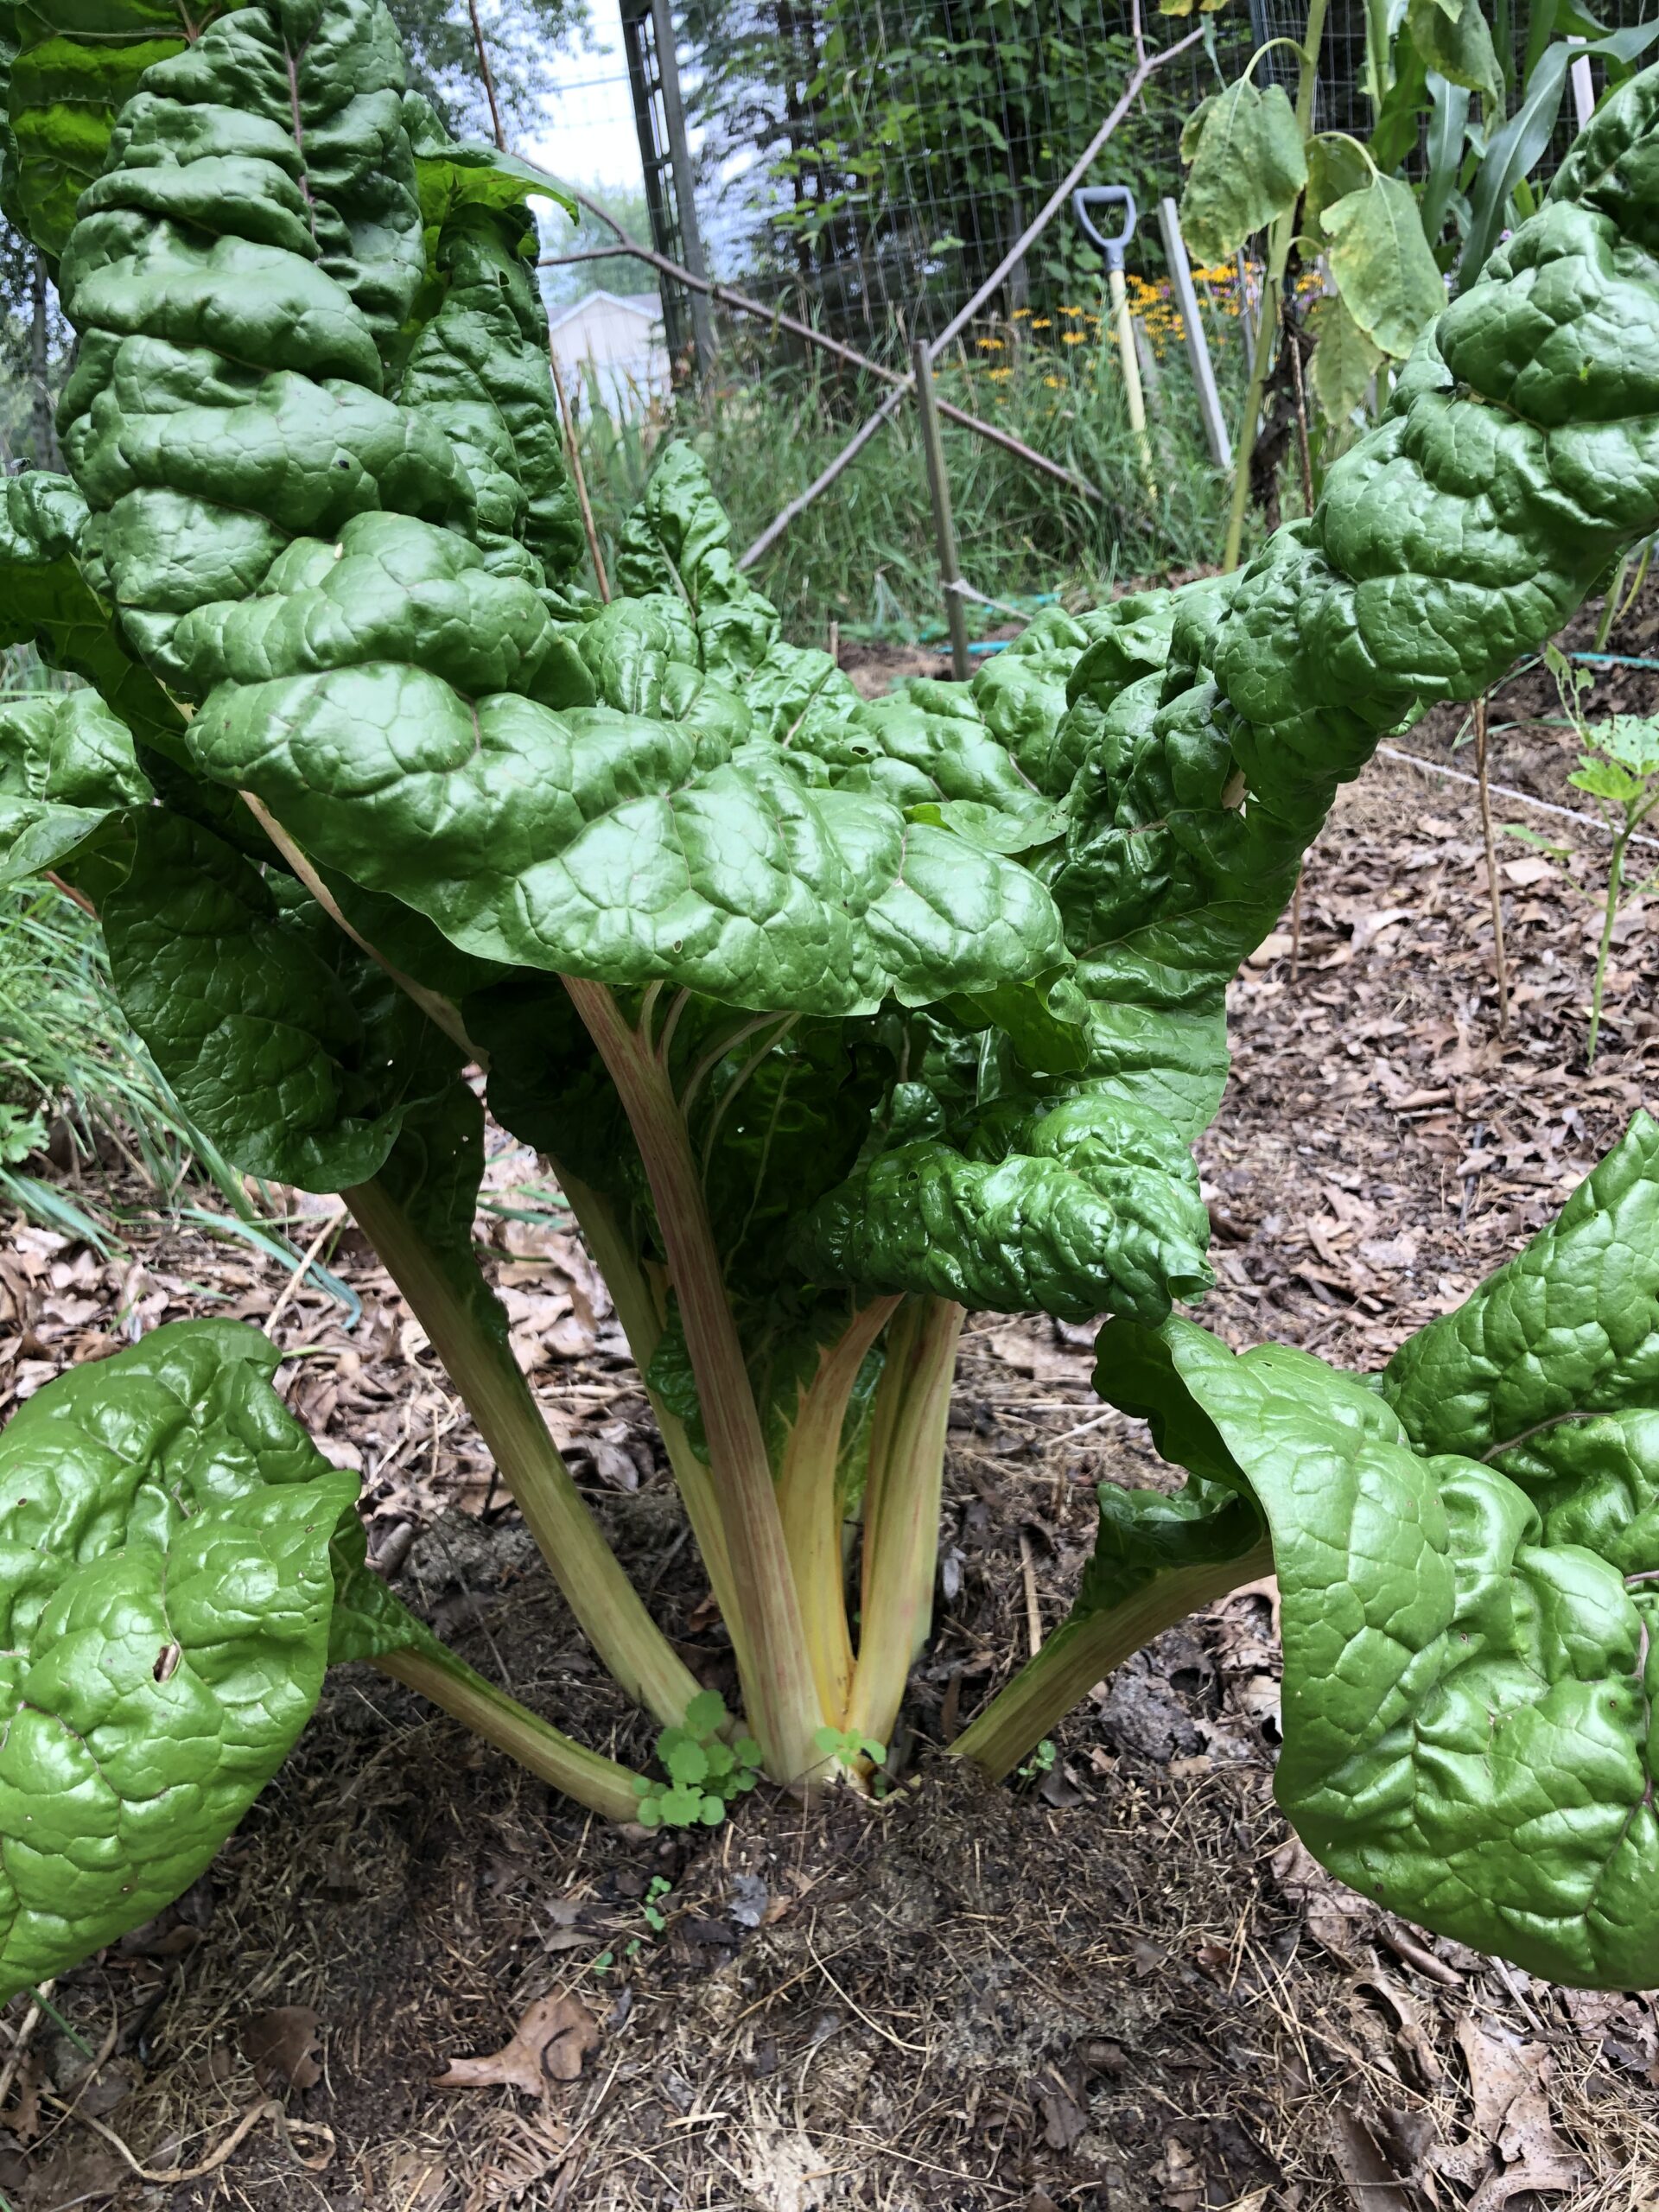
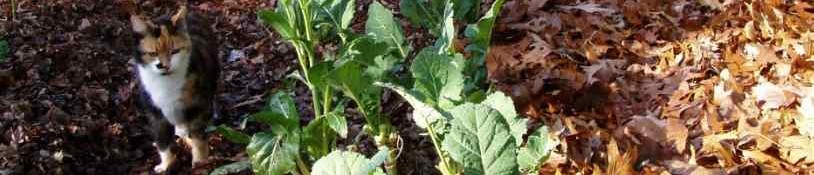
I find the plants are most productive when the leaves are allowed to grow to good size, then trimmed off the plant till just a few small ones remain. With young plants, I cut the leaves off with a sharp knife as close to the root crown as possible; being careful not to cut too close and injure the plant. When the plants become more substantial, I just grasp the base of the stem near the bottom of the plant and gently push downward and tug slightly till the stem breaks away. If there’s any remaining stem sticking out from the plant, I generally cut it off with a sharp knife; again being careful not to cut too close to the center. Pictures below show some before and after pictures of today’s harvest. As you can see, I did some substantial trimming; but so long as a few healthy leaves are left behind; the plant will flourish and provide several harvests.
I used this technique because I’ll be blanching and freezing the leaves. I have several plants, so when I want fresh leaves I merely harvest one or more plants less aggressively.