Beets are one of my Beautiful Girlfriend’s (the one who let me marry her) favorite vegetables. Mine too, and we love the greens at least as much as we love the roots!
Beets are planted about 1/2 inch deep, 4 inches apart. If planting in rows, space them about a foot apart. The seeds are actually clusters that produce more than one plant. After they start to grow, use a sharp pair of scissors to snip the heads off of all but one plant in a cluster. Snip just below where the leaves come together. Trying to thin the clusters by pulling will damage the root system of the plant you want to keep. The remaining plant may die if the roots are damaged too badly.
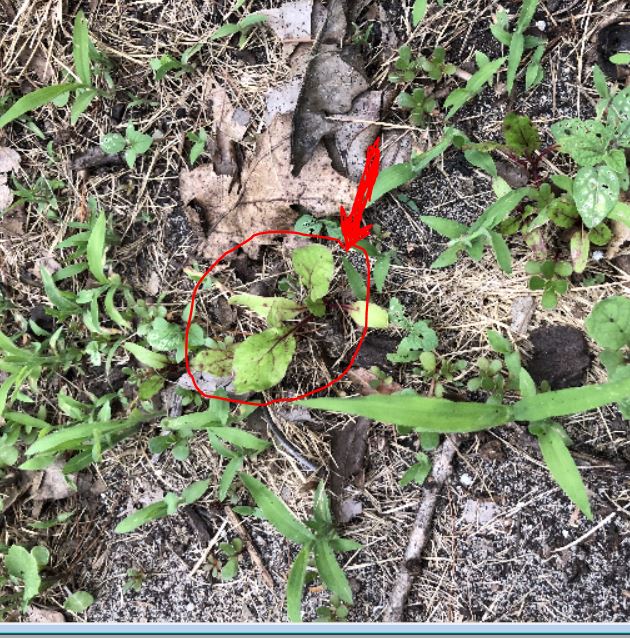
Some choose to allow beets to grow a bit before thinning. Today, I thinned some very small seedlings; because I saw that weeds were invading and didn’t want them to overrun the beets. With some nice sifted compost soil in one bucket and some pulverized leaves in the other, I went to take care of the beets.
When weeding the delicate beet seedlings, scissors are again used to snip any invaders away from the tiny beet plants. Pulling weeds that are very close to the seedling will damage the roots of the beets you are trying to save. I use my trusty Swiss army knife scissors for this delicate task.
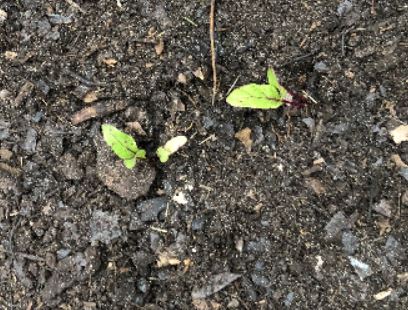
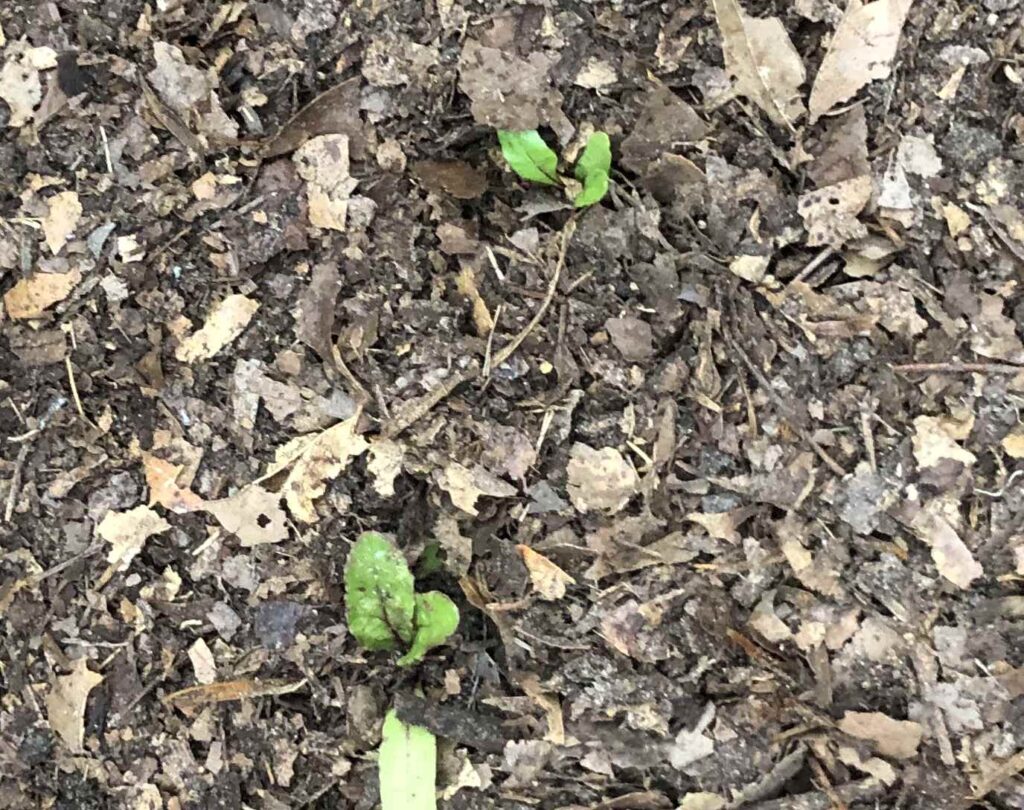
After thinning and weeding, I carefully placed the sifted compost soil around the beet plants; being careful not to “smother” them. The leaves should stick out of the soil; but the stem of the beet should be covered. Then I carefully applied the pulverized leaves for mulch. That helps keep the weeds in check, prevents moisture loss, and of course keeps the soil healthy.
Below are some “before and after” pictures of my beet thinning excursion. To illustrate why I thought I’d better get my hiney in gear to save the beets, I wanted to point out what I was saving by (crudely) drawing a red circle around the beet seedling. The next photo shows the soil applied, and the final picture shows the end result with pulverized leaves for mulch.


