Monthly Archives: October 2015

Greens For Lunch

Fall is harvest time here in West Michigan; and we sure do love it.  Right now the focus at our house is on the greens:  Swiss chard, wild cabbage (ancestor to kale, collards, etc.) and turnips.  The lower fall temperatures remove the bitterness that’s present during the summer.  And my how the greens are thriving these days!!

Nice thing about all of these is they can withstand temperatures that have already killed much of the garden.  They all survive the autumn frosts just fine; and can even be harvested in the dead of winter if protected properly.

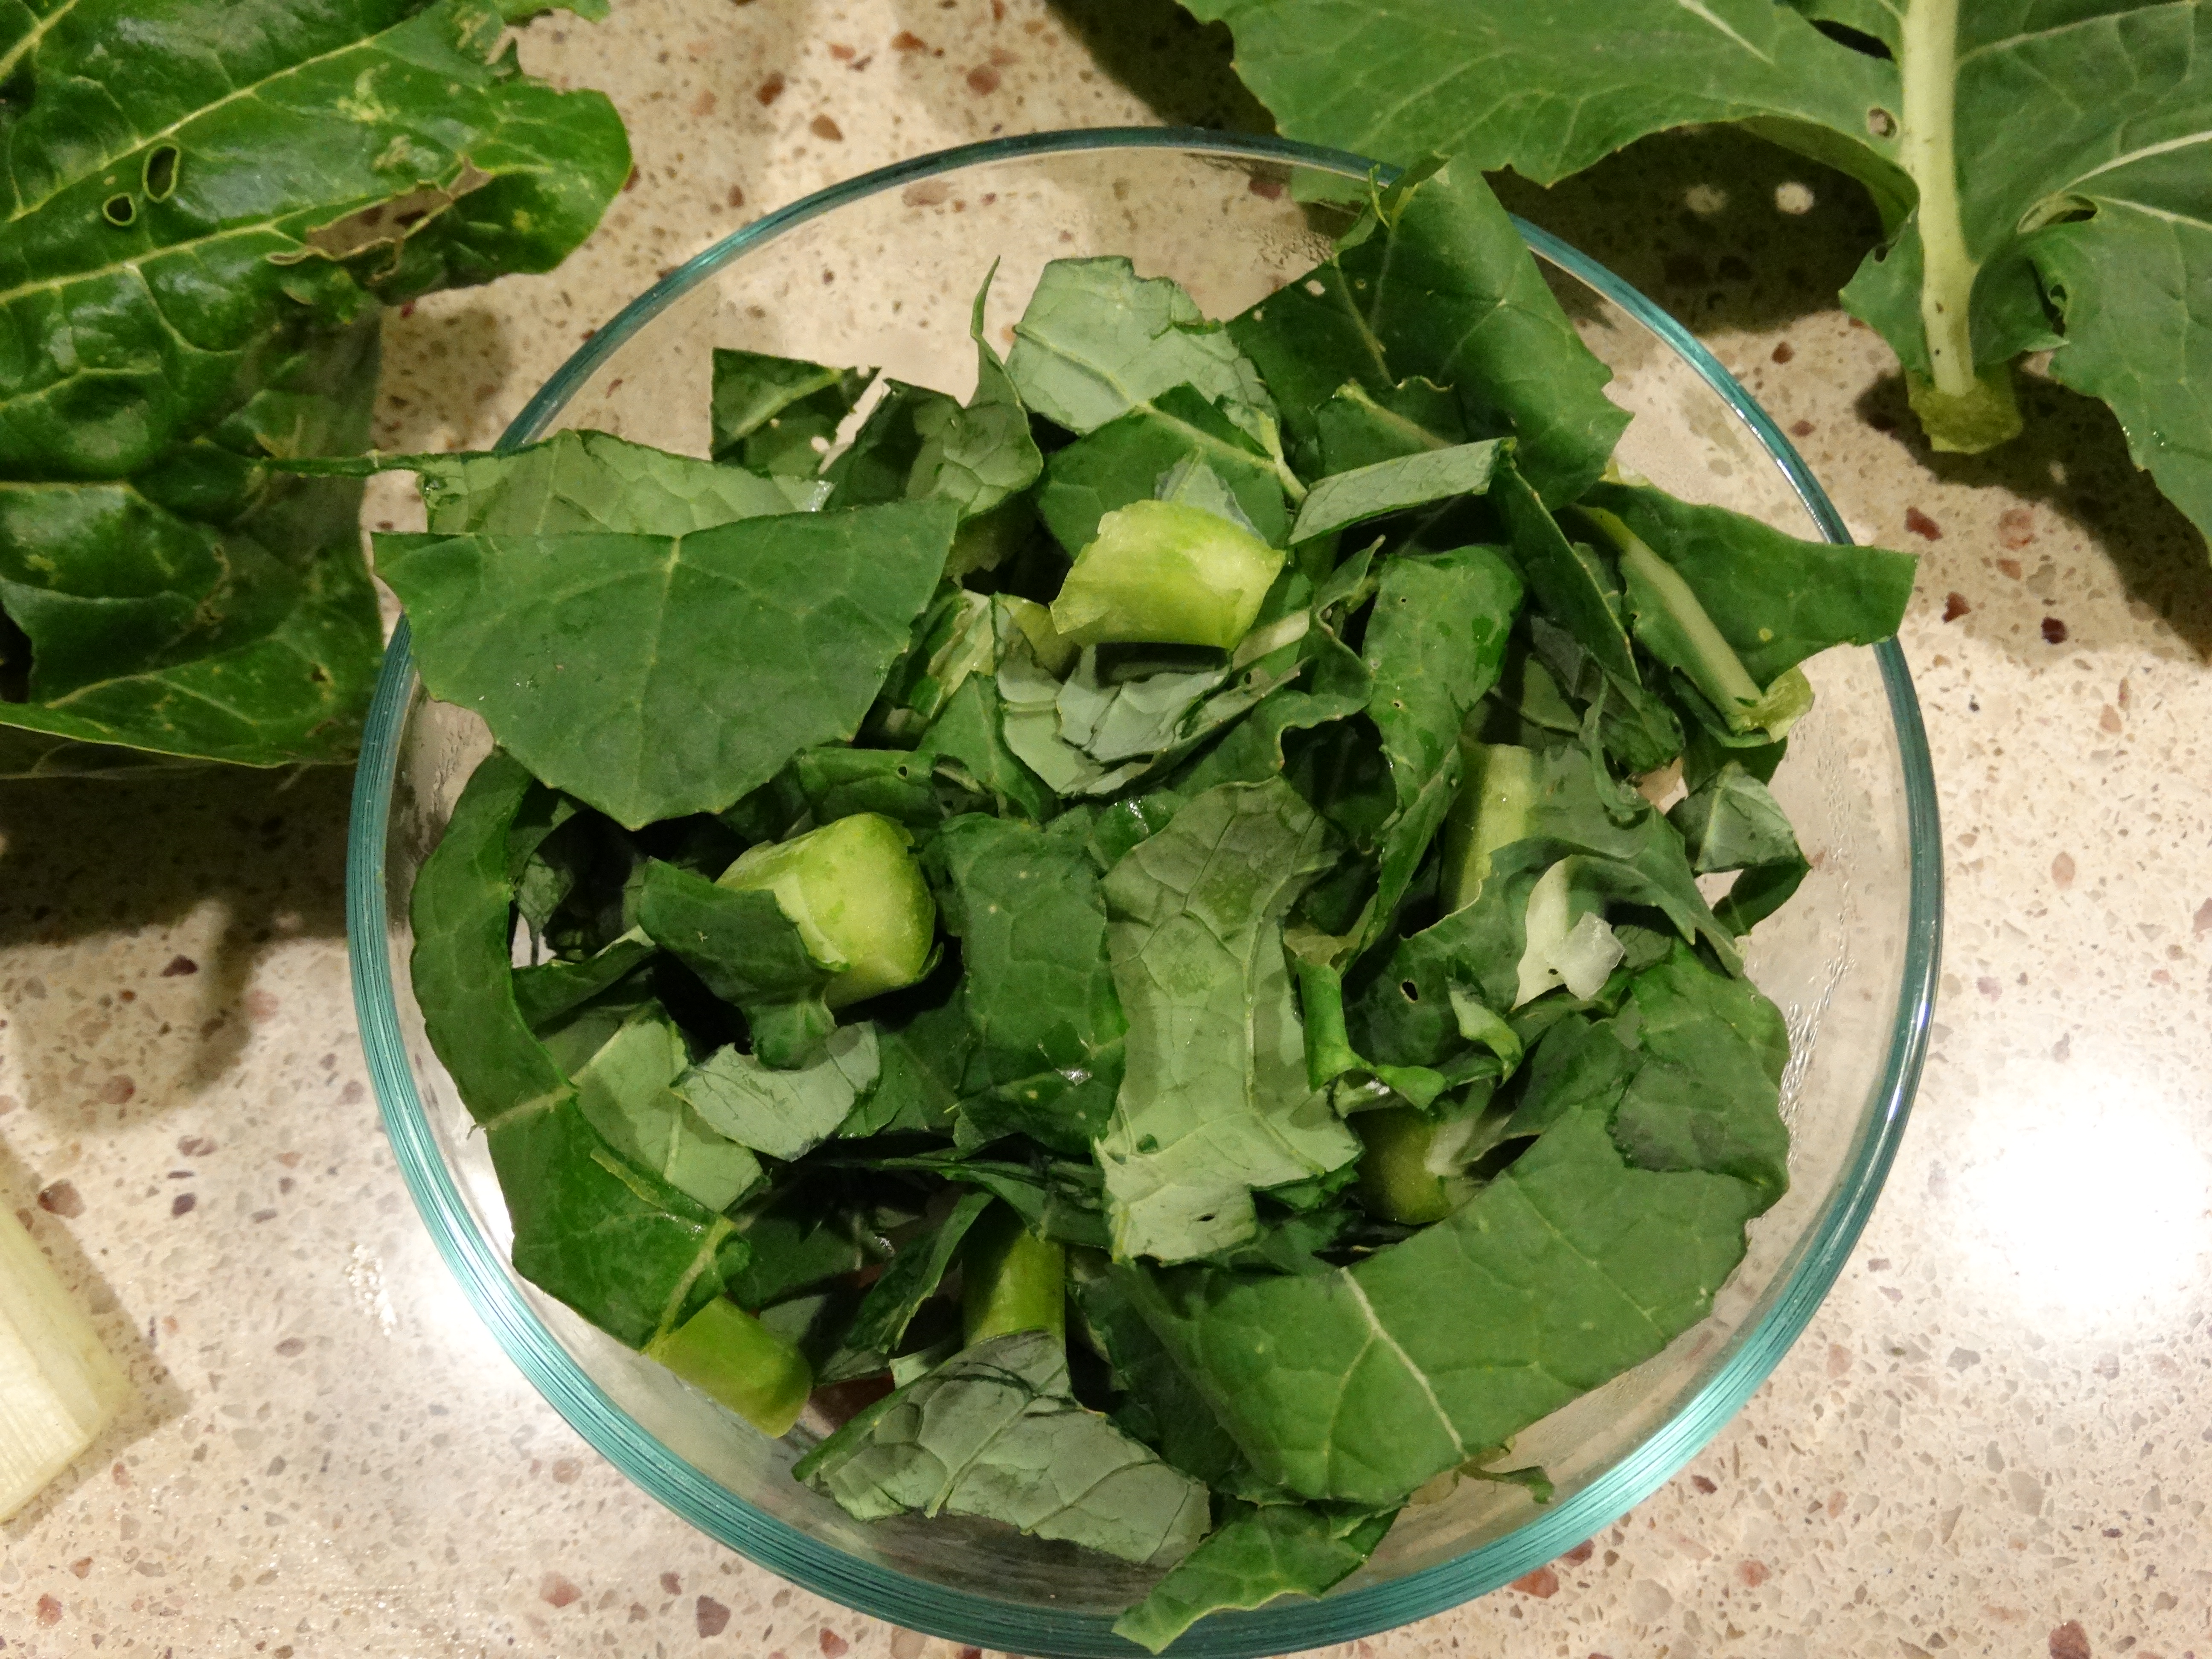
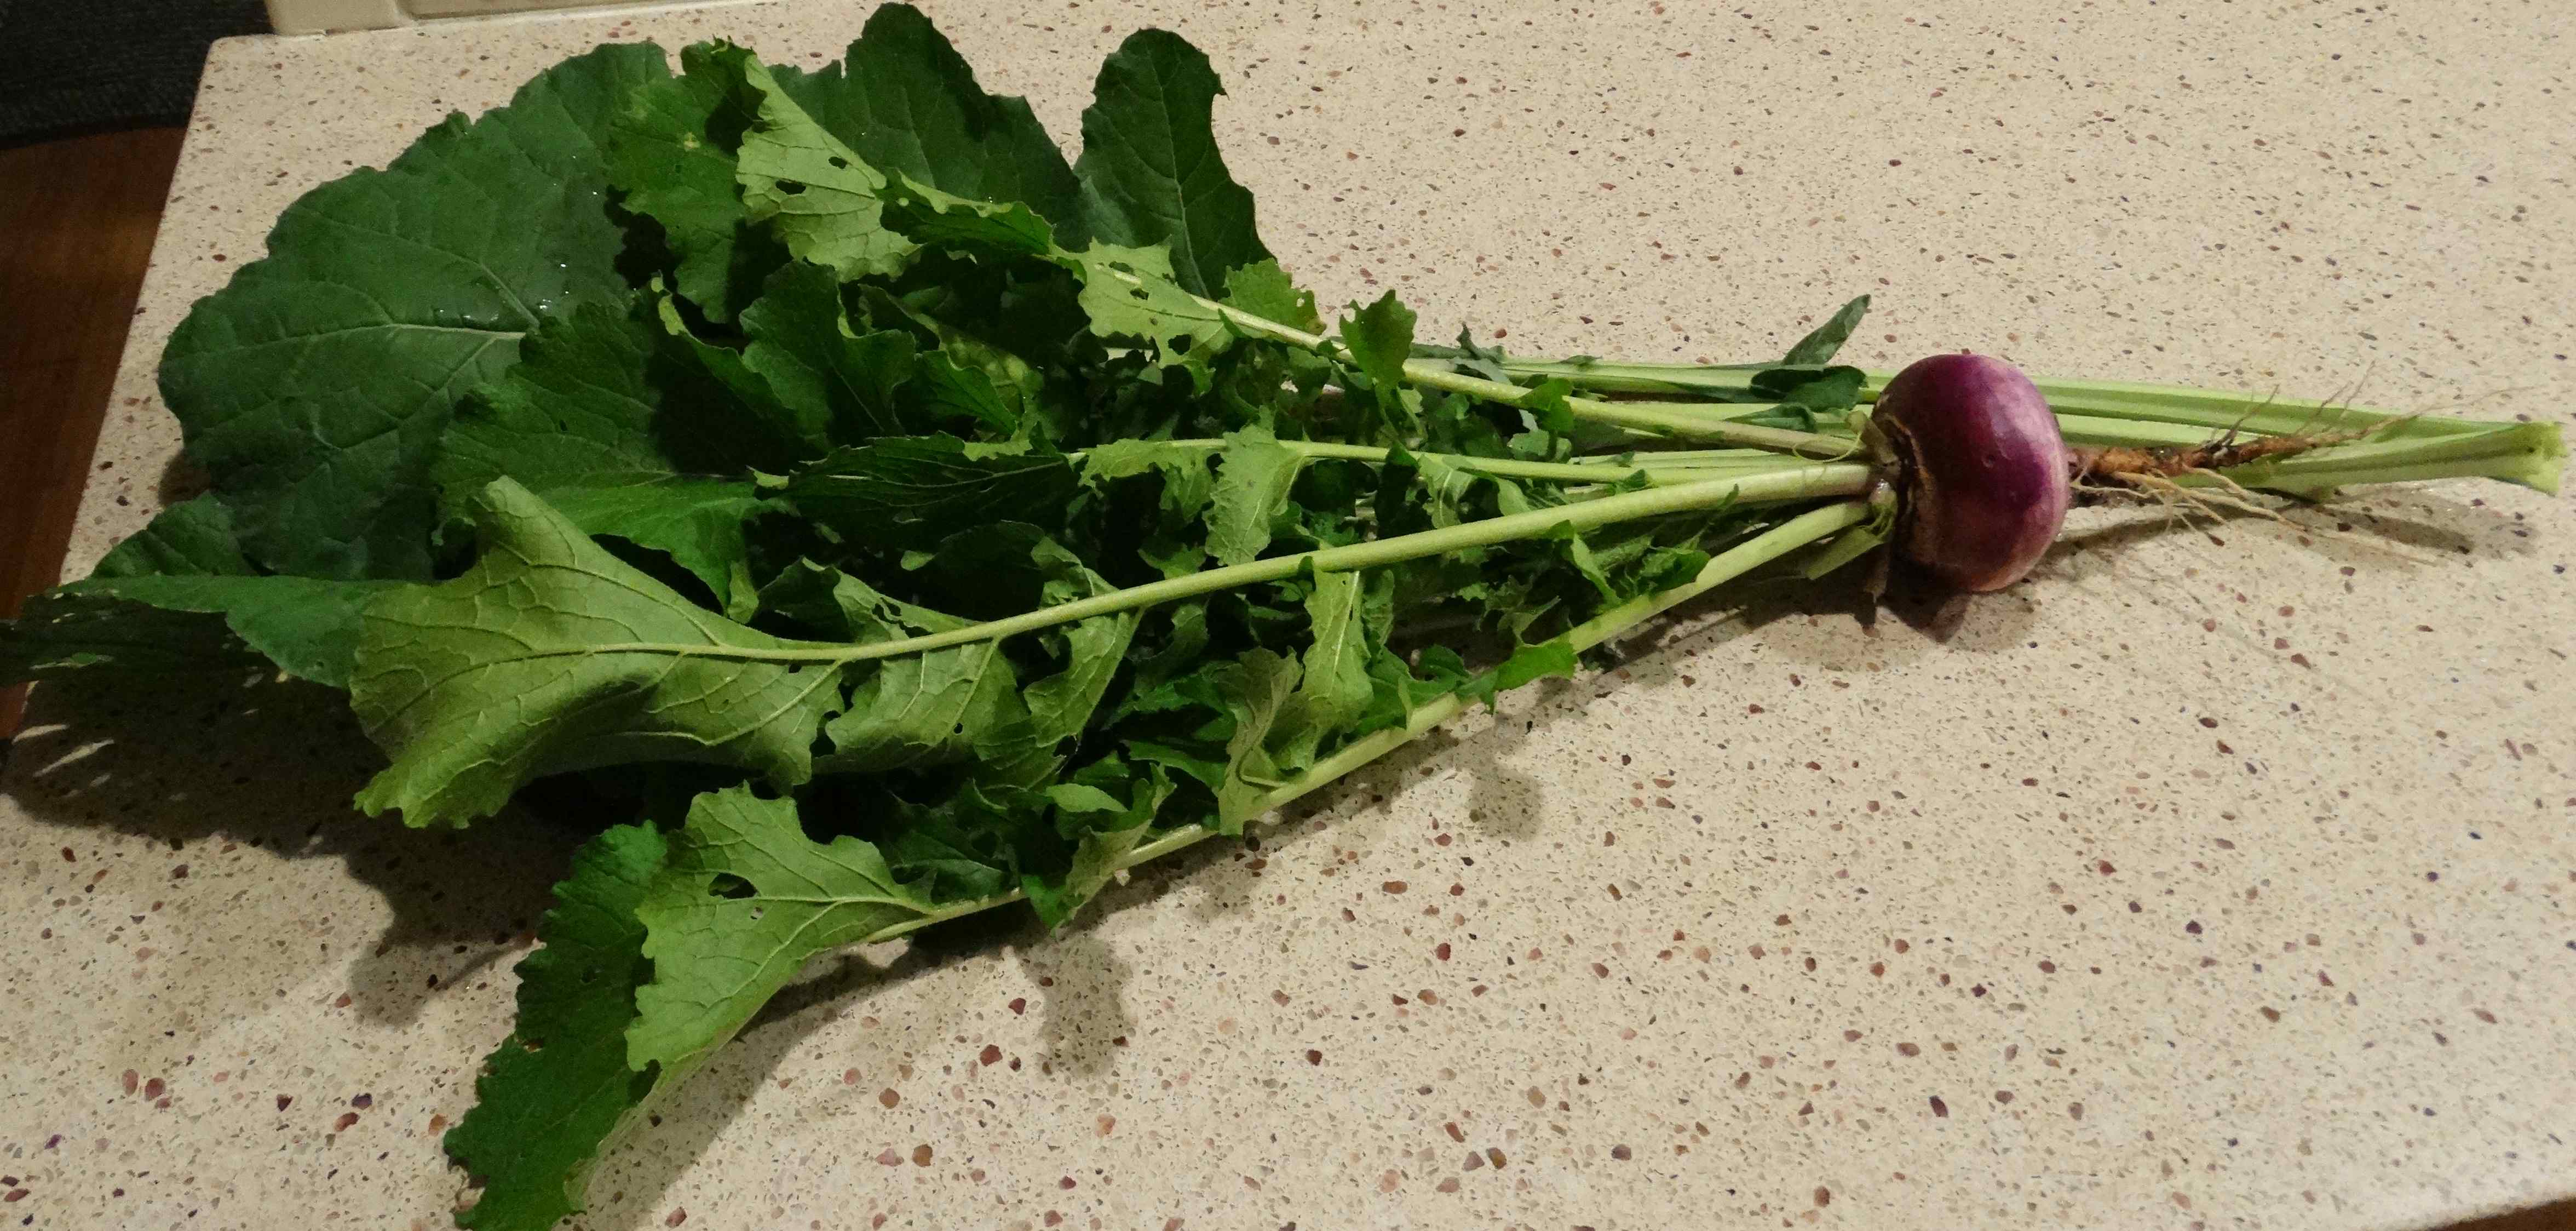
Here’s a picture of some I picked today.  One of the wild cabbage leaves was pretty big!!  I put my Pyrex bowl, cutting board and chef’s knife in the photo for size comparison. Click the photo for a better view.

Greens with leftover chicken and broccoli

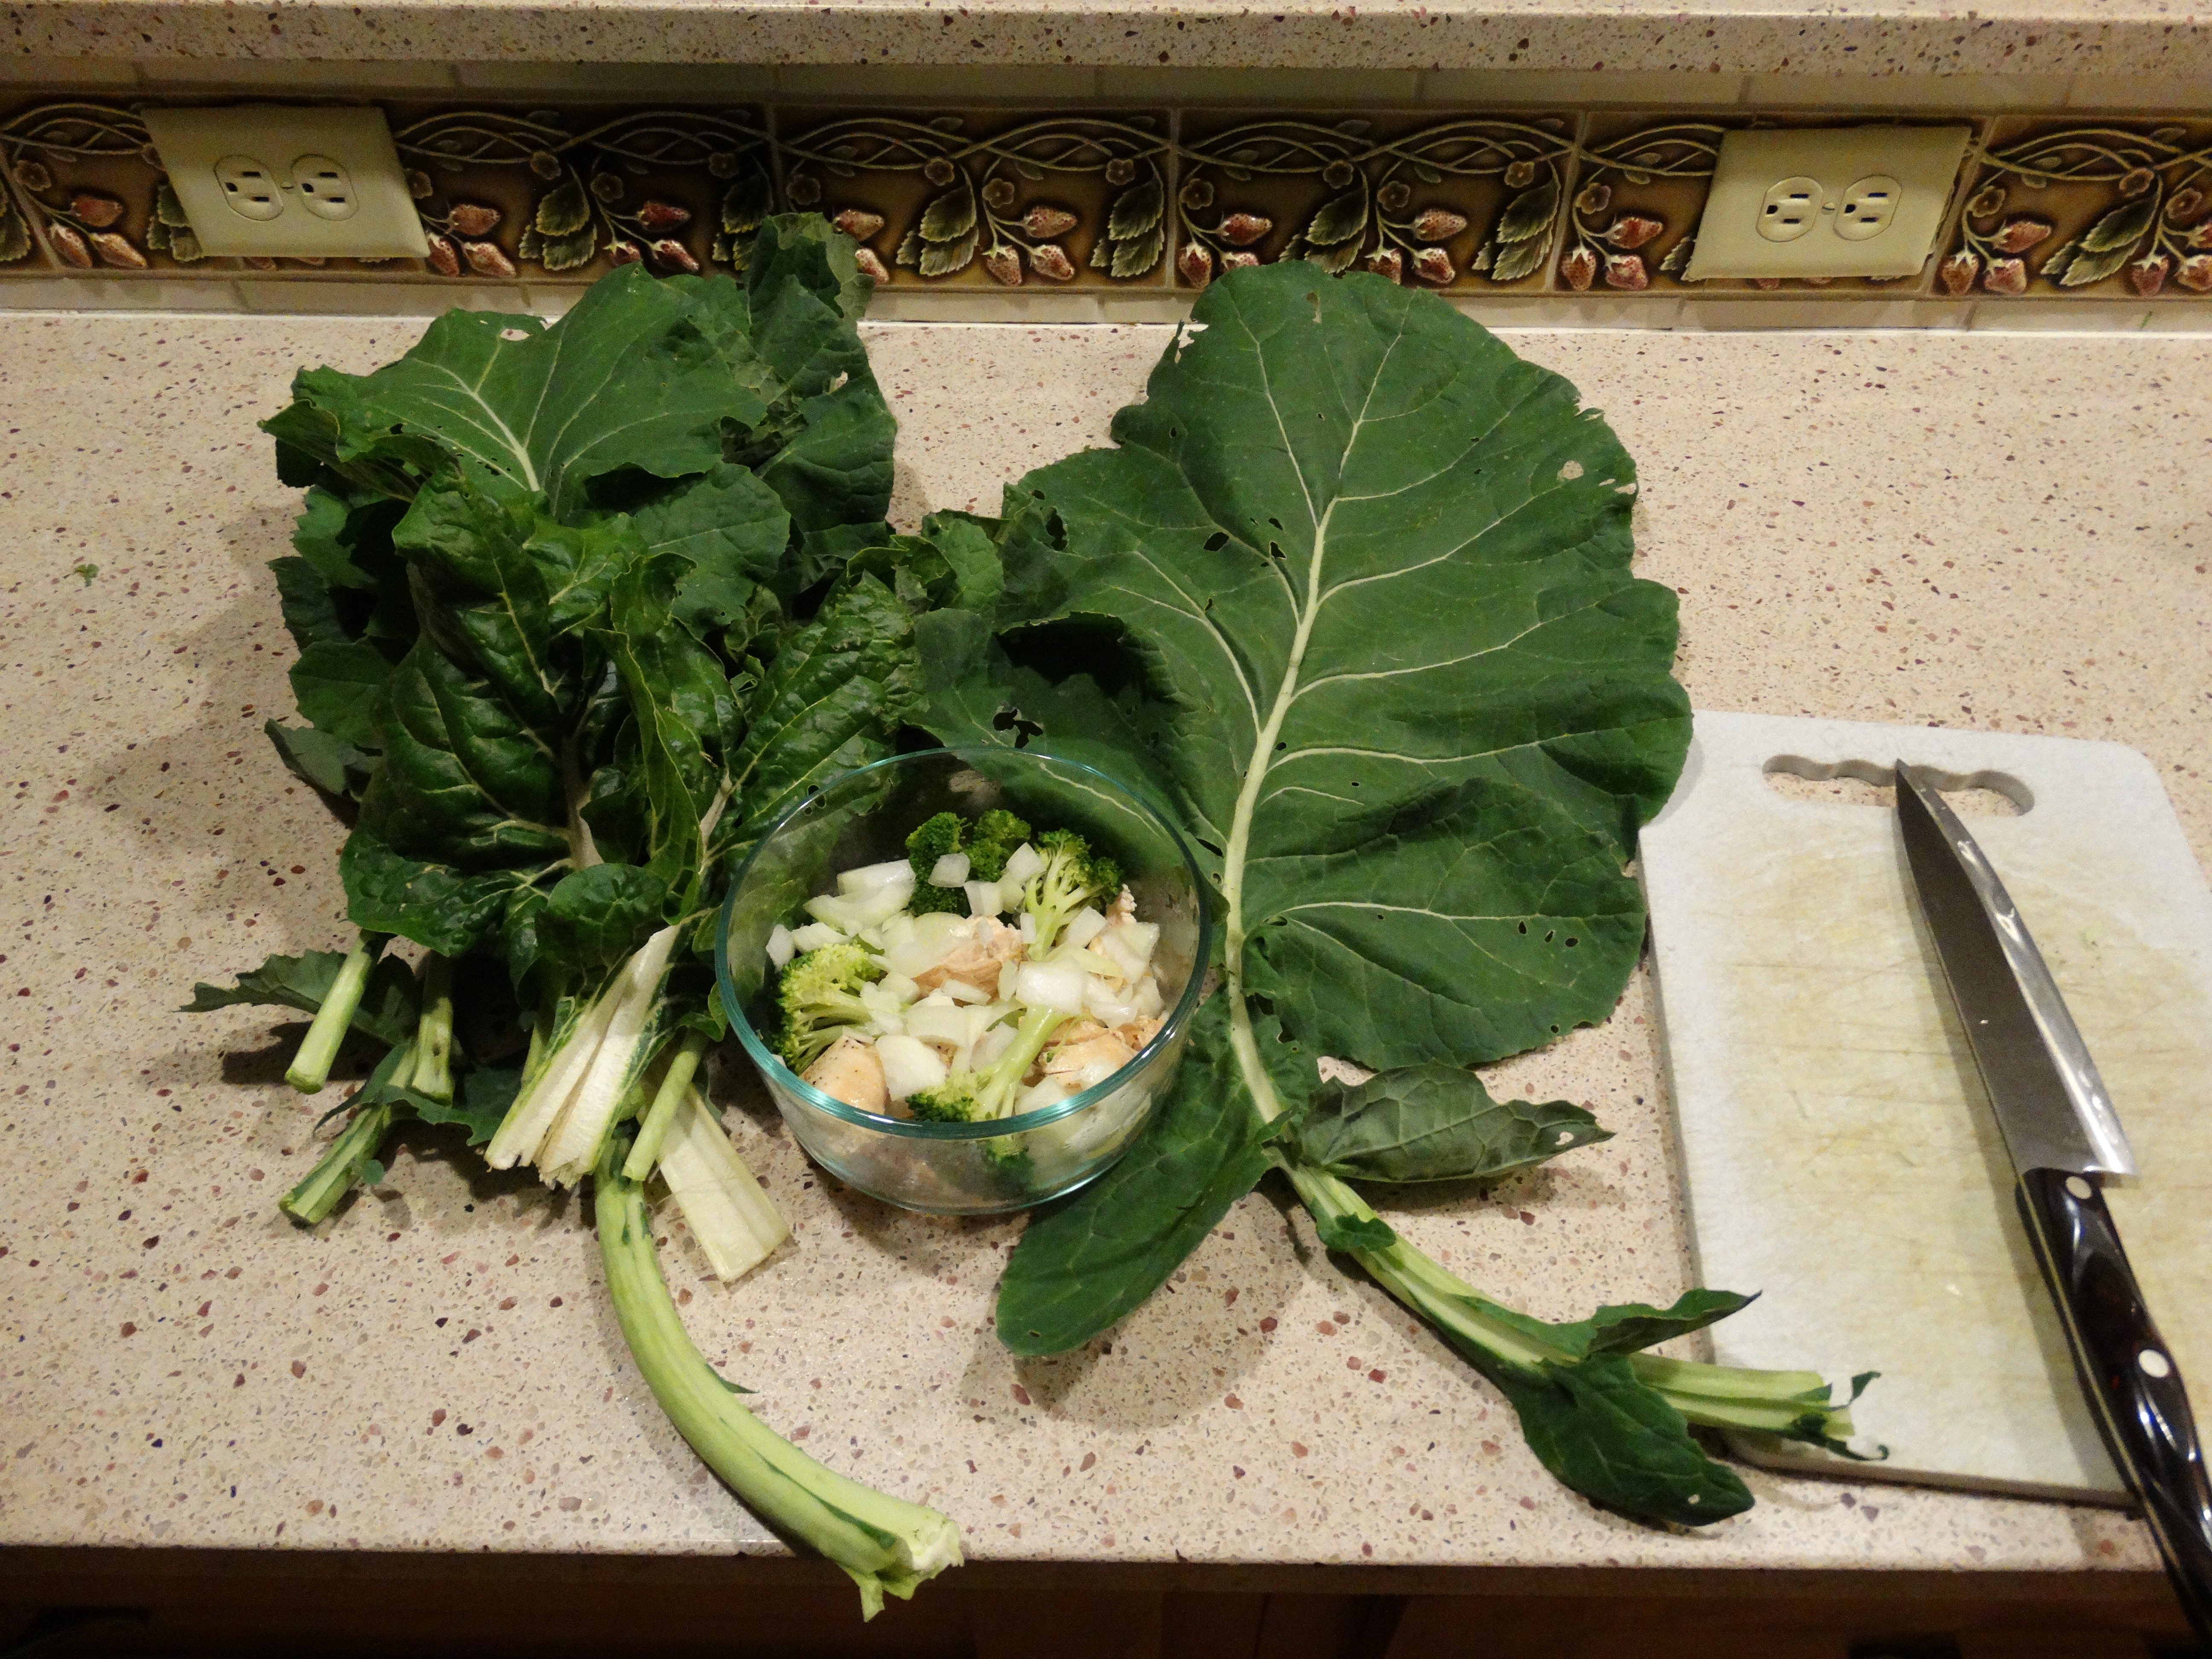
Of course, I’m also killing two stones with one bird:  I wanted to share how I make my lunch for work.  My “standard” cooking receptacle is a 4 cup Pyrex bowl with a vented lid; perfect for cooking in the microwave.  Tomorrow’s lunch will be very simple, yet very delicious:

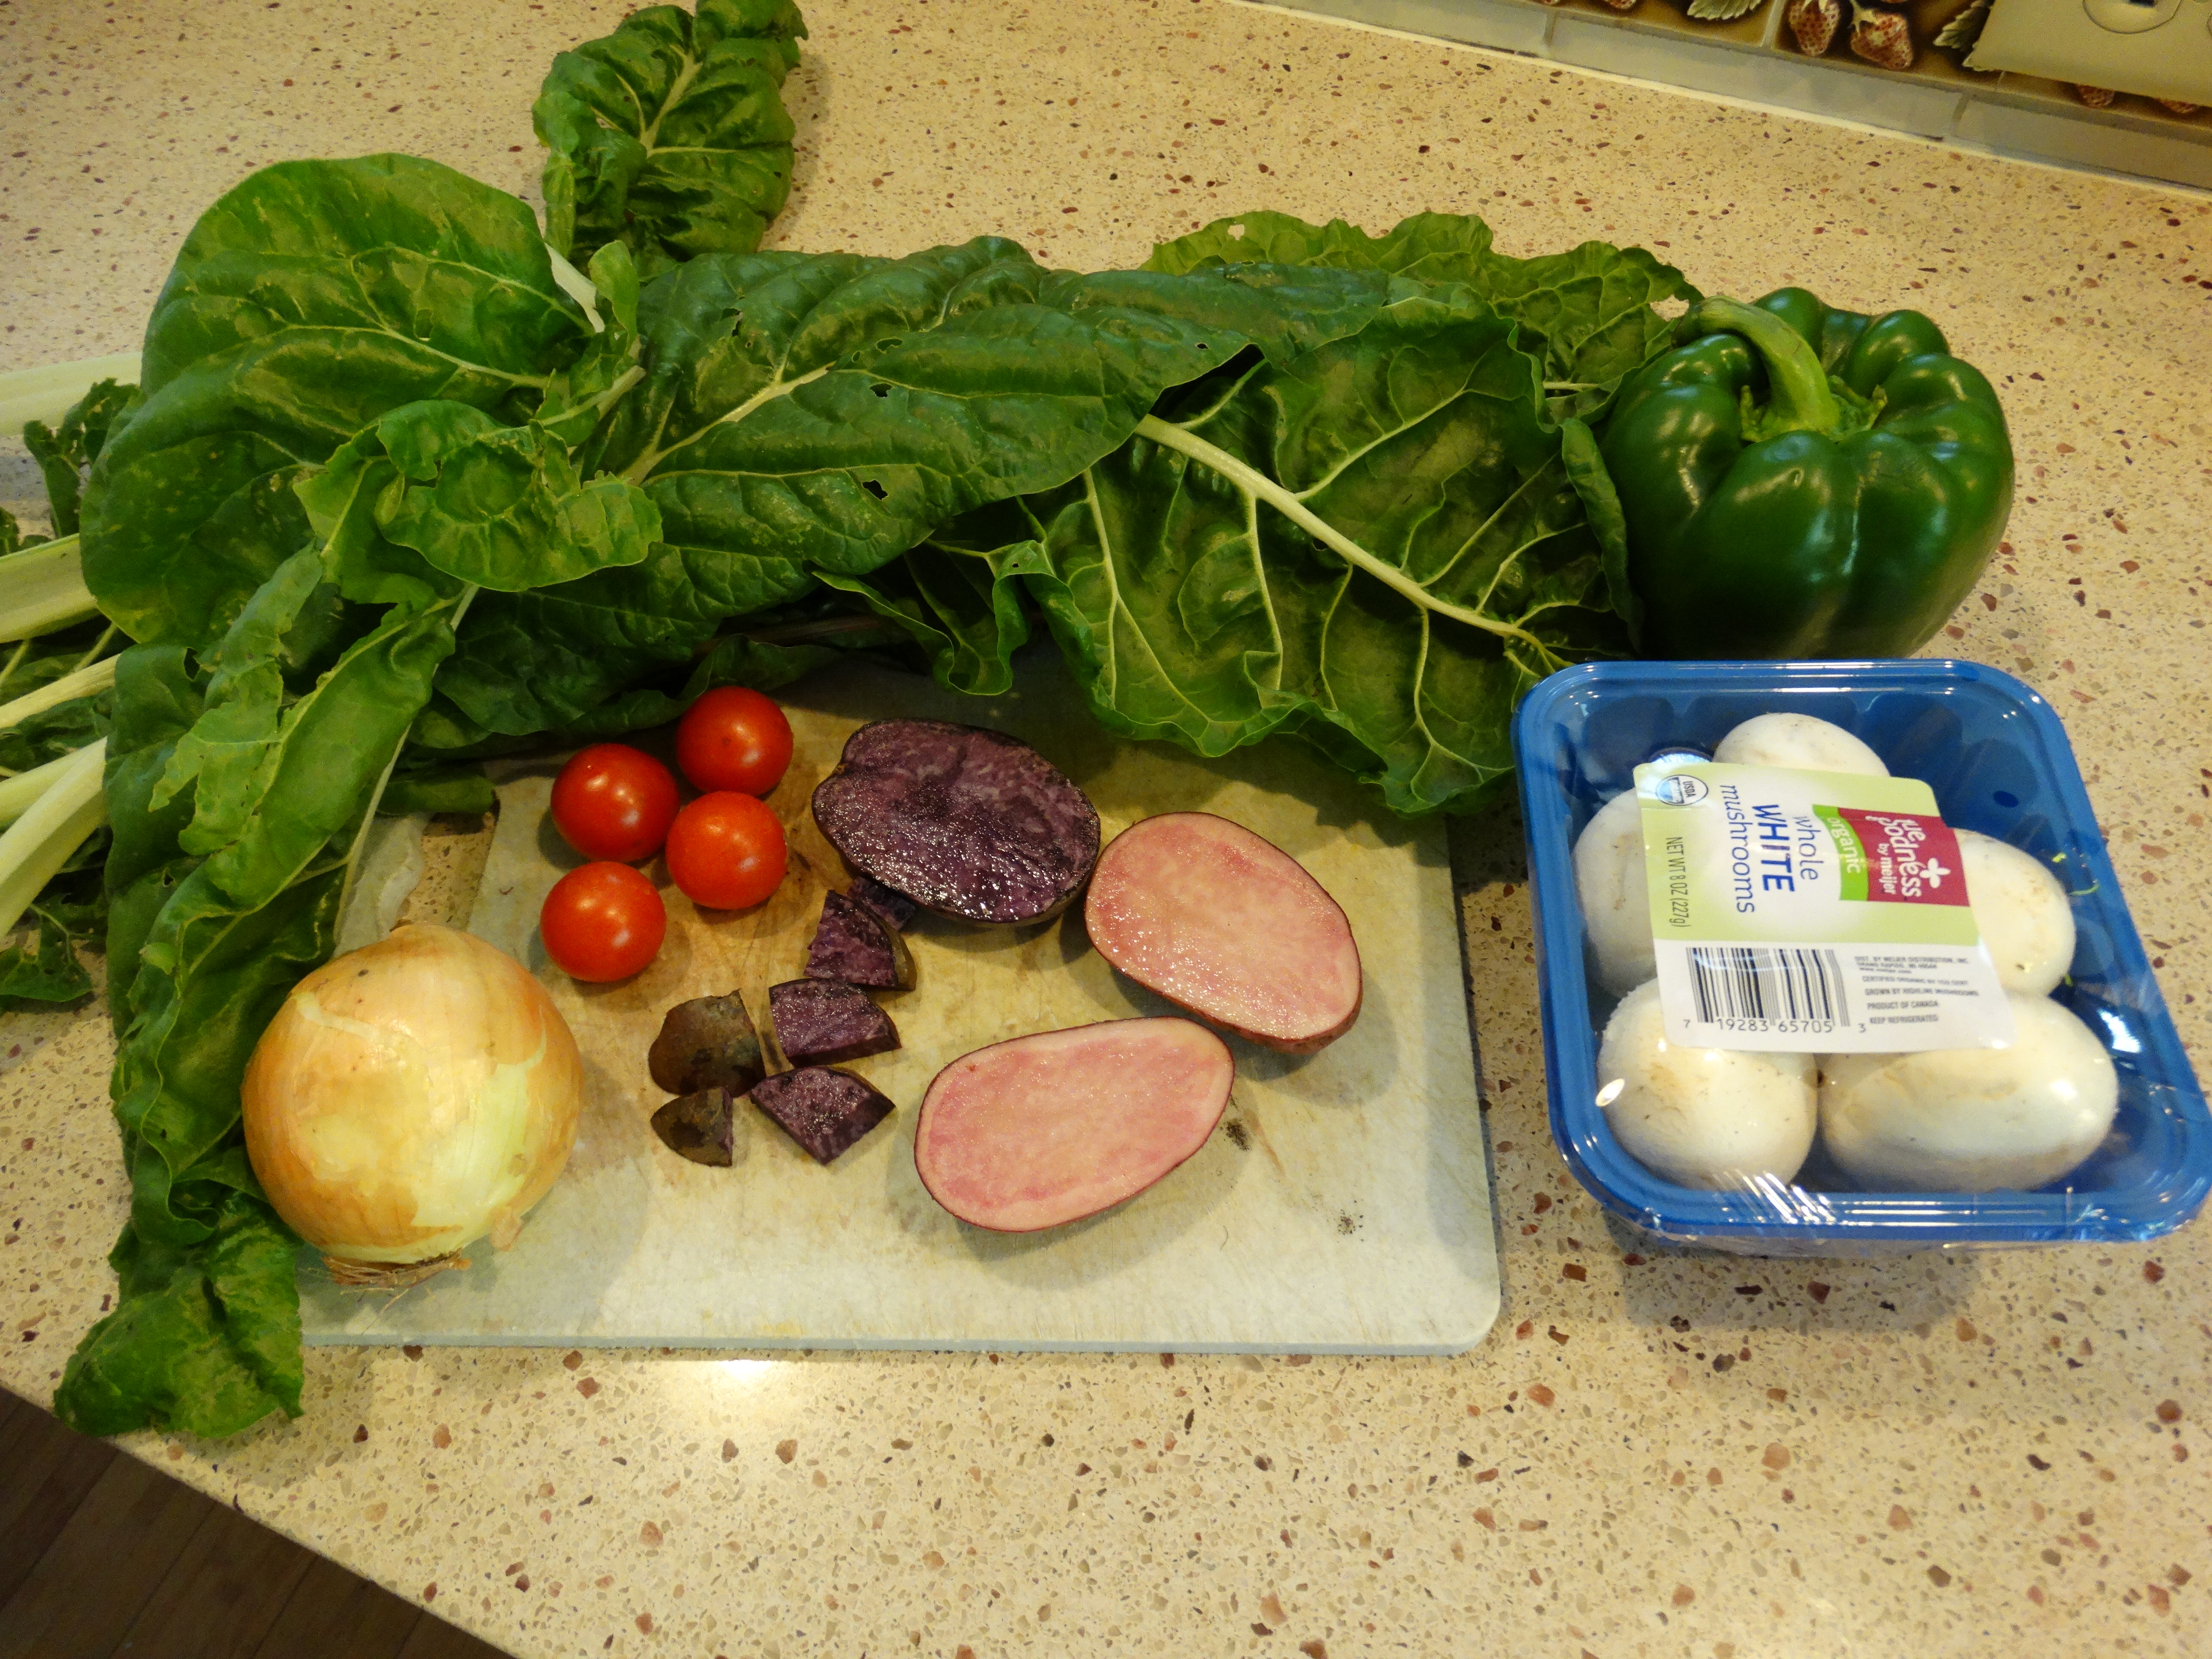
1   small leftover broiled chicken breast (about 4 ounces), cut up into chunks

1/2 of a medium sized yellow onion

Chopped greens, enough to fill the bowl to the top.

And yes we eat the stems too!!  I sprinkle a little Kikkoman Gluten Free Soy Sauce to “kick it up a notch,” as Emeril might say.  Keep refrigerated until it’s time to eat, then nuke it for 3 minutes.  Mix the contents after cooking to toss the flavors all about.  MMmmmmm good!!

Greens-chicken-broccoli-onions

Roasted Pumpkin Seeds

Every year we carve Jack O’ Lanterns, and that of course yields plenty of seeds. Over the years, I’ve kept some for planting, but most were roasted. This year I posted a picture of the finished product on BookFace, and a friend of mine asked for the recipe. Well I’m sorry to say that I don’t really have a recipe; although they come out pretty darned good most of the time. We like our roasted pumpkin (or whatever other squash) seeds a little salty and spicy; and sometimes I get a bit exuberant with the condiments.

In other words, some batches come out better than others.

Anyway, here’s my basic process. First of all, I try to reduce the amount of squash guts that cling to the seeds when I gather what will go into the colander for washing. After the pumpkin is opened, I cup my fingers and press them against the inside wall of the pumpkin. I start at the bottom and pull my hand up the inside, which scoops the seeds but leaves a lot of the squash guts behind. Takes a little practice, but saves work when washing.

OK!! Without further ado, here’s how I roast the seeds:

  1. Wash and drain your pumpkin seeds
  2. Coat the inside of a large, shallow baking pan with olive oil. We use an old enamel coated broiling pan we’ve had for many moons. It measures 12 in. wide by 18 in. long and 1 in. deep.
  3. Pour the seeds into the pan and spread evenly.
  4. Now it’s time for the seasoning: sprinkle with Kikkoman Gluten Free soy sauce (the only one I’ve found with no garbage in it), garlic powder, chili powder, and a very light sprinkling of salt.
  5. Place in the center rack of your oven and turn the heat on (I do NOT preheat) to 350 F
  6. Allow the oven to come to temperature (about 6 minutes) and turn the heat off.
  7. Leave the seeds in the heated oven for about 20 minutes with the heat still off.
  8. After about 20 minutes, take the pan out with your pot holder or oven mitt with one hand and stir the seeds about with a butter knife with the other hand.
  9. Spread the seeds evenly again and place back in the oven.
  10. Turn on the heat again for a minute or two, and then off again.
  11. Repeat steps 8 thru 10 until the seeds are crunchy enough for your liking.

Often for the last step I’ll turn run the oven at 275 for about 3 minutes and leave the seeds in the oven overnight (or for a few hours). This really draws the moisture out and makes them delectable when eaten whole, husks and all.

Obviously the seasoning quantity will vary depending on your preference. And of course you can add other spices not listed here. Be adventurous! Enjoy!

Here’s a picture of our finished product… minus a few handfuls that were devoured before the photo was taken. Punkin seeds roasted

Diggin’ Them Crazy Taters

The potato vines are long dead, but I marked where they lived so I could remember where to dig.  Last several years I’ve been planting Adirondack Red and Adirondack Blue potatoes.  They are truly beautiful tubers both inside and out; and packed with more anti-oxidants than potatoes with white innards.  And of course, nothing beats the flavor of freshly dug potatoes.  These came out of the garden yesterday; I diced them up peels and all and fried them in butter.

Adirondack red & blueAlso made a scramble with chopped Swiss chard, onions, mushrooms, peppers and tomatoes; then topped it with cheese.  Onions, mushrooms, and peppers were store-bought; all the other veggies were picked this morning from the garden.   Well OK, all except the potatoes, that picking was yesterday.

Scramble supplies

A Beautiful Weekend For Saving Seeds

The weather has been simply awesome here in West Michigan this weekend.  Made it easy to spend more time in the garden; in spite of the fact that the grandsons were here for the weekend.  They did “help” me with some seed saving; Ollie actually processed a few pak choi pods with me while Gabe used the spent stalks for a light sabre.  Pretty good considering Ollie is 6 and Gabe is 2.

pak choi seed saving1   pak choi seed saving2   pak choi seed saving3

We rolled the pods between our fingers into a colander that sits on a 2 1/2 quart Revere Ware pot; then shuffle the colander to and fro over the pot till all the seeds have fallen through.  Then it’s time to discard the chaff and start again till all the pods have been emptied. out.  I’ll run the seeds through the colander a couple more times to get the big chunks out.  Doesn’t hurt anything to have a little “pod dust” in the final product, which I poured into a smaller ceramic bowl.  That will sit on top of the fridge for a few days to let the seeds dry a bit more.  Final step is to put them in a paper envelope and then into the fridge they go until spring planting time.

Greens And Roots

Aturnip and some wild cabbage will make a very nice addition to my stir fry.

A turnip and some wild cabbage will make a very nice addition to my stir fry.

Here we are in October already!!  Summers in Michigan sure seem to whiz by quickly.  But I take heart that there are still several more warm days ahead.  By warm, of course, I mean above 50 degrees.  Even with climate change we’re not gonna see 70s or above any time soon.  All my friends know I love to garden, and at work I’ve been asked more than once:  “So Ken, your garden pretty much done now?”  “No,” I reply, “there’s still lots of food in there.”

I go on to explain that although the tomatoes are pretty much done, there are still lots of greens to be had.  I rattle off names like Swiss chard and wild cabbage and I get some puzzled looks.  Many have heard of Swiss chard, although not very many folks eat it from what I can see.  And when I try to explain that wild cabbage is an ancestor to broccoli, collards, and other members of the cabbage family, I often get that “deer in the headlights” look.  Swiss chard and wild cabbage both thrive in cool weather; and will actively grow right up till Jack Frost starts blowing his wintry breath on the ground.

Turnips are another of my favorite cool weather crops.  They do really well when planted from seed in late July.   I often dice up the large roots and throw them into a stir-fry.  After cooking they are often mistaken for diced potatoes by unsuspecting guests.  The greens, normally strongly flavored (almost bitter) in summer, are mellowed out nicely by the cool temperatures.   I also use those in stir fry dishes, as well as soups.

So yes, the garden is still going even in autumn.