Monthly Archives: May 2016

Tomatoes: Up To Their Necks In Dirt

Finally got the tomatoes in today.  I buy plants from Weesie’s in Montague, Michigan.  They do a great job with starting my tomatoes, peppers, and eggplants for me so I don’t have to worry about it.

One neat trick I’ve learned about tomatoes is to plant them up to their necks in the dirt.  I use a similar method with eggplant and pepper transplants; but the entire stem of the tomato plant will grow roots if given the opportunity.  Because of that, I’ve learned that planting them that way makes a much stronger plant.  I put some pictures for examples below, you can click on each to get a better view.

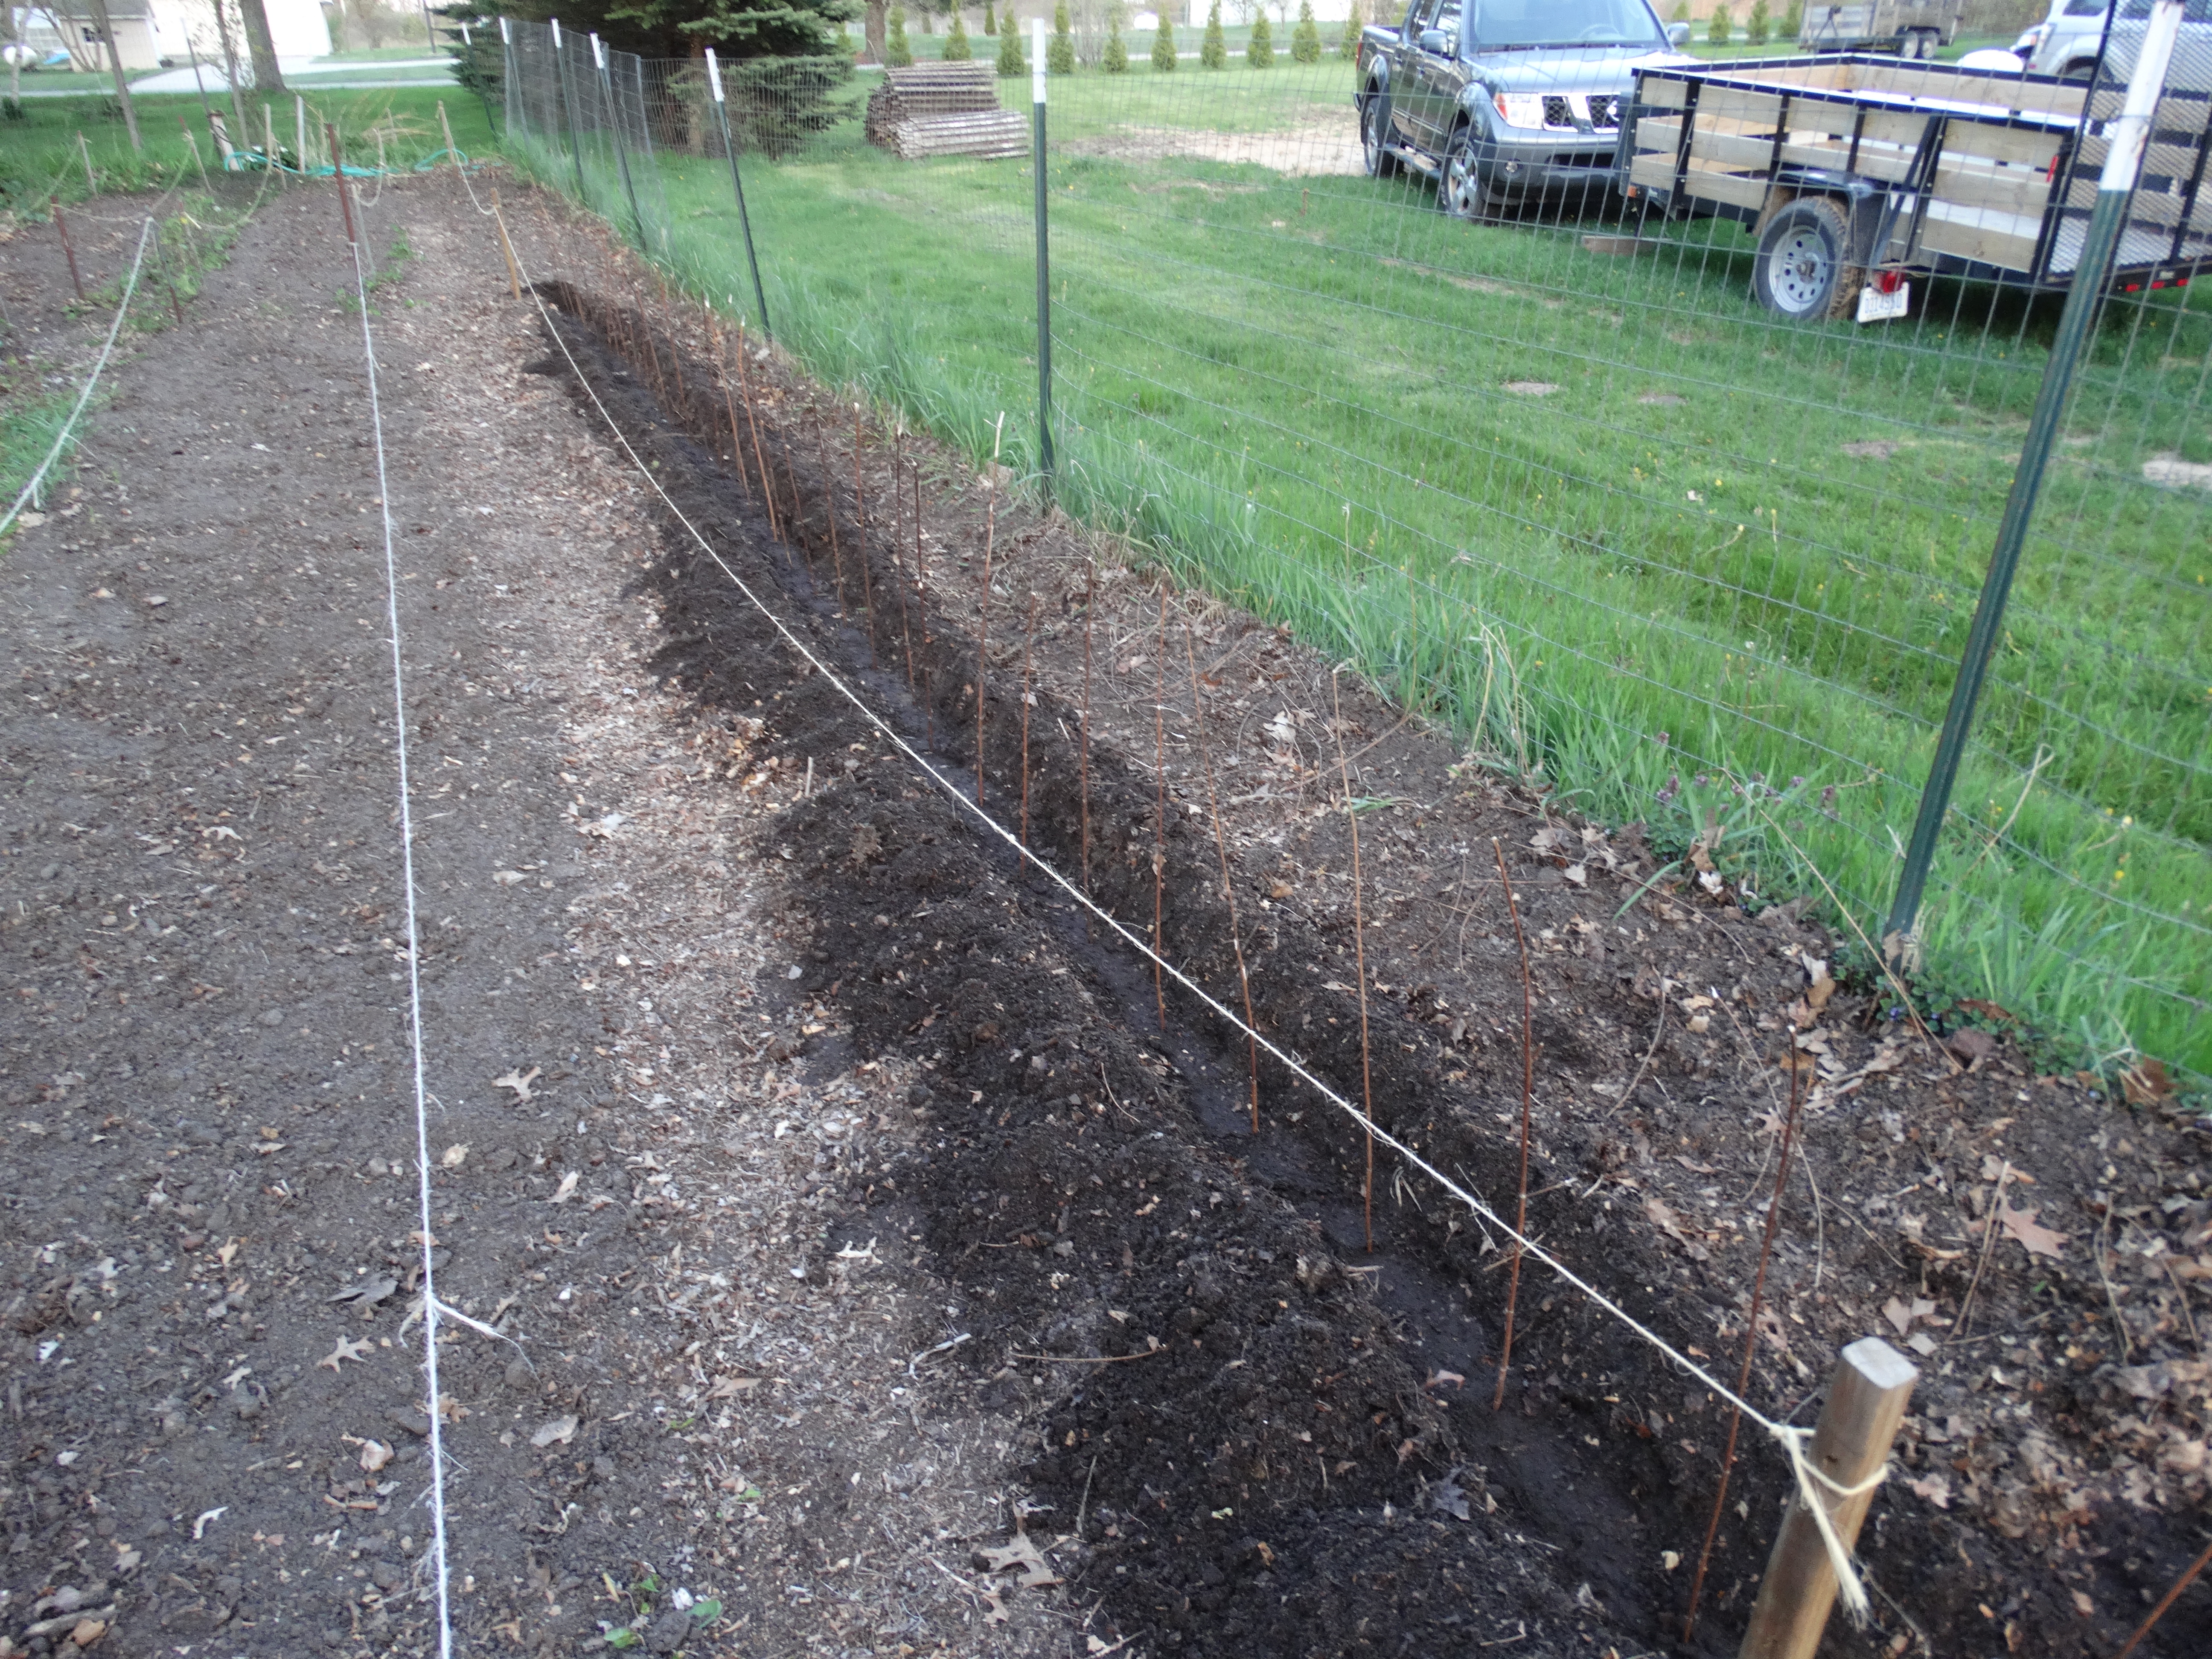
I always start with a hole that I fill with compost.  Usually go down about a foot, and the hole is a bit over a foot wide.hole for compost - compressed

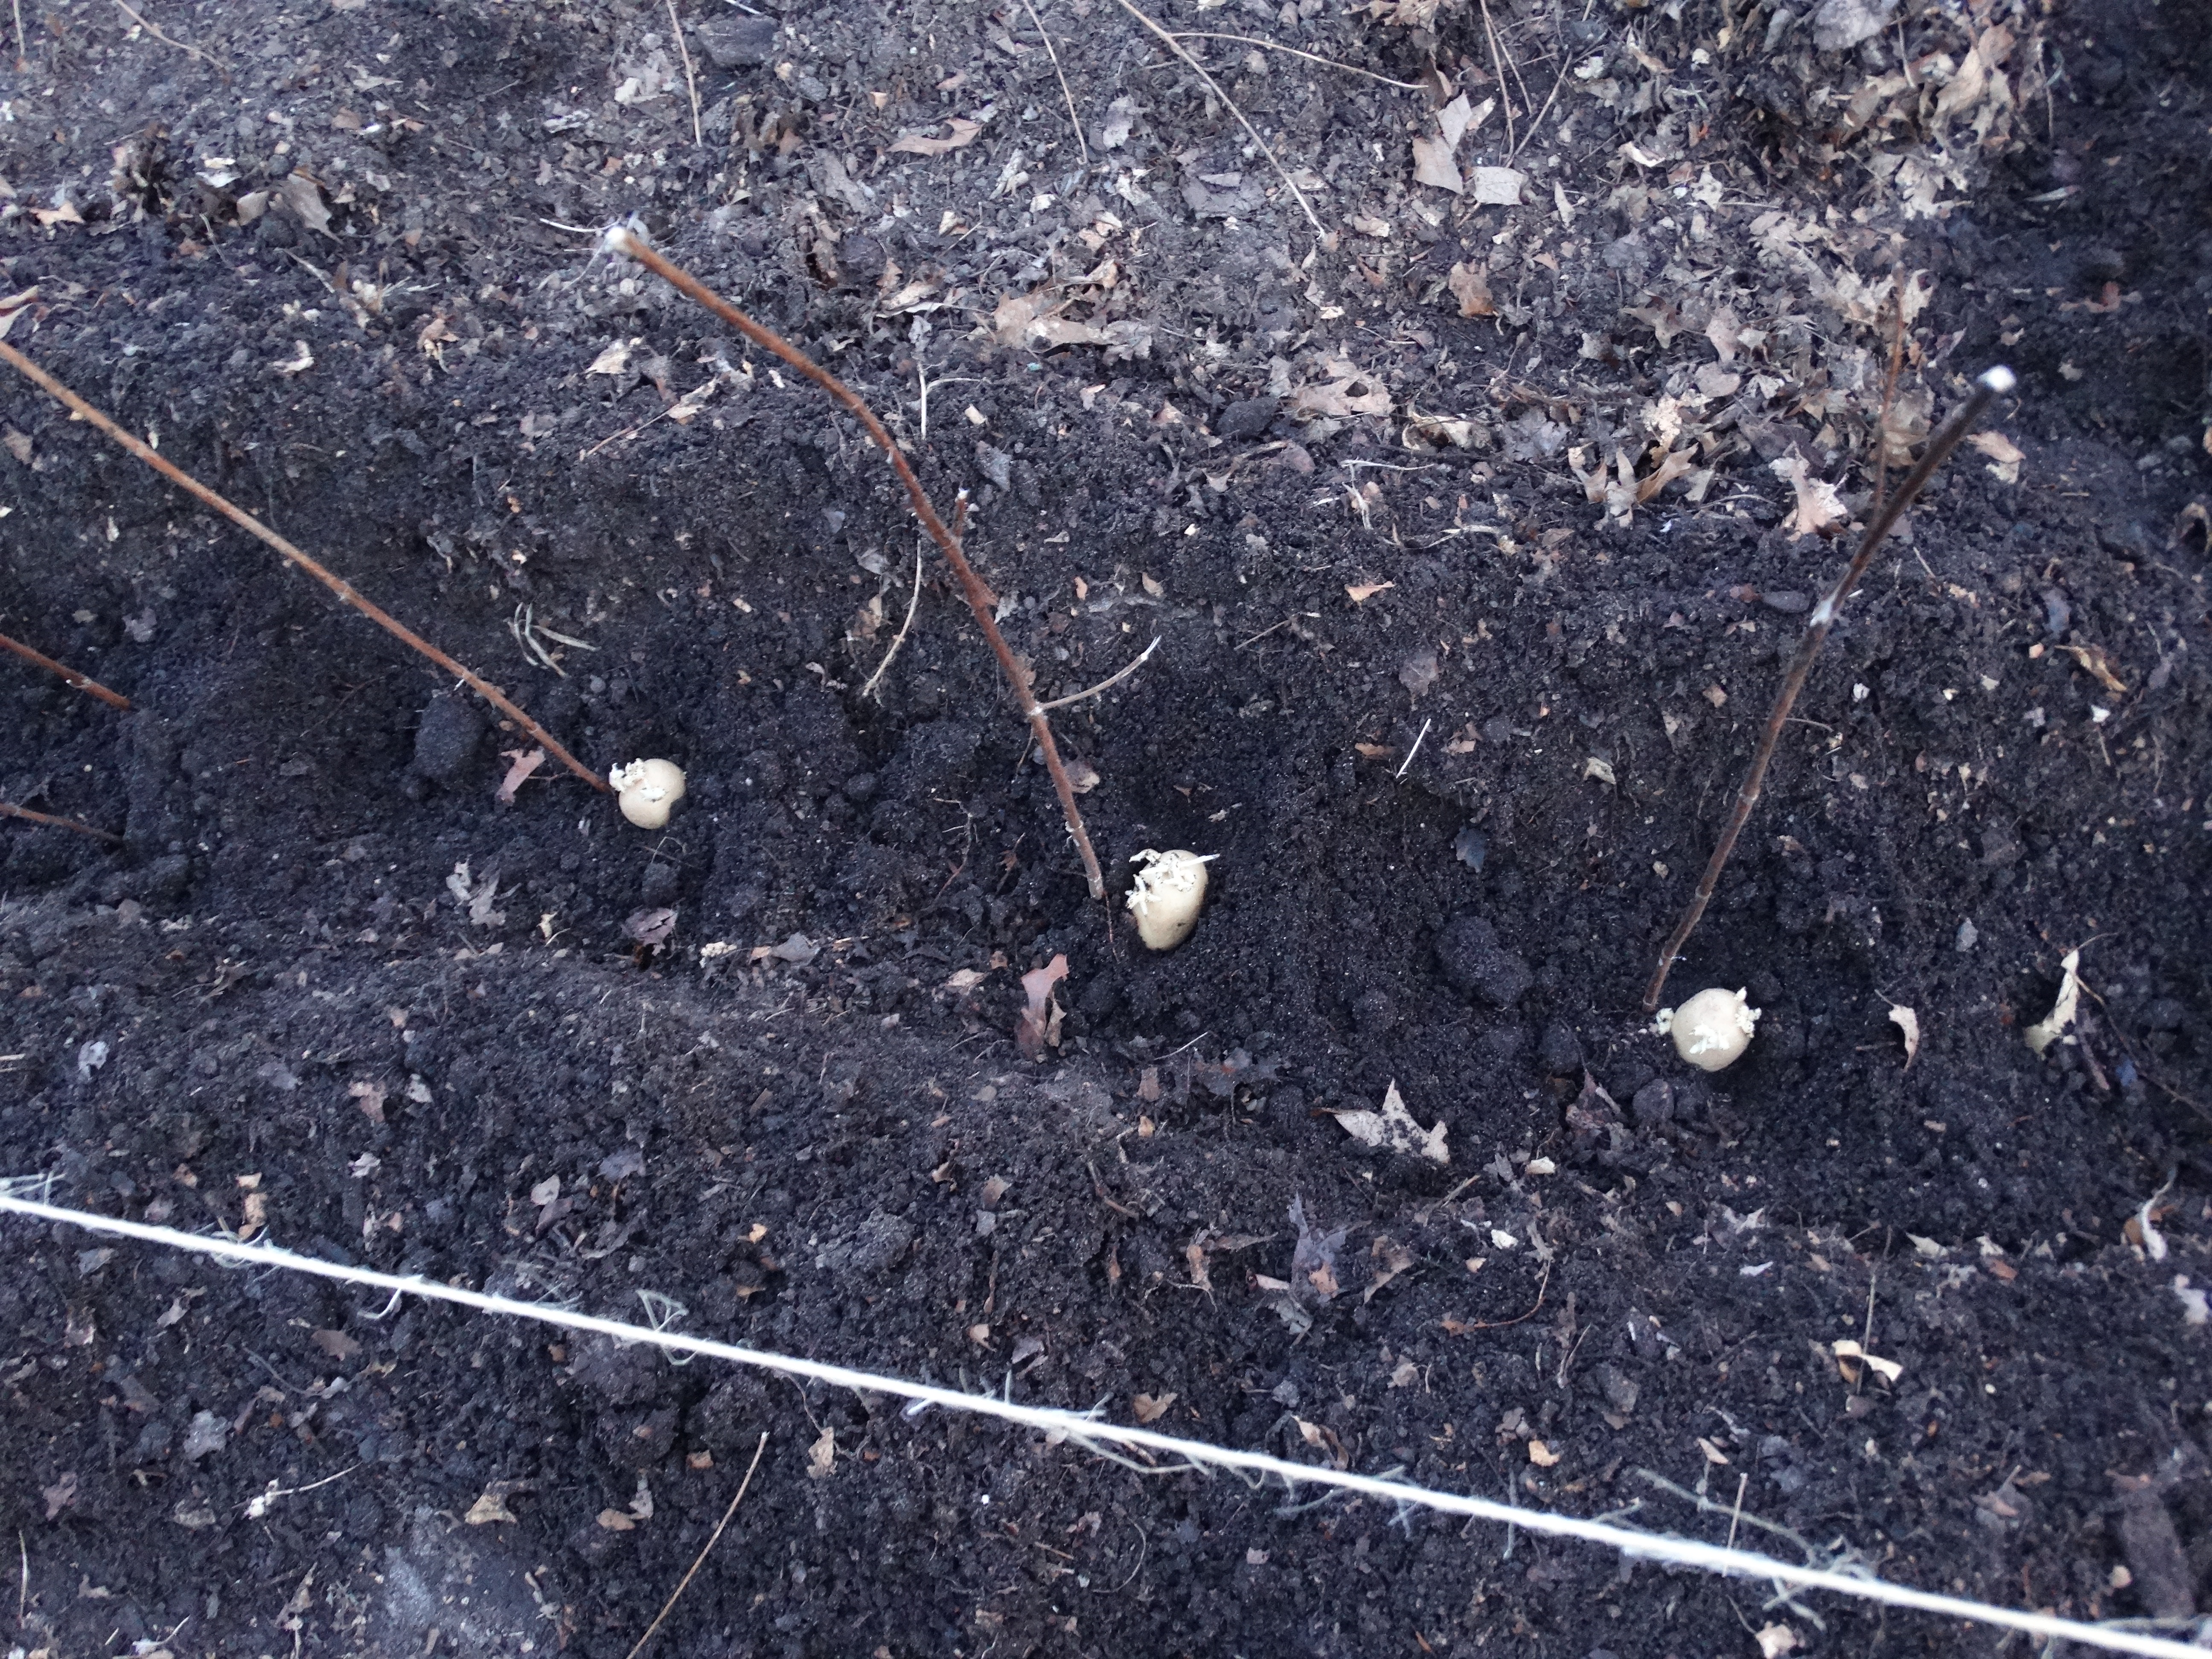
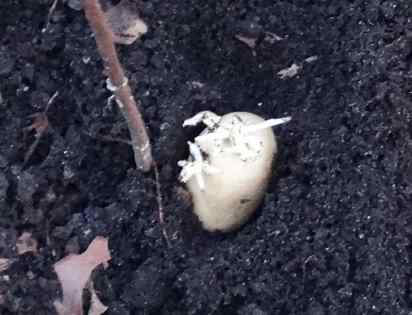
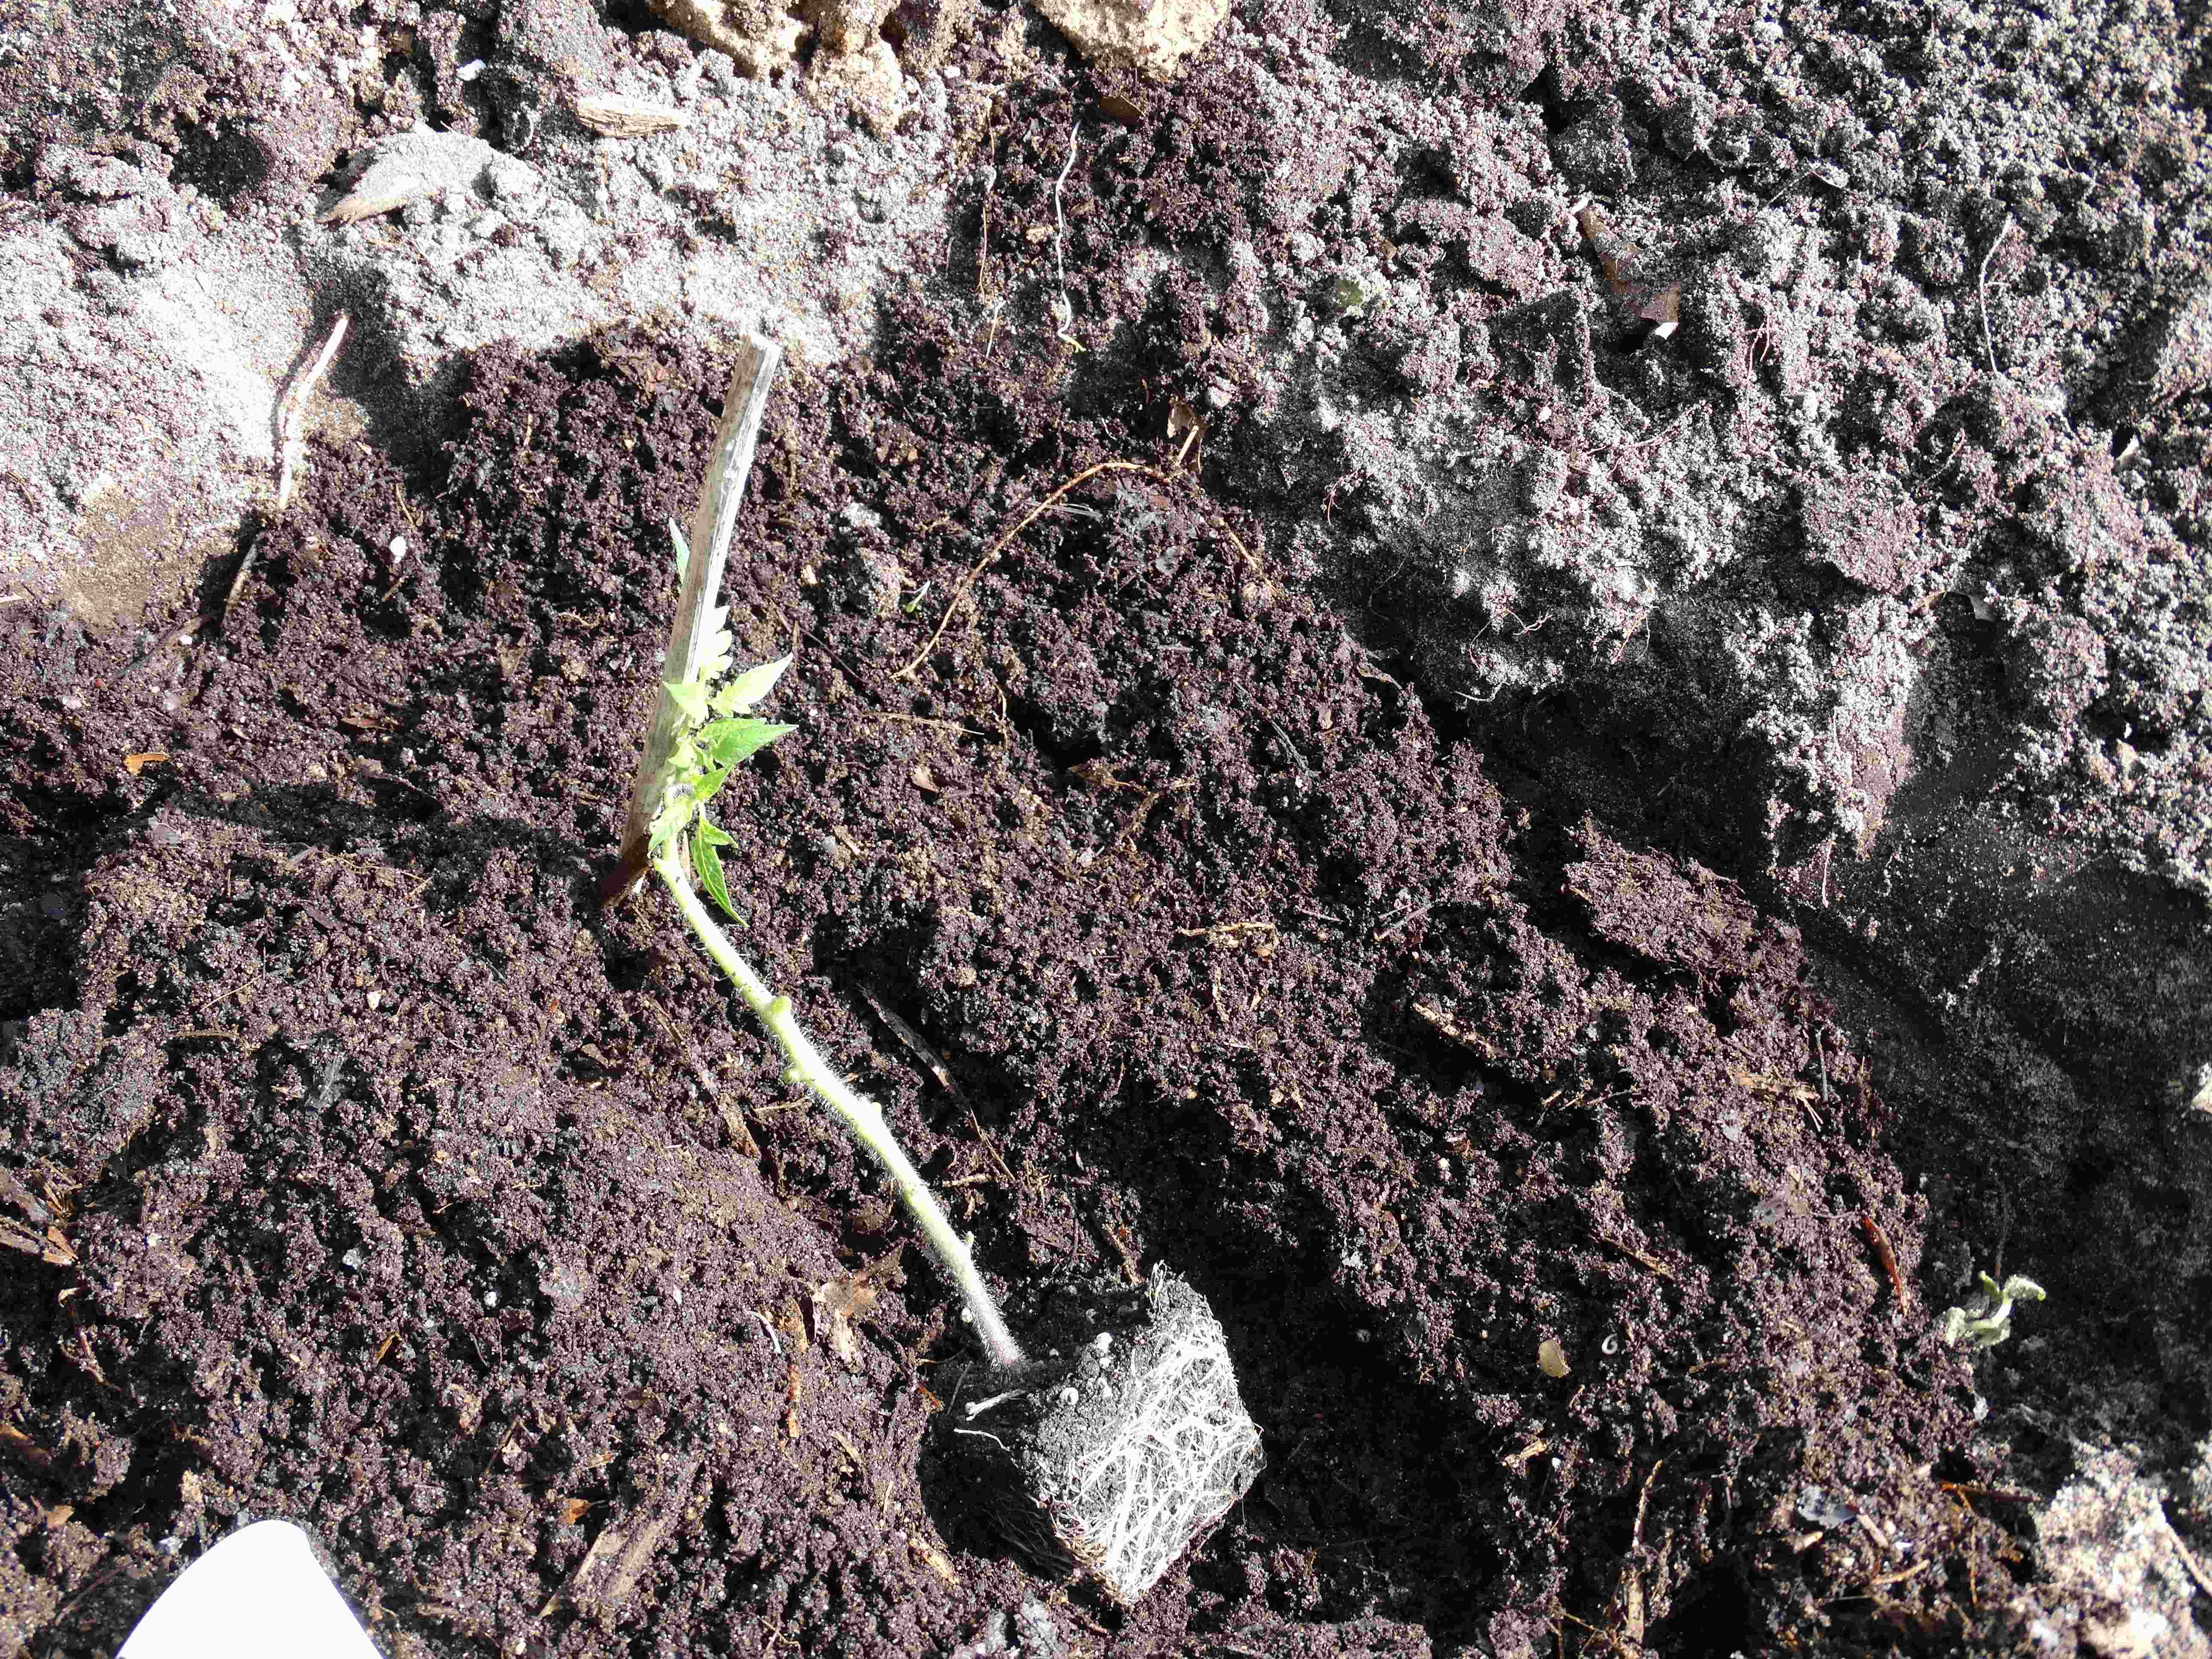
Next I take my plant and trim all but the very top set of leaves off.  I use my fingernails, but if I don’t have nails I use the scissors that come with my Swiss army knife.  Depending on how long the stem is, I either dig straight down into the compost and place the root ball in the bottom; or else I lay the plant at a slant with the root ball below the surface of the soil a few inches.    The example below shows a small stick i used to lean the tip of the plant on so it will grow straight up.

after trim3 - compressed

After setting the plant where I want it, I cover all but the top set of leaves with soil.  I let the leaves protrude from the surface a bit to allow room for the next and last step, the cutworm collar.   I also water thoroughly at this point… and I’ll water again after the cutworm collar is in place.after trim5 - compressed

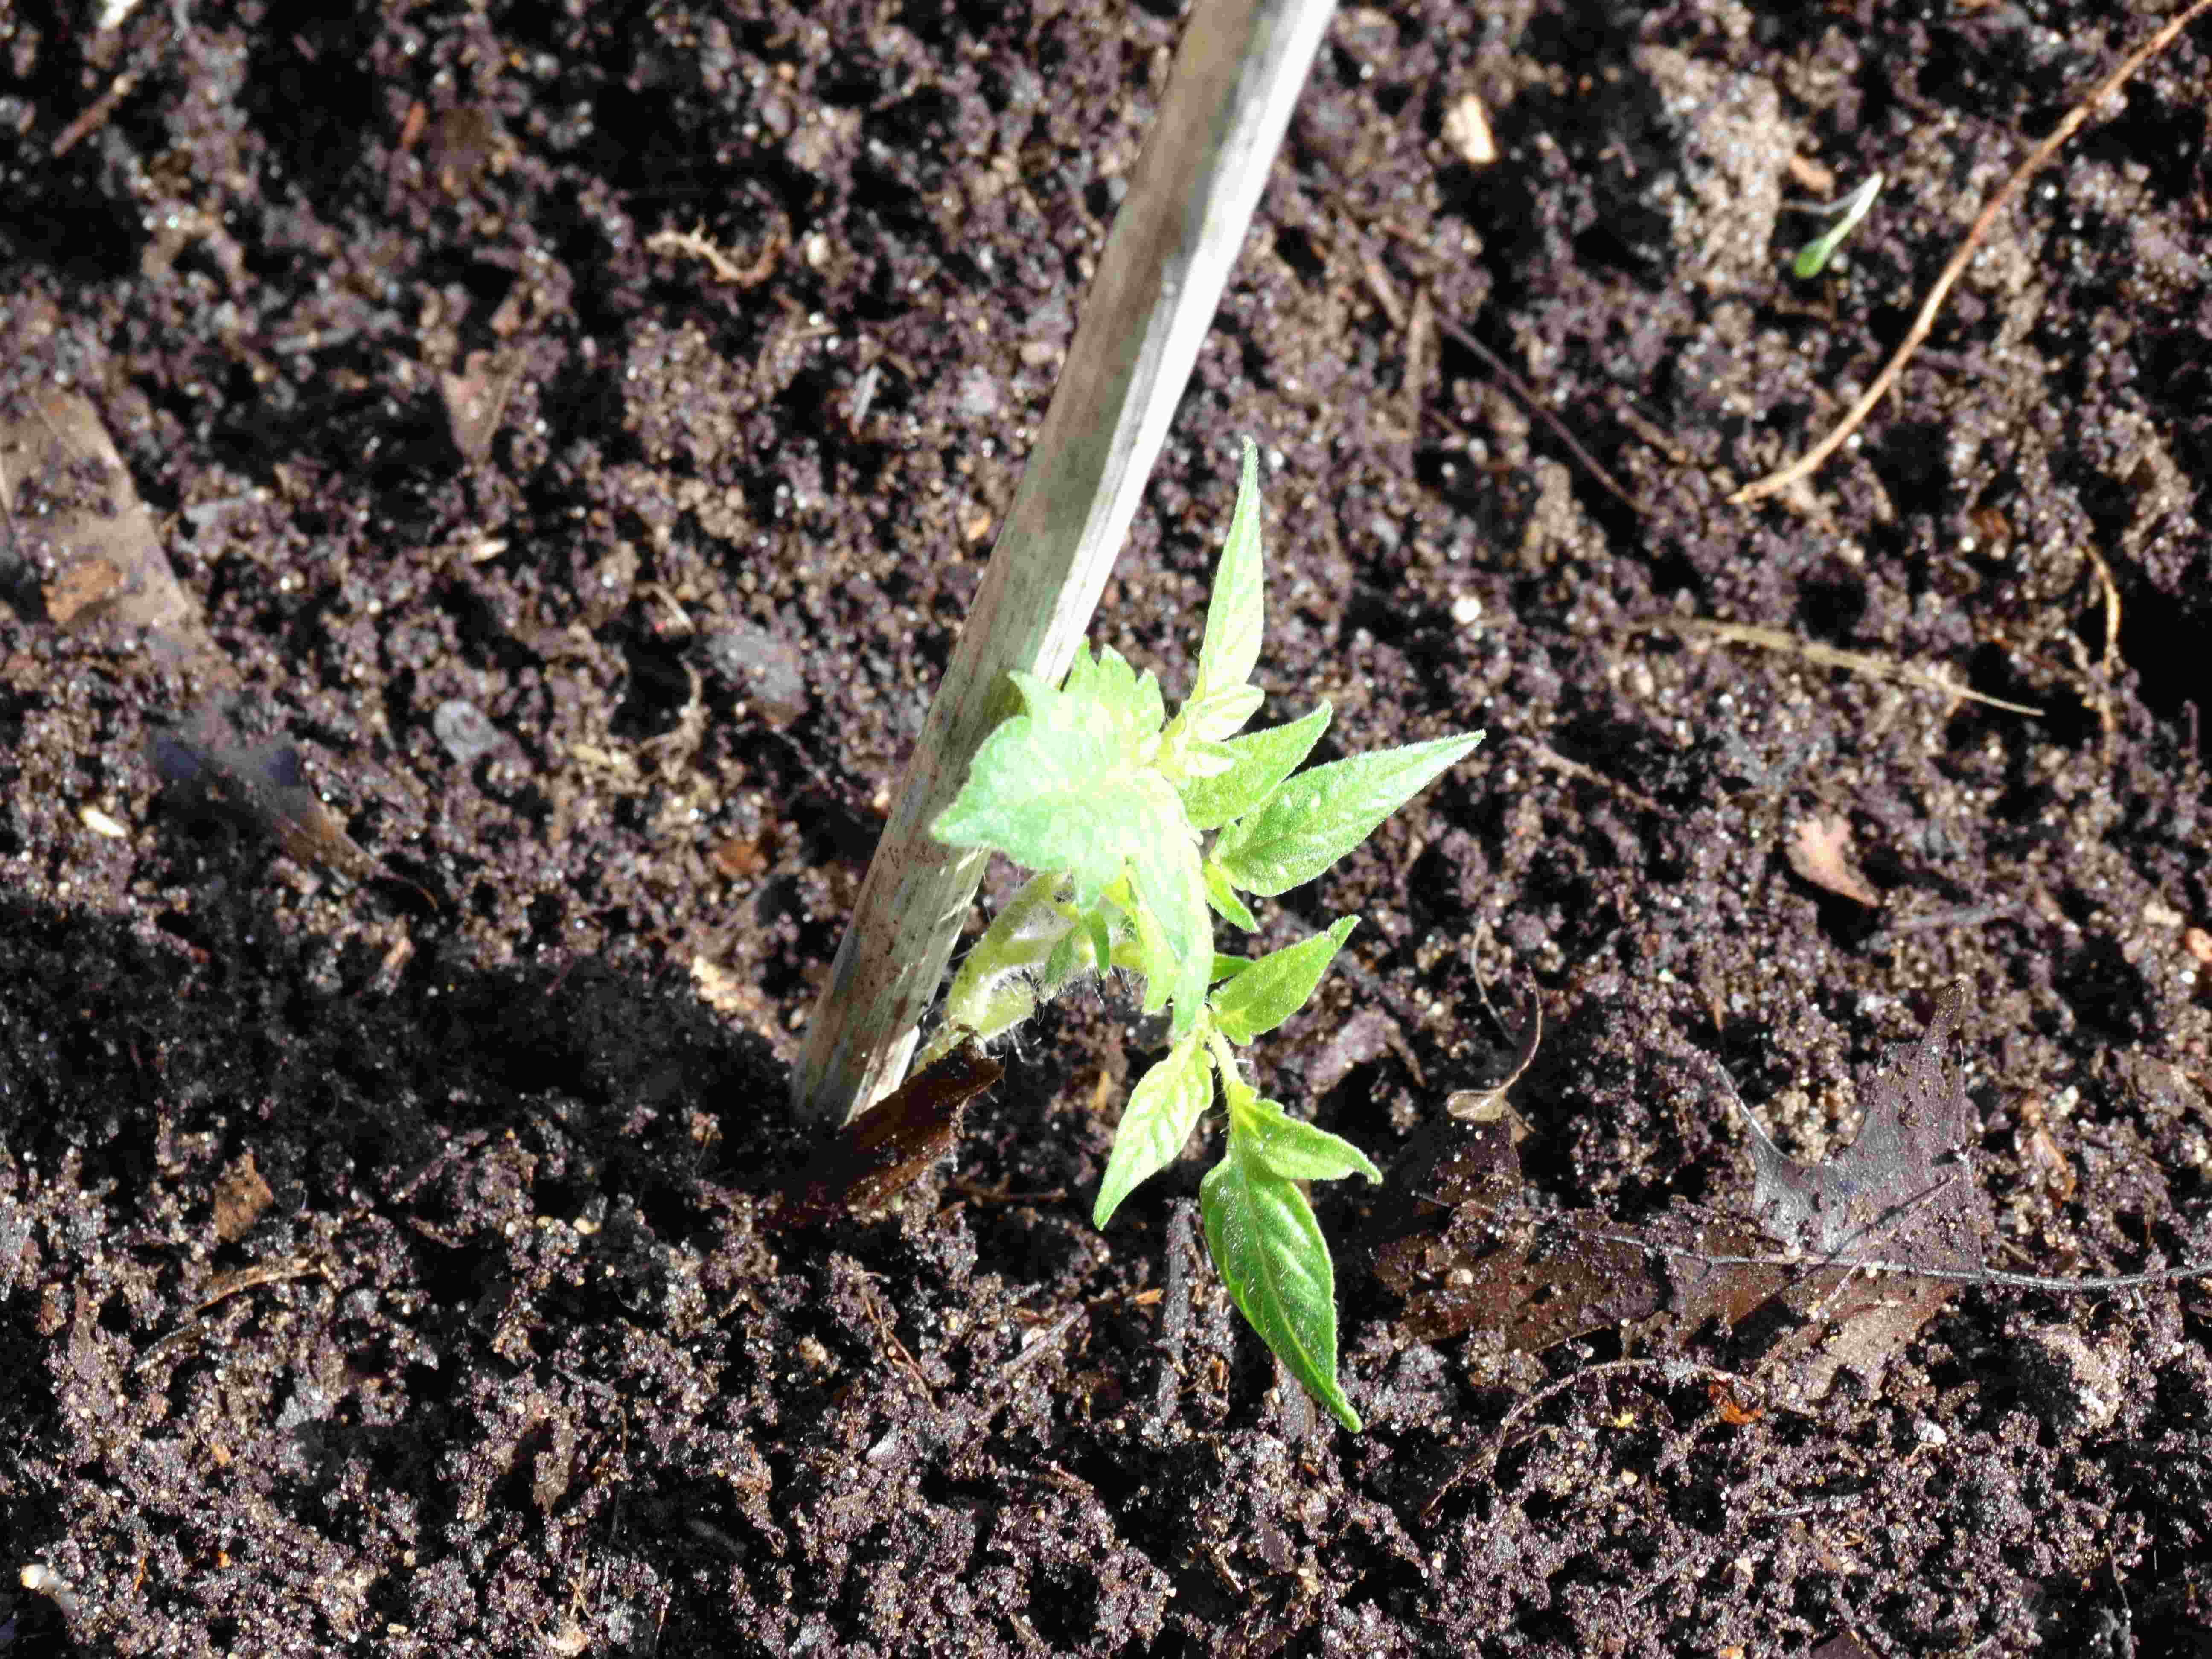
If you’ve ever transplanted something in the garden only to find it lying on the ground next to its stem a day or two later; you’ve been the victim of a cutworm’s naughty deed.  These little buggers hide just beneath the soil, and if you find a plant that’s been whacked, it’s likely you can unearth the culprit very near the stem of the plant if you notice the damage quickly enough.  I’ve had this happen once, and since then I’ve always protected tomato, pepper, and eggplant transplants with cutworm collars.

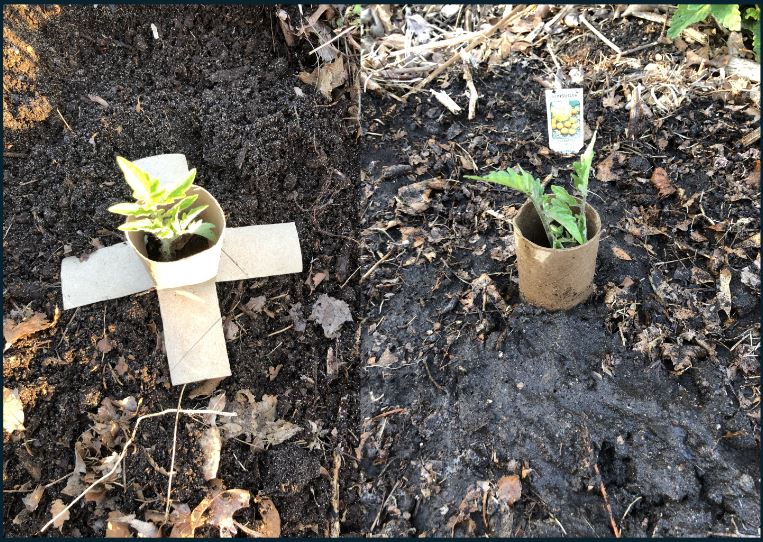
I make cutworm collars from toilet paper tubes.  That’s right, toilet paper tubes!  I start saving them in the fall until I have enough for what I think I’ll need.  To make the collars, I cut slits into one half of the tube.  Then I slide it over the plant so the leaves are just barely sitting over the top of the tube.  To be effective against cutworms, I make sure the tube sits above the soil an inch (2.54 cm) or so.   Then I anchor the tube by brushing soil over the  flaps.  Finally I take some soil and sprinkle it into the tube until it is at soil level (NOT all the way up).  Anchoring the tube with soil is especially important to prevent the tube from being removed on windy days.

OK, done!  Now to repeat the process for the remaining plants.  These days I get fewer tomato plants and space them a little farther apart.  I’m down to 6 plants now, and I space them about 2 “giant steps” apart.  I grow a few different varieties for the fun of it.  This year it’s Cherokee purple (one of my all time favorites), red cherry, red grape, Roma, and an heirloom variety called Stupice.

I’ve also been planting marigolds near tomatoes for some time.  Marigolds help the tomatoes stay strong and the flowers are good for attracting bees.

Fun tip:  I’ve been planting a few onion sets at the base of each tomato plants for several years now.  Since I’ve been doing that, I have had very little disease and absolutely NO tomato worms.

Nothing beats a garden fresh tomato.  Can hardly wait!!

Potato Planting Time!!

Pretty much everyone I know likes potatoes, and gardeners know that the ones that taste the best come out of their own soil.  They are easy and fun to grow; and can be even more fun when growing colored varieties like my personal favorite, Adirondack Blue.  Those things are blue on the outside and the inside!

I practice what’s been called “intensive gardening,” and I am really happy inside when we get a good harvest.  Therefore, every square foot of soil takes some planning in order to get lots of food.   I had to go on the interwebs to be reminded of the spacing, etc. for potatoes, and this is what I did today.

First, I dug a trench with my large hoe (I have two and use the smaller one for weeding).  The recommended depth of planting is 3 to 4 inches, but I planned to put some compost in the trench so I went down about 5 or 6 inches.   Recommended spacing was 1 foot between plants.  That’s easy enough, but I decided to mark where each seed potato would be placed so I could plant some peas and beans in the near future.  I wanted to put the peas and beans near the potatoes but not right on top.  Beans and peas are legumes, so their roots have rhizomes which actually add nitrogen to the soil.  This in turn benefits the potato plants.

The markers I use are dead stalks from my Beautiful Girlfriend’s woodlands sunflowers she grows in her flower bed each year.

step1-dig trench - place markers

Trench with markers. Click the image for a closer view.

After I got the trench dug and marked, I dug into my compost pile and filled my wheelbarrow; then put a partial shovel full of compost next to each marker.   I keep my compost pile covered with leaves to prevent it from drying out.  After digging out what I need, I get more leaves (or whatever other mulch I have) to cover what’s left in the compost pile again to protect it.   When compost dries out, the micro-organisms that keep soil healthy will die; and that of course makes the compost less valuable.

After the compost has been placed by the markers, it’s time to put the seed potatoes in for planting.  I push them into the compost a bit to get that 3 to 4 inch depth I mentioned earlier.  The seed potatoes usually have something sprouting out of them when I plant, so I orient the spuds so those sprouts are pointing upward.  These are sometimes mistaken for roots, but rather they are the shoots that will emerge from the ground and grow leaves.

place spudssprouts pointing upwardFinally, I cover the seed potatoes carefully with the soil that’s been pushed to either side during the trench digging process.  I don’t pack the soil down, the rain will do that for me.

There are lots of different ways to grow potatoes, but I have some room so this method works well for me.  If I had less room, I could always just scale back the amount planted.  One plant can yield up to two pounds of potatoes, so if you just want a taste you can always just throw a couple in the ground for the fun of it.


Beans Think Onions Stink

If bean plants could talk, they’d ask the onions to leave the premises immediately. This is for real, people! They’d pinch their noses and shout thusly: “Hey! You wid da face! You’re pudding a big hurt od by doze! Gid oudda here awreddy! Can’t lib here wid dis stinking!!”

This of course makes the onions cry. After all, they can’t help the fact that they were born with a natural fragrance that bean plants find offensive. Not to worry, the cabbage family and several other vegetables are happy to have onions in the neighborhood.

Forgive me while I indulge in this good stink / bad stink talk. I can’t help but think about it because in these parts, garden planting time is very near and I get to thinking out loud about what goes where in the dirt. Companion planting, or the practice of putting plants that benefit each other, is a cool thing for us organic-type gardeners. If plants can be happy together, they are much healthier. Having healthy plants means better yields and fewer problems with bugs and diseases.

Onions exude chemicals that prevent beans, peas, and other legumes from making nitrogen in the soil with their toes. If you’ve ever yanked a bean plant out of the dirt, you might have noticed the rhizomes (little round bumps) on the roots. Well, the beans do NOT have tumors. The rhizomes are where the action is: bean-friendly bacteria live there and make nitrogen for the bean plants and anyone else who happens to be nearby. That is, unless the onions are in town. Then they will be stunted and just sit there twiddling their toes.

However, cabbage and its relatives (broccoli, cauliflower, brussels sprouts, etc.) love those onions, because they help keep the cabbage butterflies away, and also keep the aphid population down. Both of those bugs love their cabbage, but, like beans, most bugs also hate onion breath. For an experiment, I’ve been planting onion sets near my tomato plants over the last few years. The result: I haven’t seen any tomato worms!! And when other gardeners are complaining of their tomatoes getting wilt, mine are pretty happy.

Other examples of companion planting: corn says thank you to the beans and peas for being there and doing the cool nitrogen toe jam thing. Corn likes the nitrogen produced by the legumes. In return, the beans and peas give the corn a high five for wind protection and shade. Corn plants also make nice poles upon which peas and runner beans can climb. Between the corn rows, squash, pumpkins, and even cucumbers get the shade they like, and they in turn shade the corn’s roots and keep them cool. Everybody happy.

On the other hand, you have marigolds. OK, maybe you don’t. Those can go near anything. All the vegetable clans love marigolds; they attract bees and they even stimulate plant growth. My kinda friends!

Grandmas and Grandpas used to know lots of this stuff, and Native Peoples were (probably still are) very much in tune with companion planting. Unfortunately, however, farm and garden chemical companies would love for you to forget all about that. Those fancy commercials showing folks winning cool prizes for big veggies do tend to get one’s attention. These same chemical companies are conveniently quiet about the nasty stuff flowing into our lakes and streams when herbicides and pesticides are washed out of our dirt during a good rain. And of course God only knows what effects these chemicals have on our health.

But fear not, organically grown produce is finally becoming more mainstream. People are “discovering” accounts of when early European settlers found Native People growing pumpkins with their corn. It was no accident.

It takes some research, along with some trial and error, to learn which plants grow well together. Now that we have the interwebs, going to a place like Google and doing a search on companion planting will give you plenty of stuff to read.