Category Archives: Seasons

In Praise of Swiss Chard

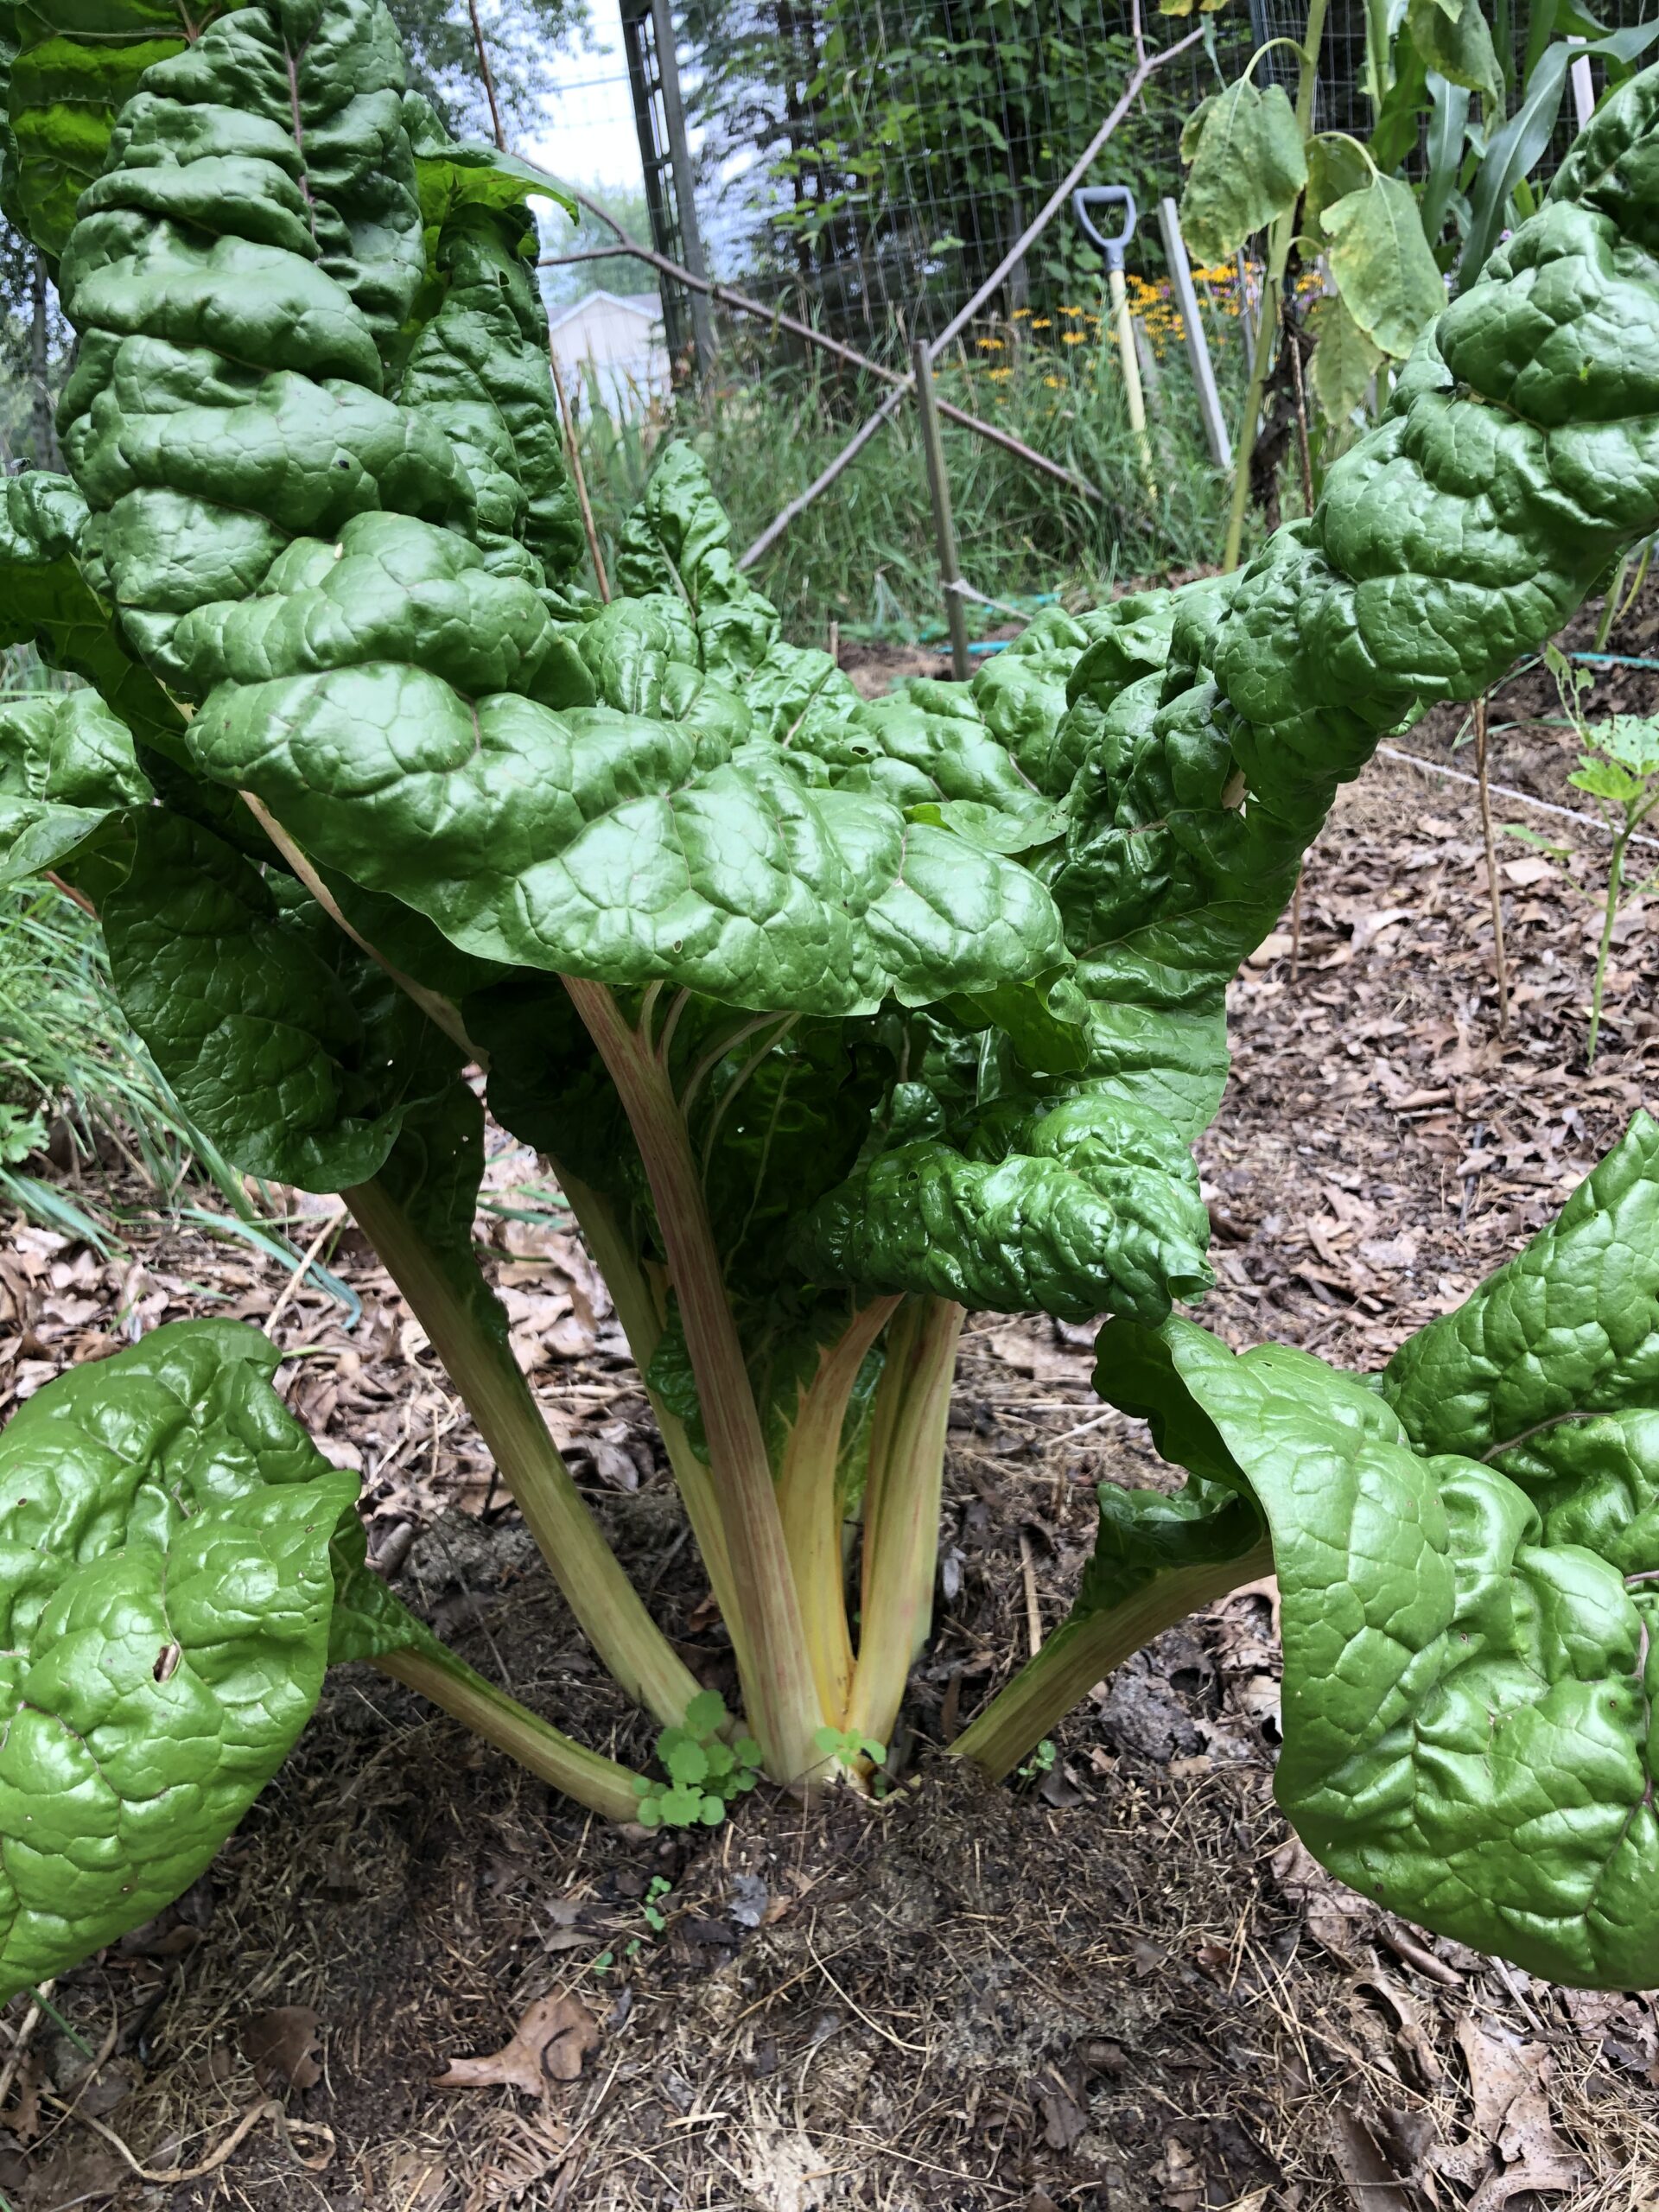
Seems to me Swiss Chard is a very underrated vegetable. Very easy to grow, very nutritious, and an excellent substitute for spinach in any recipe. You can eat the stems as well as the leaves. We even use it in place of lettuce on sandwiches. Just tear the leaf from the rib and place it where lettuce would go.

Chard seeds are planted about 1/2 inch deep, 4 to 6 inches apart. If planting in rows, space them 18 inches apart. Chard is a member of the beet family; so like beets the seeds are actually clusters that produce more than one plant. After they start to grow, use a sharp pair of scissors to snip the heads off of all but one plant in a cluster. Snip just below where the leaves come together. Trying to thin the clusters by pulling will damage the root system of the plant you want to keep. The remaining plant may die if the roots are damaged too badly.

After the clusters are thinned and are growing nicely, thin again so there’s about a foot or maybe even a little more between plants. Any that are spaced more closely will be produce an end result of smaller plants. Toss the plants you remove into your favorite stir fry or perhaps even a quiche.

If planted early, chard can be harvested pretty much all season long. It’s even frost hardy to some degree; but when the temperatures stay below freezing the leaves will be damaged significantly. If you’re a seed saver like me, when fall starts to slip into winter be sure to trim the leaves down; then give the plant a good covering of mulch. With any luck it will endure the winter and produce seed the following year.

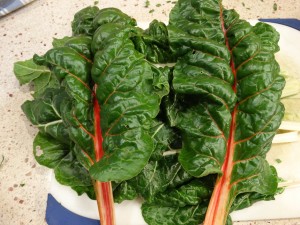
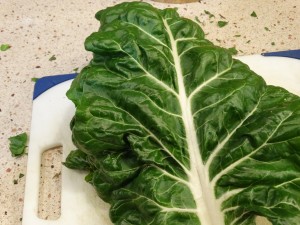
I find the plants are most productive when the leaves are allowed to grow to good size, then trimmed off the plant till just a few small ones remain. With young plants, I cut the leaves off with a sharp knife as close to the root crown as possible; being careful not to cut too close and injure the plant. When the plants become more substantial, I just grasp the base of the stem near the bottom of the plant and gently push downward and tug slightly till the stem breaks away. If there’s any remaining stem sticking out from the plant, I generally cut it off with a sharp knife; again being careful not to cut too close to the center. Pictures below show some before and after pictures of today’s harvest. As you can see, I did some substantial trimming; but so long as a few healthy leaves are left behind; the plant will flourish and provide several harvests.

I used this technique because I’ll be blanching and freezing the leaves. I have several plants, so when I want fresh leaves I merely harvest one or more plants less aggressively.
Bringin’ In The Greens

Here we are in mid November and there’s still some harvesting to be done.  Been getting some cold nights; several overnight lows in the 20s.  We know from experience that although some greens can take the cold, it’s best to harvest as much as possible before the severe cold arrives.

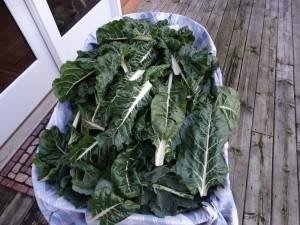
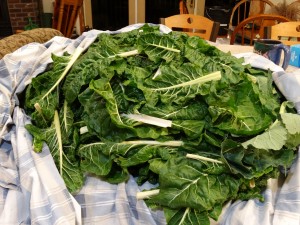
We love Swiss Chard because it’s so easy to grow.  Though more closely related to beets, the flavor is much like spinach but the leaves are much more robust.  They’ll produce delicious leaves all through summer and almost till the snow flies.  However, the leaves won’t do very well when the temperature stays below freezing.  That’s why we thought we’d better get with the program and pick the Swiss Chard today.  I knew the harvest would be pretty good so I lined my contractor sized wheelbarrow with an old bed sheet and started picking.  I got about 14 pounds.

To harvest, I carefully peel away the stem from the base of the plant.  Takes practice to do this without damaging the roots.  If I sense there’s too much resistance, I simply cut the stem as close the plant as I can.  Any dead or dying leaves or stems are removed first and tossed in the compost.  I leave a few leaves in the middle just in case we get warm enough weather to have more growth.  Also, after I’m done trimming the plants down; I mulch them around the stem with leaves to protect the root system.  I’ll leave the small center leaves exposed until the real cold comes; again just in case it’s warm enough to get another fresh harvest.  If the plant covered completely before the snow flies, they will winter over and make new growth in the spring.

If allowed to grow the 2nd season they will go to seed.  This year’s harvest came from seed I saved from two years ago.  I found out the hard way that when Swiss chard is allowed to seed, it needs LOTS of room!!

After picking I bring them inside, and blanch them in boiling water for about 15 – 20 seconds; after which they are dumped into a cold water bath.  For the boiling water we use a large Revere Ware pot; inside of which is a large stainless steel colander we got from IKEA.  I chop up a large handful of greens and toss them into the colander, then take a wooden spoon and stir them into the boiling water for a few seconds.

After blanching I drain water from the colander back into the pot, then toss the greens into a large enamel pot full of cold water.  The pot’s almost as big as our kitchen sink.  Final stage is to scoop the greens out of the cold water bath; drain, and put in gallon freezer bags.  It’s important to keep the water cold so we end up dumping it a couple times after the water warms up.  Then we fill the pot with cold water again and carry on.

Today’s harvest yielded 6 gallon bags of Swiss chard for the freezer.  We’ll continue to eat fresh leaves until the weather changes; after that it’s time to raid the freezer.

Dunno about you but we think Swiss Chard leaves are simply beautiful. Click on the thumbnail pictures below for better views.

DSC00232DSC00233

DSC00234

DSC00235DSC00236

Greens For Lunch

Fall is harvest time here in West Michigan; and we sure do love it.  Right now the focus at our house is on the greens:  Swiss chard, wild cabbage (ancestor to kale, collards, etc.) and turnips.  The lower fall temperatures remove the bitterness that’s present during the summer.  And my how the greens are thriving these days!!

Nice thing about all of these is they can withstand temperatures that have already killed much of the garden.  They all survive the autumn frosts just fine; and can even be harvested in the dead of winter if protected properly.

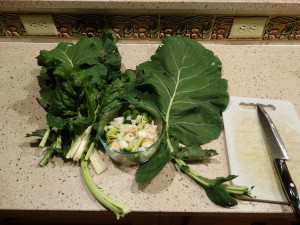
Here’s a picture of some I picked today.  One of the wild cabbage leaves was pretty big!!  I put my Pyrex bowl, cutting board and chef’s knife in the photo for size comparison. Click the photo for a better view.

Greens with leftover chicken and broccoli

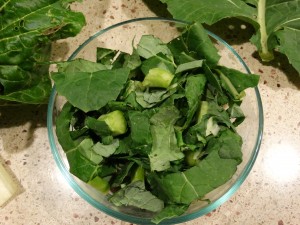
Of course, I’m also killing two stones with one bird:  I wanted to share how I make my lunch for work.  My “standard” cooking receptacle is a 4 cup Pyrex bowl with a vented lid; perfect for cooking in the microwave.  Tomorrow’s lunch will be very simple, yet very delicious:

1   small leftover broiled chicken breast (about 4 ounces), cut up into chunks

1/2 of a medium sized yellow onion

Chopped greens, enough to fill the bowl to the top.

And yes we eat the stems too!!  I sprinkle a little Kikkoman Gluten Free Soy Sauce to “kick it up a notch,” as Emeril might say.  Keep refrigerated until it’s time to eat, then nuke it for 3 minutes.  Mix the contents after cooking to toss the flavors all about.  MMmmmmm good!!

Greens-chicken-broccoli-onions

Diggin’ Them Crazy Taters

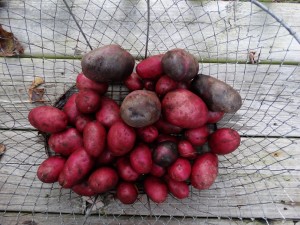
The potato vines are long dead, but I marked where they lived so I could remember where to dig.  Last several years I’ve been planting Adirondack Red and Adirondack Blue potatoes.  They are truly beautiful tubers both inside and out; and packed with more anti-oxidants than potatoes with white innards.  And of course, nothing beats the flavor of freshly dug potatoes.  These came out of the garden yesterday; I diced them up peels and all and fried them in butter.

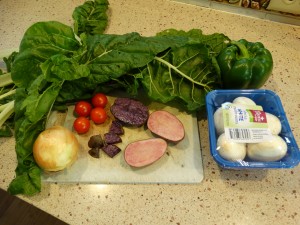
Adirondack red & blueAlso made a scramble with chopped Swiss chard, onions, mushrooms, peppers and tomatoes; then topped it with cheese.  Onions, mushrooms, and peppers were store-bought; all the other veggies were picked this morning from the garden.   Well OK, all except the potatoes, that picking was yesterday.

Scramble supplies

A Beautiful Weekend For Saving Seeds

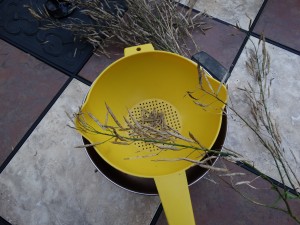
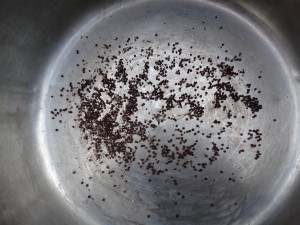
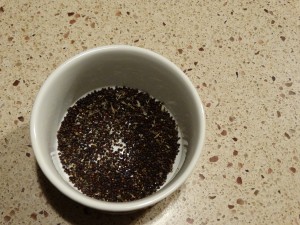
The weather has been simply awesome here in West Michigan this weekend.  Made it easy to spend more time in the garden; in spite of the fact that the grandsons were here for the weekend.  They did “help” me with some seed saving; Ollie actually processed a few pak choi pods with me while Gabe used the spent stalks for a light sabre.  Pretty good considering Ollie is 6 and Gabe is 2.

pak choi seed saving1   pak choi seed saving2   pak choi seed saving3

We rolled the pods between our fingers into a colander that sits on a 2 1/2 quart Revere Ware pot; then shuffle the colander to and fro over the pot till all the seeds have fallen through.  Then it’s time to discard the chaff and start again till all the pods have been emptied. out.  I’ll run the seeds through the colander a couple more times to get the big chunks out.  Doesn’t hurt anything to have a little “pod dust” in the final product, which I poured into a smaller ceramic bowl.  That will sit on top of the fridge for a few days to let the seeds dry a bit more.  Final step is to put them in a paper envelope and then into the fridge they go until spring planting time.

Greens And Roots

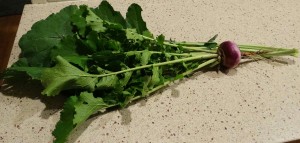
Aturnip and some wild cabbage will make a very nice addition to my stir fry.

A turnip and some wild cabbage will make a very nice addition to my stir fry.

Here we are in October already!!  Summers in Michigan sure seem to whiz by quickly.  But I take heart that there are still several more warm days ahead.  By warm, of course, I mean above 50 degrees.  Even with climate change we’re not gonna see 70s or above any time soon.  All my friends know I love to garden, and at work I’ve been asked more than once:  “So Ken, your garden pretty much done now?”  “No,” I reply, “there’s still lots of food in there.”

I go on to explain that although the tomatoes are pretty much done, there are still lots of greens to be had.  I rattle off names like Swiss chard and wild cabbage and I get some puzzled looks.  Many have heard of Swiss chard, although not very many folks eat it from what I can see.  And when I try to explain that wild cabbage is an ancestor to broccoli, collards, and other members of the cabbage family, I often get that “deer in the headlights” look.  Swiss chard and wild cabbage both thrive in cool weather; and will actively grow right up till Jack Frost starts blowing his wintry breath on the ground.

Turnips are another of my favorite cool weather crops.  They do really well when planted from seed in late July.   I often dice up the large roots and throw them into a stir-fry.  After cooking they are often mistaken for diced potatoes by unsuspecting guests.  The greens, normally strongly flavored (almost bitter) in summer, are mellowed out nicely by the cool temperatures.   I also use those in stir fry dishes, as well as soups.

So yes, the garden is still going even in autumn.